Sky Objects
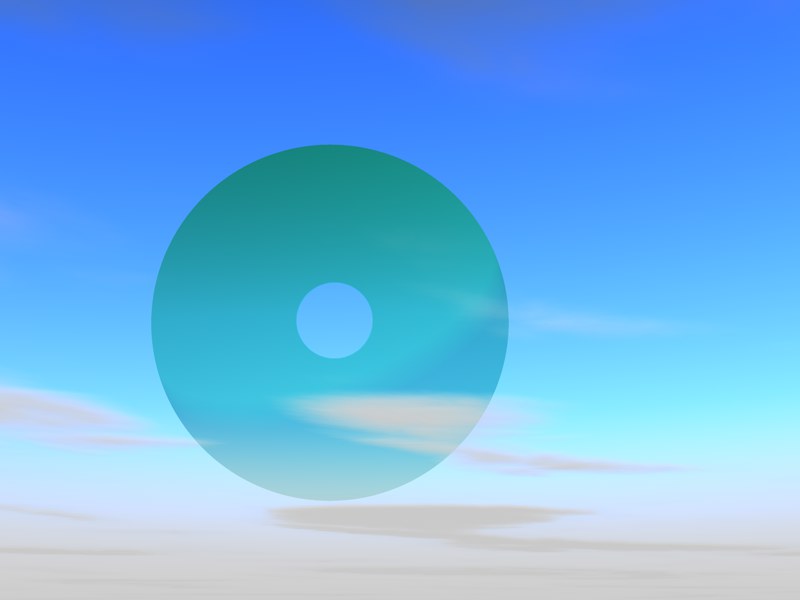 A Sky object can be used to easily create a large green moon with a hole in the center.
Wouldn’t it be a shame if all you could see in the sky were stars and planets? Let’s say you want to smack a space station or some other object onto your sky – with Sky objects, no problem. Due to the immense distance from earth, the object’s three-dimensionality will not be relevant: Select the image file you want to use (any of the numerous types supported by Cinema 4D) and place it in your sky. With the use of alpha channels you can create any shape you want for your image file.
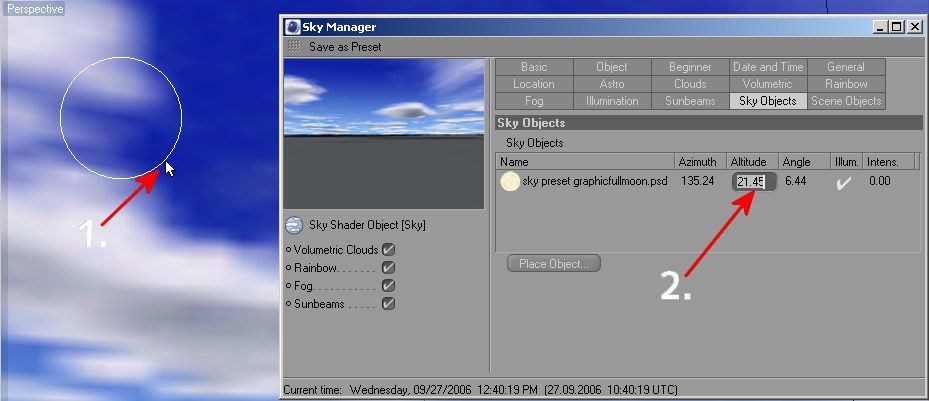 1. Place the Sky object. 2. Change the object’s settings.
- Click on Place Object and select an image file.
- Drag a circle at the location in the sky where you want your image to appear. Azimuth, altitude and orientation will automatically appear in the Sky Manager.
- You can edit the image’s position, size and intensity by clicking on the corresponding number next to the bitmap’s name.
The following settings will be created automatically when an object is placed into the sky. All settings, except for the image file’s name, can be edited by clicking on the corresponding value.
This is the name of the original image file. If the image file is not located in the directory to which the scene is saved or in a folder named tex in the Cinema 4D directory, Sky will search the directory paths you defined in the Cinema 4D presets (see Asset Paths).
Az. (Azimuth) / Alt. (Altitude)
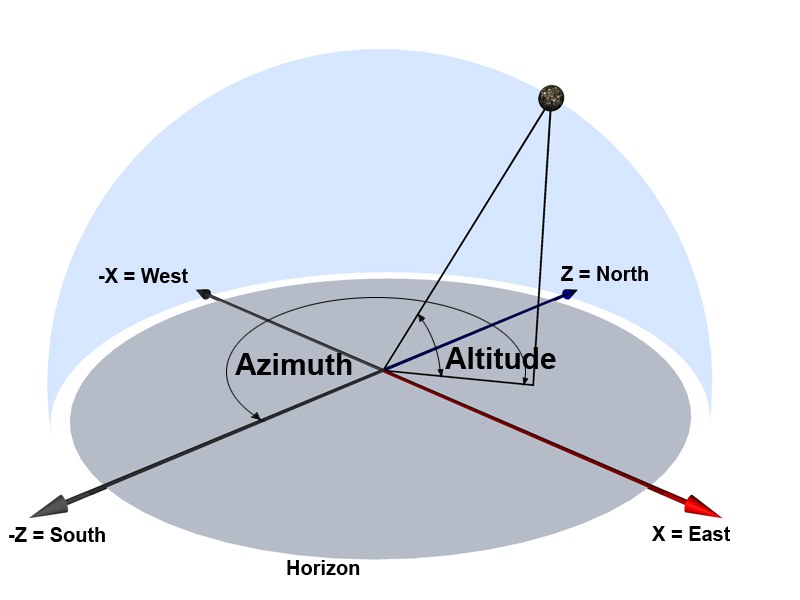
Two angles are used to determine the position of constellations and to fix their position onto a hemisphere.
- Azimuth: The direction of a celestial object, measured clockwise around the observer’s horizon from the North (Z axis).
- Altitude: The angle of a celestial object measured upwards from the observer’s horizon.
These values are shown for informational purposes only. They can, though, be adjusted manually by deactivating the Auto option.
The Angle is the measure for the size of the Sky object that is being depicted.
Imagine an equilateral triangle: One point lies at the camera’s point of origin, the other two at the left and right side of the Sky object’s outer diameter. The Angle setting represents the angle of the Sky object in relation to the camera.
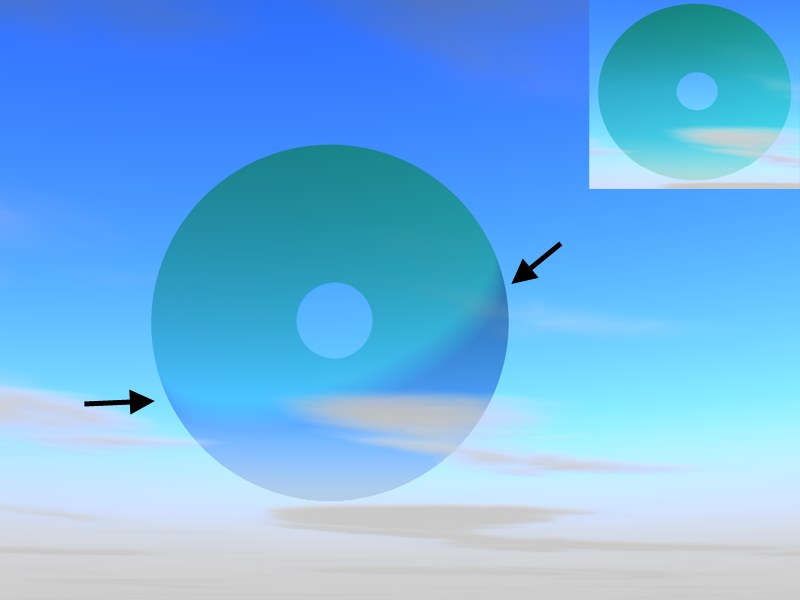 Large: Illum. on; Small: Illum. off
If this option is active, a sickle-shaped shadow will be cast onto the Sky object (on the sun side), giving the impression it is a spherical object being lit by the sun. Naturally, it would not make much sense to use this option on non-spherical shapes and should then be deactivated. Simply check or uncheck the option to activate or deactivate it.
Intensity regulates the Sky object’s transparency. A maximum value of 100% will make the object completely opaque.