

Redshift Sun & Sky
|
|
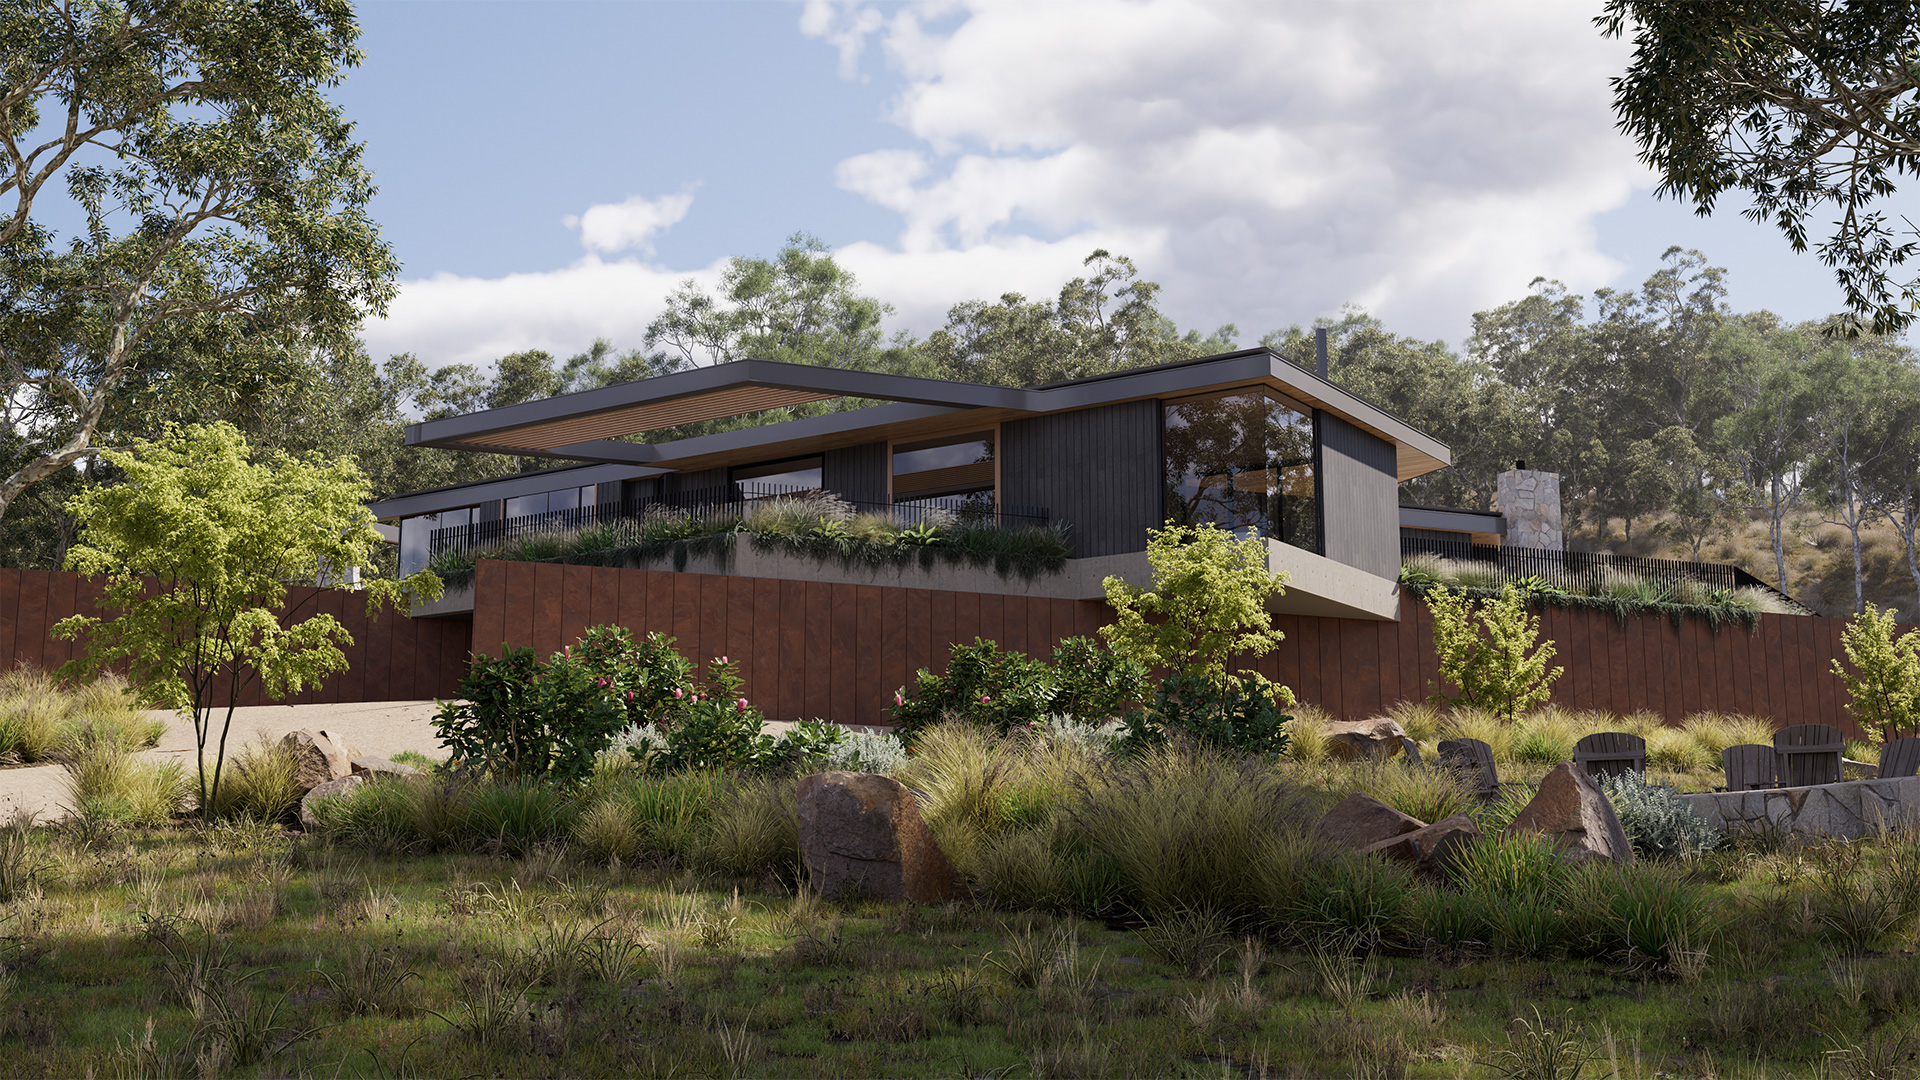
| Model by Brad Goldsworthy, Lighting and Rendering by Saul Espinosa | by Saul Espinosa |
The Redshift Sun & Sky offers a quick and easy way to add realistic outdoor lighting from sun up to sun down and it pairs well with a Redshift Cloud object for added realism. Sun & Sky is based on the PRG Clear Sky model from the paper "A Fitted Radiance and Attenuation Model for Realistic Atmospheres" which improves upon the Hosek-Wilkie sky model. PRG Clear Sky is able to better represent scenarios where the sun is very near or below the horizon, allowing for much more accurate and aesthetically pleasing sunrises and sunsets.
Functionally the Sun & Sky is very similar to a Dome Light, offering the same familiar light parameters like contribution scale and light linking. There can only be 4 Sun & Sky lights active at any one time. When multiple are active they blend together
Physically Accurate Lighting
For best accuracy, the Sun & Sky uses a physically accurate light intensity by default, this is true for both day and night scenarios. During the day, cameras should use a lower exposure value to compensate because of the intense light of the sun at midday. At night, cameras should use a higher exposure because while a full moon may look bright in the sky it is not bright enough to adequately light up the ground.
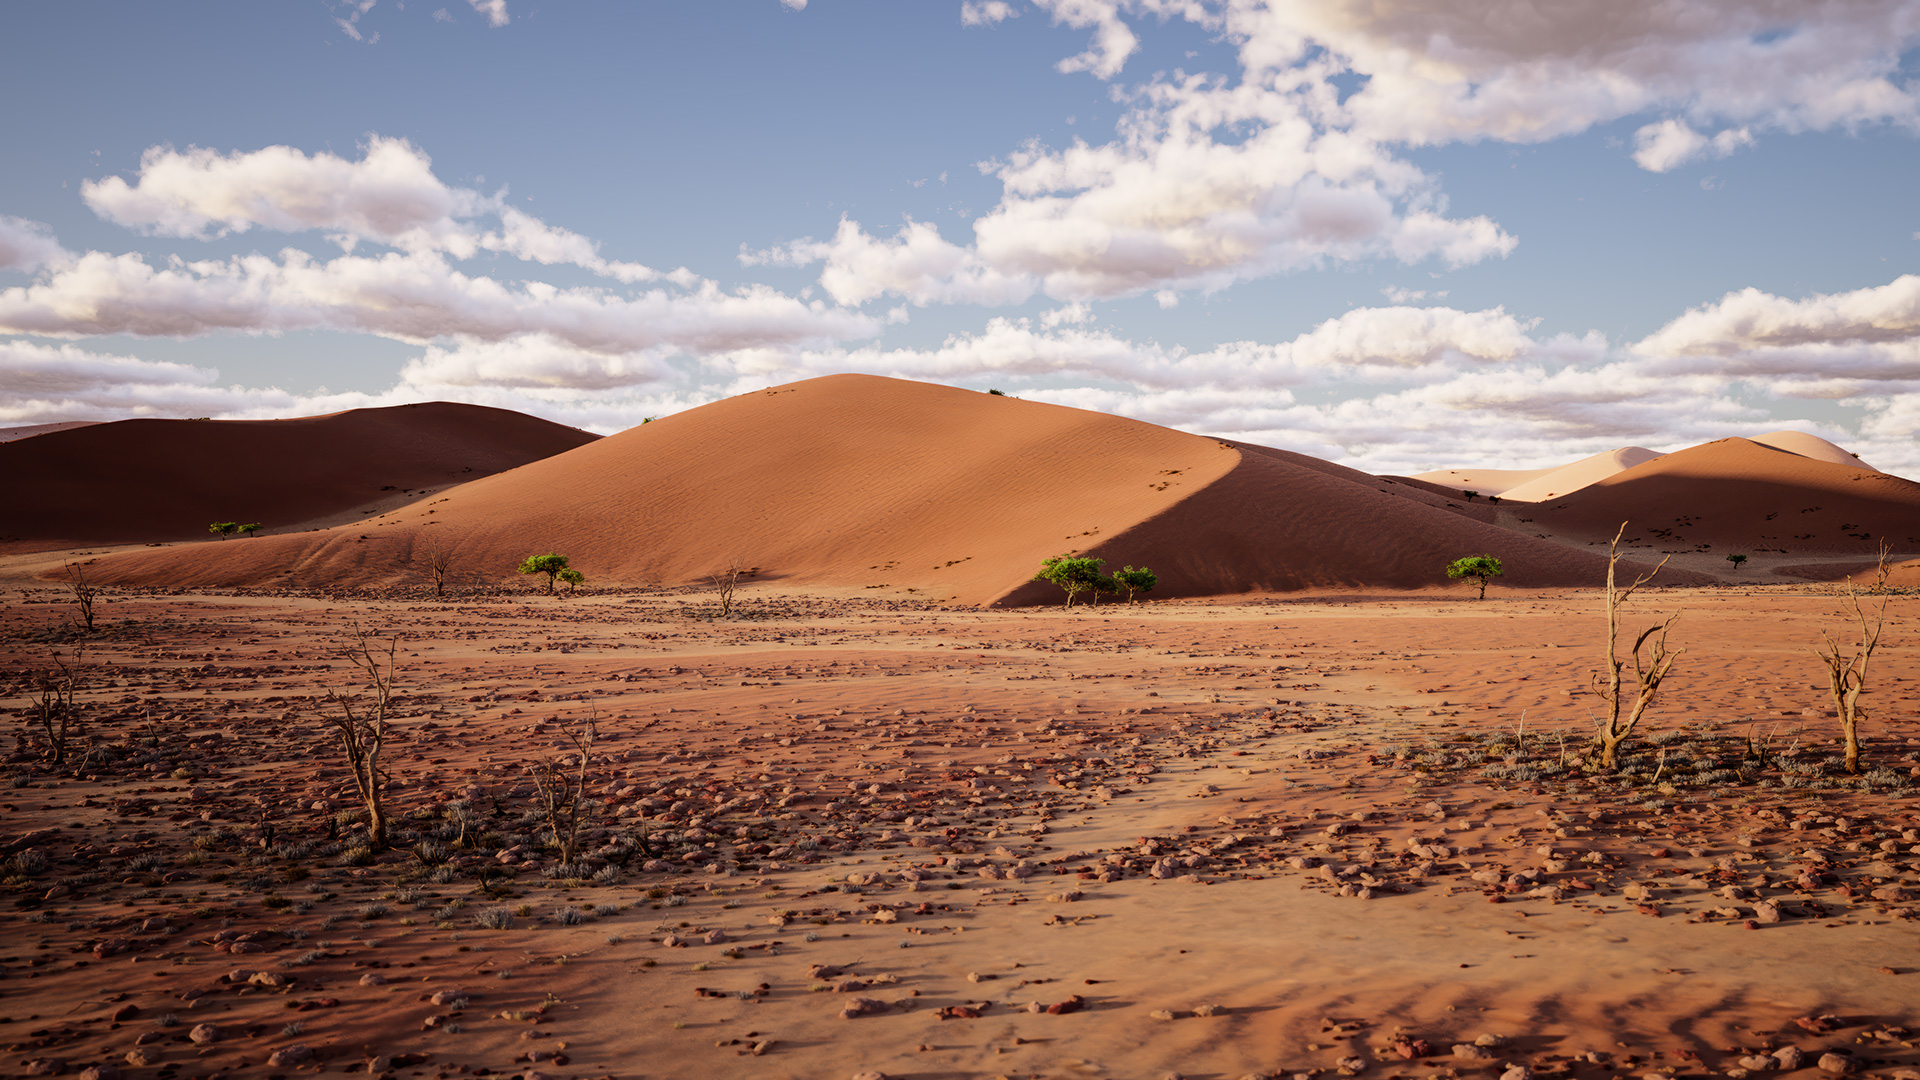
| Namaqualand scene from PolyHaven.com |
Daytime
Camera Exposure
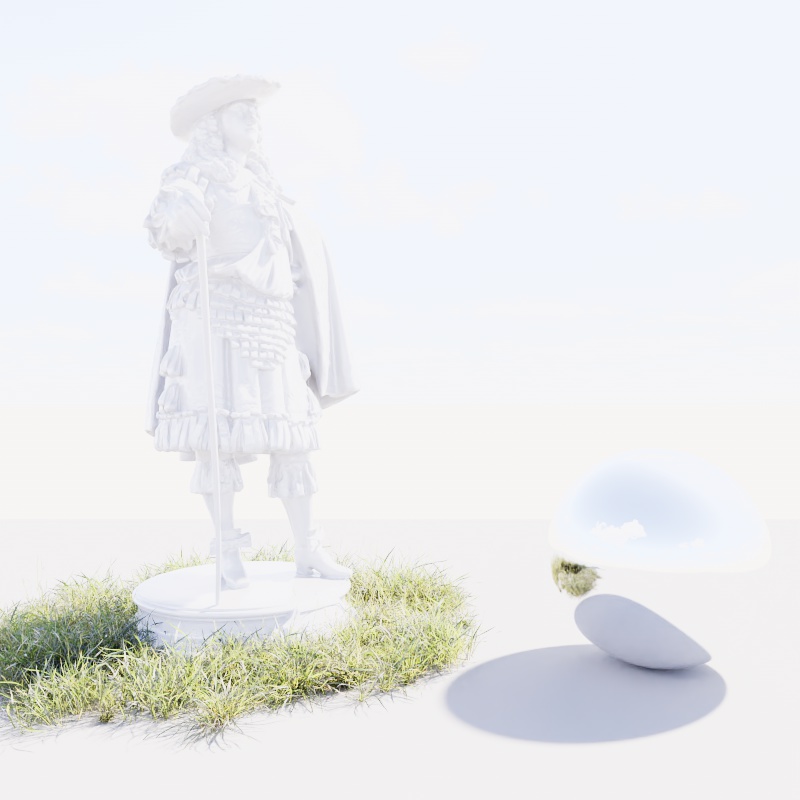
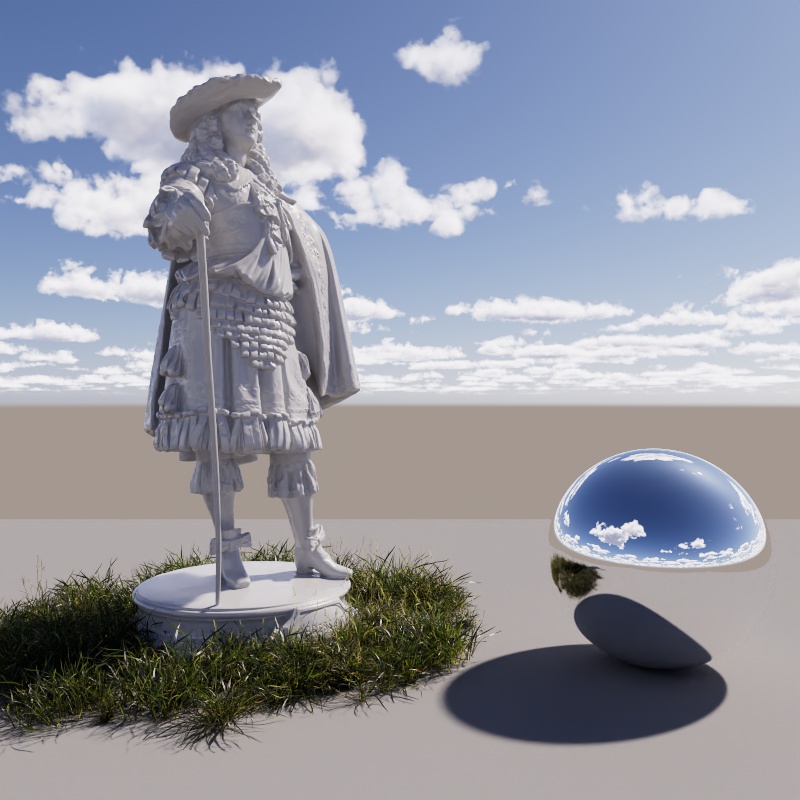
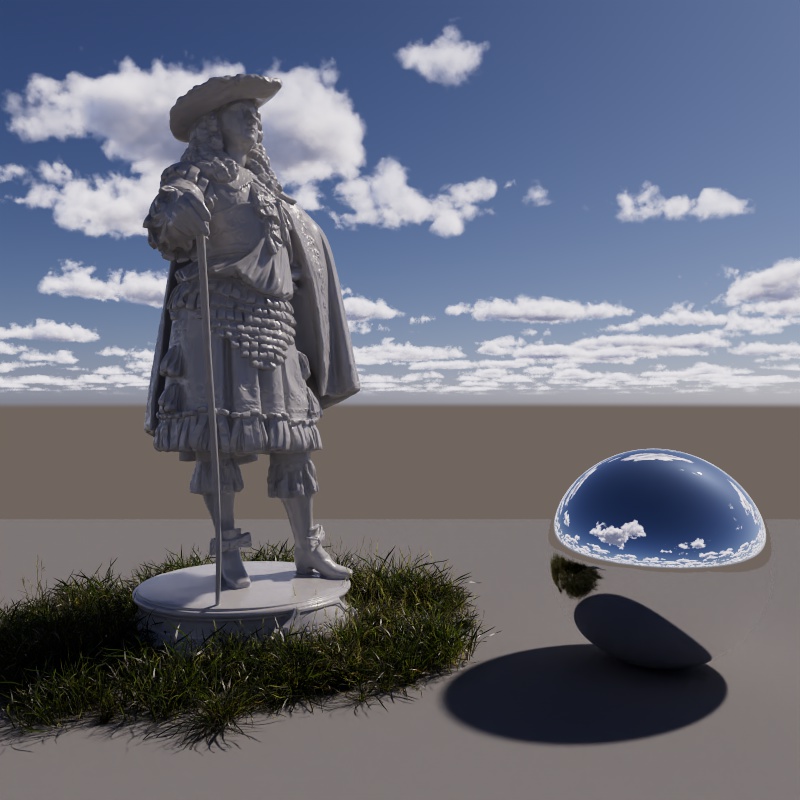
The simplest way to compensate for intense sun light is to reduce the Camera's "Exposure (EV)" value. At the default value of 0 the scene will be blown out, but an Exposure value of -5 closely matches the Sunny 16 rule described below while a value of -4 leaves things nice and bright. Set it to any value you prefer most.
|
|
|
| Camera Exposure 0 (default) | Camera Exposure -4 | Camera Exposure -5 |
Sunny 16 rule
This rule provides a good starting guideline for achieving pleasant exposure in daylight. Start with a Redshift camera and set the following parameters:
- Exposure Type: "Filmic"
- Aperture: 16
- ISO: 100
- Shutter Speed: 100
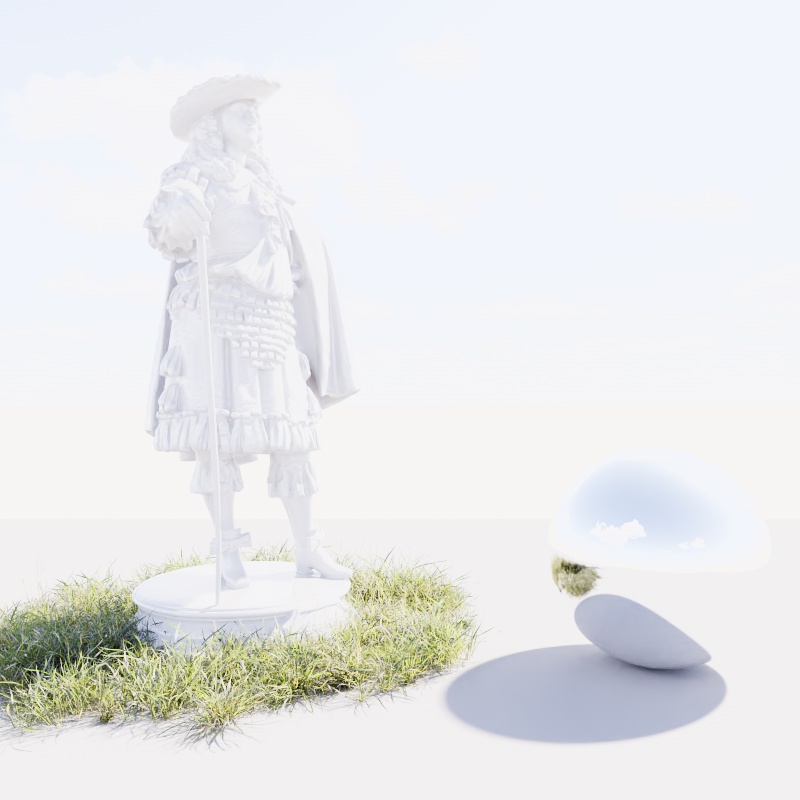
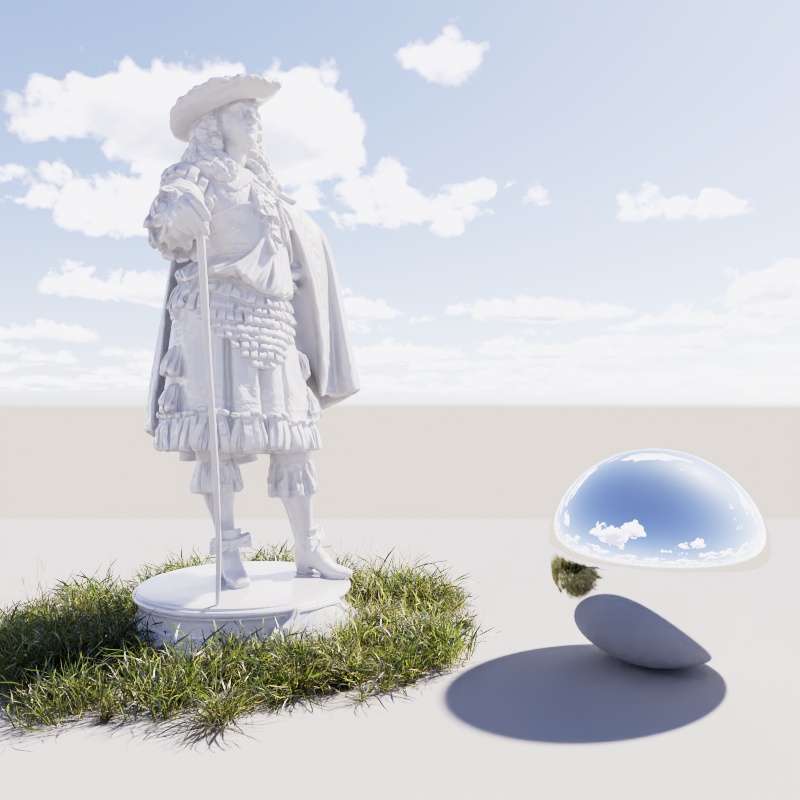
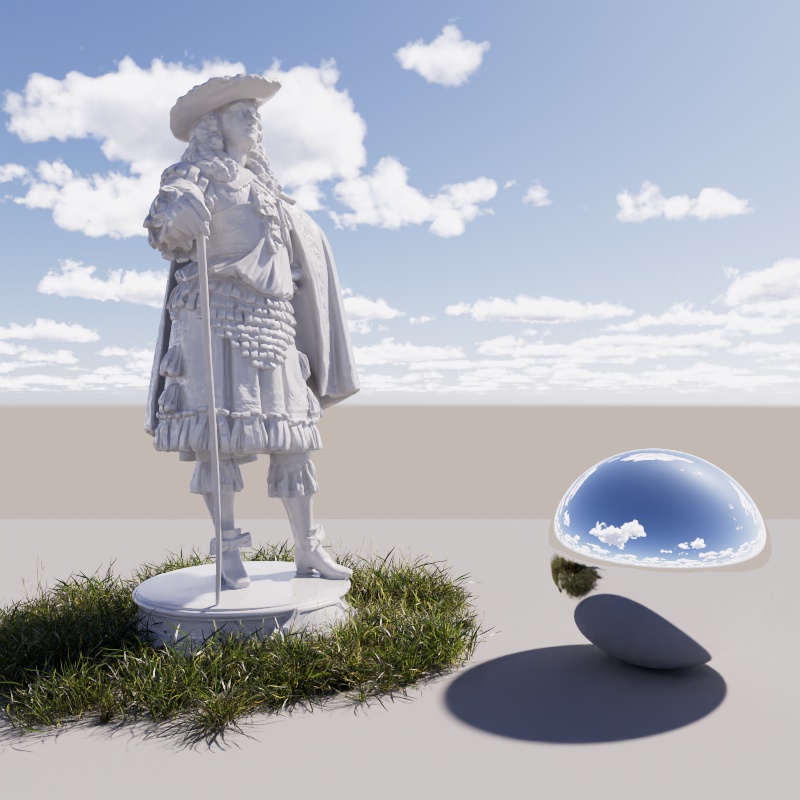
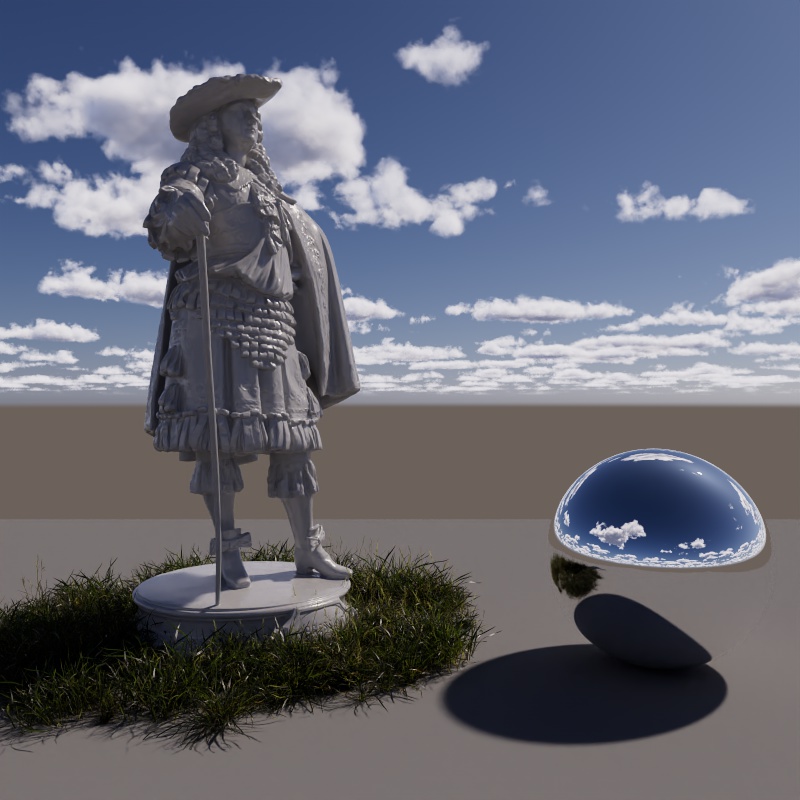
The examples below illustrate the change made with each adjustment, and remember, these are just a suggestion — feel free to adjust the settings to your liking. For more information, have a look at the Wikipedia entry.
|
|
|
|
| Filmic camera defaults | Setting Aperture to f /16 | Setting ISO to 100 | Setting Shutter Speed to 1/100 |
Non-Physical Intensity
If physical accuracy is not important the Sun can quickly be brought down to a visually acceptable light intensity without the need to adjust any camera settings simply by enabling "Use Non-Physical Intensity."
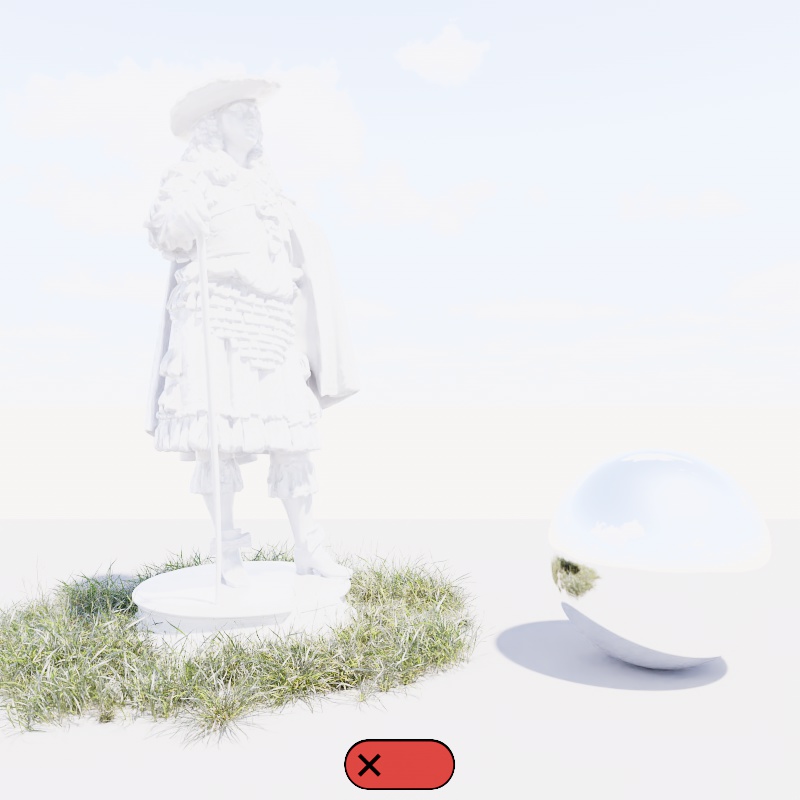
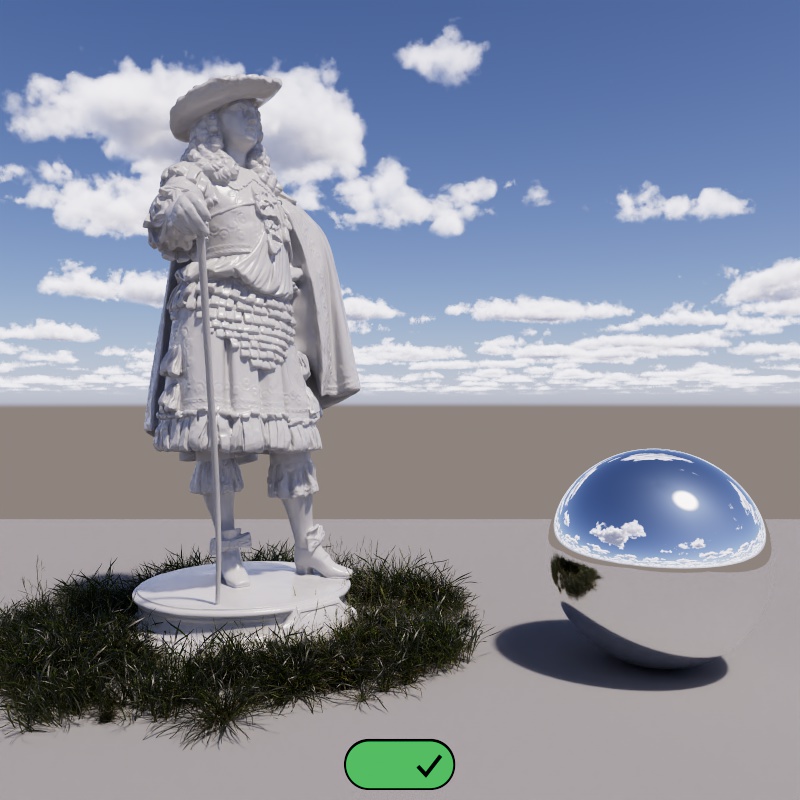
The first image shows a brand new scene with no camera exposure adjustments, resulting in a blown out scene. In the second image Non-Physical Intensity is enabled — this brings the sun intensity into a range that is visually appealing without the need for further adjustment. Please note, using a non-physical intensity reduces the natural impact sunlight has on a scene, like reducing the intensity of global illumination bounce lighting, subsurface scattering, and overall contrast.
|
|
| Use Non-Physical Intensity: Disabled (default) Camera Exposure: 0 (default) |
Enabled 0 (default) |
The Moon
Shape
Redshift's moon is lit by its sun, just like in real life, which helps ensure that the night sky looks believable and realistic. So changing the sun's position and intensity has a direct impact on how the moon appears in the sky and how it lights the scene.
For starters, adjusting the sun's altitude (vertical position in the sky) controls whether it is day or night. When the sun sets below the horizon the moon takes over as the brightest object in the sky.
| Changing the Sun's altitude |
Changing the sun's azimuth (horizontal position in the sky) primarily changes the shape of the moon. If you want a full moon then the sun should be placed opposite the moon, while a crescent moon should be lit more from the side. In the example below the sun does a full rotation along the horizon, changing the phase long the way.
| Changing the Sun's azimuth |
Even the size of the sun affects the moon, when the sun scale is increased the shadows on the moon become softer which adjusts the shadow terminator. This keeps the entire sky simulation unified.
| Changing the Sun Scale Moon lit from the side |
Changing the Sun Scale Moon lit from the front |
Exposure
Just like the sun, the moon uses a physically based light intensity by default. In practice this means that you should adjust your camera's exposure to compensate. The moon may be bright in the sky but it is generally not bright enough to light up the ground in your scene. An exposure adjustment of -4 works well for the sun at midday but is far too dim for a moonlit scene at night, even the default value of EV 0 is not sufficient. In most examples of the night sky on this page the exposure is cranked all the way up to +11.
Keep in mind that the moon's phase has a big impact on total scene lighting, +11 is sufficient for a full moon but still not enough for a crescent.
Reminder, the moon isn't necessarily above the horizon for all hours of the night. Keep this in mind when using Time and Location to drive the position of the moon.
| Camera Exposure: -4 to +11 Full Moon |
-4 to +11 Crescent Moon |
Non-Physical Adjustments
The night sky offers the ability to break conservation of energy for artistic looks. For example, the moon has a beautiful texture but there's no way to see detail on its surface and light up the scene in the same photograph. Traditionally, you'd need to take two photographs, one exposed for the scene and another just exposed for the surface of the moon which is later composited onto the first image.
In Redshift the Night Sky Contribution sliders can be adjusted for to that end without the need to render twice. The Visibility slider controls how bright the moon (and stars) appear in the sky along with reflections and refractions while the Lighting slider controls everything else. This lets you tweak these effects separate from one another and dial in an artistic look that would otherwise only be possible by rendering twice.
As with most things in CG there are many ways to arrive at a similar destination, but one method is to:
- Raise the Camera Exposure until the moon adequately lights up your scene
- Camera Exposure Value: +11
- Drop the "Visibility" contribution until the moon's surface details become apparent
- Visibility: 0.03 in this example
| Increase the Camera Exposure until the scene is lit | Reduce "Visibility" to see surface detail |
Since Visibility affects the entire Night Sky, you may want to boost the Star and Milky Way Intensity to compensate for the decreased Visibility. This should be done particularly carefully as the boosted diffuse contribution from the stars can brighten up the scene.

|

|

|
| Stars and Milky Way Intensity: 1 | 50 | 100 |