
Physical Light
Overview
The Redshift Physical Light is an all-purpose light which can be used to model point, spot and directional lights as well as area lights of various shapes.

|
General
On
Turns the light on or off.
Light Type
Specifies the light type.
- Area: A light which has a real physical size and shape.
- Point: A point light. Simulates a 'bare bulb' light which emits light in all directions from an infinitesimally small point in space.
- Spot: A spot light. Emits light in a cone-shape.
- Infinite : An 'infinite' or 'distant' light. Simulates a light source which is infinitely far away from the scene. A directional light has no position, only a direction. All rays emitted by a directional light are parallel and have no decay.
- Dome: Simulates light emitting from a large sphere that always surrounds the entire scene. You can think of this as a sky that illuminates your objects with mapped image, for example. The dome light can also be used like a Cinema 4D Sky object.
More information on Dome Lights. - Photometric IES: Allows the loading of an IES Profile file to control the direction and amount of emitted light.
More information on IES Lights. - Portal: A special type of light source that can optimize the calculation of global illumination. Often used in window frames for interior renderings to optimize the rendering of indirect light coming through the windows.
More information on Portal Lights. - Physical Sun: Similar to the Infinite light type but specially designed to mimic sunlight, this includes a color change depending on the angle of incidence of this light source.
More information on Physical Sun.
|
|
|
|
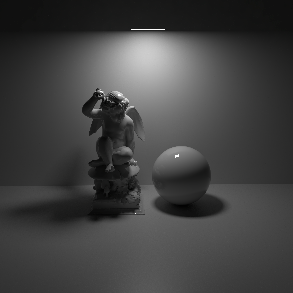
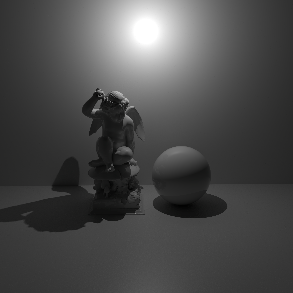
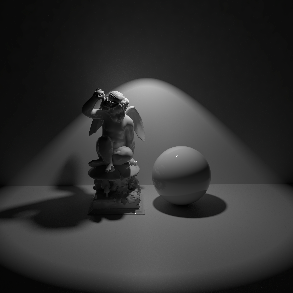
| Light Type: Area | Point | Spot |
|
Preview
Wireframe
Displays a wireframe representation of the light decay or light direction in the viewport. When this option is checked, some light types allow manipulation of certain parameters directly in the viewport.
Illumination
Provides an approximation of the illumination of the light in the viewport.
Illumination Adjustment
Adjusts the viewport illumination scale.
These options only affect the Cinema 4D viewport and have no effect in the IPR or when rendering.
Intensity
Intensity
Specifies the intensity of the light or the number of physical units.
| Adjusting a light's intensity |
Exposure (EV)
Specifies an f-stop value to intuitively match the light's intensity to a plate or rendering scenes without using extremely large or small Intensity values. A value of 0.0 means the exposure parameter does not alter the lights intensity.
For example, an Exposure value of 1.0 means the light doubles in intensity and a value of 2.0 means the light quadruples in intensity, etc.
| Exposure: -2 to +2 |
Units
Specifies the physical units to use for the light intensity. This allows you to use real world light units that behave appropriately based on scene scale.
Each unit calculates light intensity differently but there is one key functional difference that is useful to keep in mind and that is how the unit affects the light intensity when the light is scaled. Some units refer to the total light output while others refer to light intensity over a specific surface area. Units that refer to intensity over a specific area are directly affected by the size of the light, while units that refer to the total output are not.
- Image: Use non-physical units. Light size behavior is controlled by the Normalize Intensity parameter.
- Lumens (lm): Use luminous flux. Total light output, intensity is not affected by the size of the light.
- Nits (cd/m^2): Use luminance.
- Watts (W): Use radiant power. Total light output, intensity is not affected by the size of the light.
- Radiance (W/sr/m^2): Use radiance.
- Candelas (cd): Use candelas. Total light output, intensity is not affected by the size of the light.
- Luminous Exitance (lm/m^2): Use luminous exitance.
In practice, this means a light with a unit that refers to total light output contributes the same general brightness to the scene no matter how large or small the light is. While a light with a unit that refers to intensity over a specific area will contribute more light to the scene when the light is bigger and get dimmer when the light is smaller.
The "Image" unit is a non-physical unit and it has the ability to demonstrate both behaviors. When "Normalize Intensity" is enabled it behaves like a total light output unit and when disabled it behaves like a specific area unit.
| Units that refer to intensity over a specific surface area Units: Nits, Radiance, Luminous Exitance Image with Normalize Intensity disabled (default) |
Units that refer to total light output Units: Lumens, Watts, Candelas Image with Normalized Intensity enabled |
This light scaling behavior is grounded in reality but from an artist's perspective it's also a question of workflow. If you want to adjust your light size without affecting the general light intensity then use an option that describes total light output. This lets you control how sharp your shadows are and the size of your specular highlights without affecting the overall balance of the scene.
Luminous Efficacy (lm/w)
Only relevant when using Watts or Radiance unit types.
Specifies how many lumens are emitted per Watt.
Decay
Specifies the decay of the light;
- Inverse-square
- None
- Linear
For physically correct results use 'Inverse-square' decay.
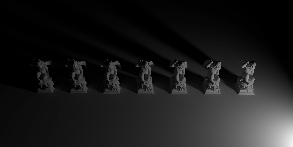
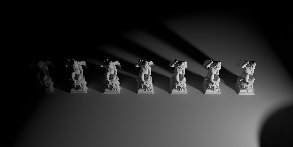
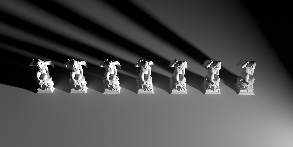
In the example below the light source in the bottom right has its decay type switched between the 3 different types. Inverse square is physically accurate based on the light's size and intensity. Linear demonstrates how you can specify the start and stop falloff to control exactly where the light starts to be visible and then decays to nothing. None turns off decay entirely.
|
|
|
| Decay Type: Inverse Square | Linear | None |
Falloff Start
Specifies the distance from the light at which linear fall-off occurs.
| Falloff Start: 0 - 199 Falloff Stop: 200 |
Falloff Stop
Specifies the distance from the light at which linear fall-off ends.
| Falloff Start: 0 Falloff Stop: 0-200 |
Color
Mode
Specifies the color mode.
- Color: Light color is specified by the Color parameter.
- Temperature: Light color is specified by the Temperature parameter.
- Color and Temperature: Light color is specified by both the Color and the Temperature parameters. The result is a combination of the two.
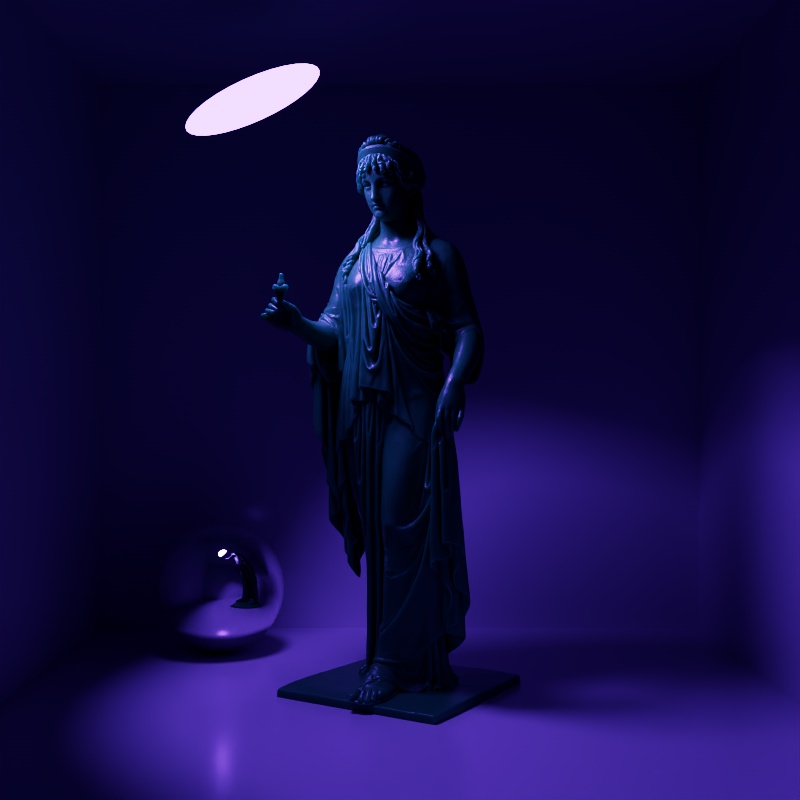
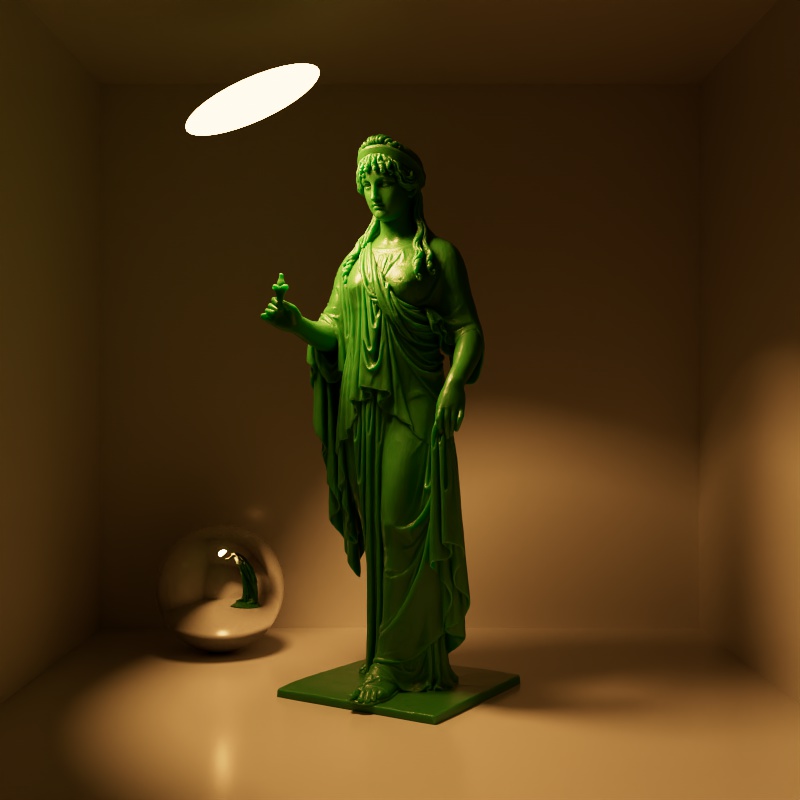
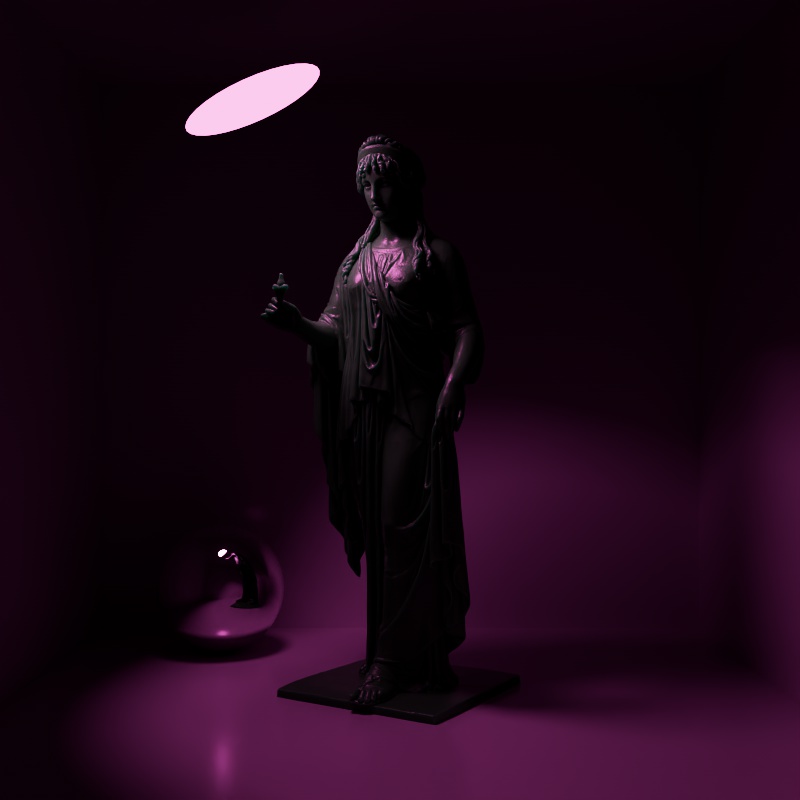
The same color and temperature is used across the examples below. In the last example using Color and Temperature the result is a reddish purple color due to the shift from the warm temperature used.
|
|
|
| Mode: Color Color: Purple Temperature: N / A |
Temperature Color: N / A Temperature: 2000 |
Color and Temperature Color: Purple Temperature: 2000 |
Color
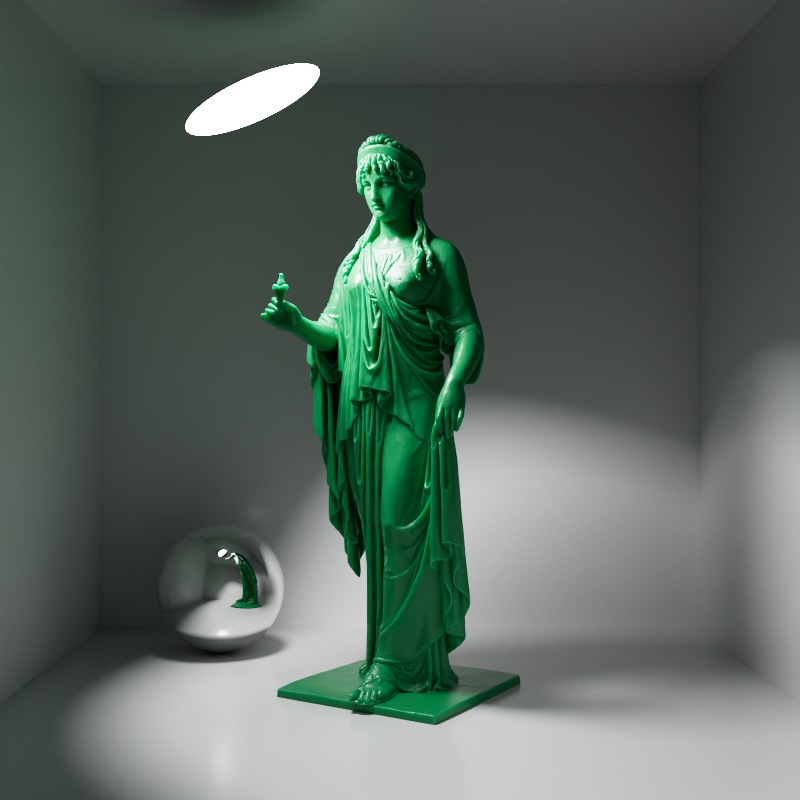
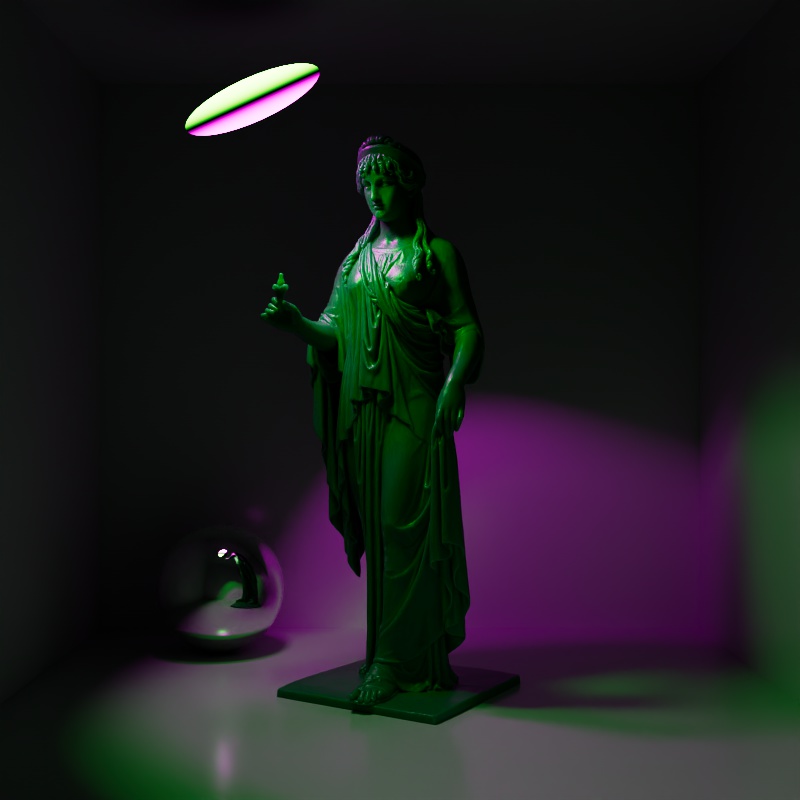
Specifies the color of the light and can also be driven by a texture.
|
|
|
| Color: White | Changing the color | Textured Purple and Green |
Temperature
Specifies the color of the light using a color temperature value (in Kelvin). Redshift supports color temperatures between 1667K and 25000K. Lower values are 'warmer' or more red, while higher values are 'cooler' or more blue.
| Temperature: 1600 - 12000 (warm - cool) |
Shape
Area Shape
The parameters below are only relevant to a light set to Area.
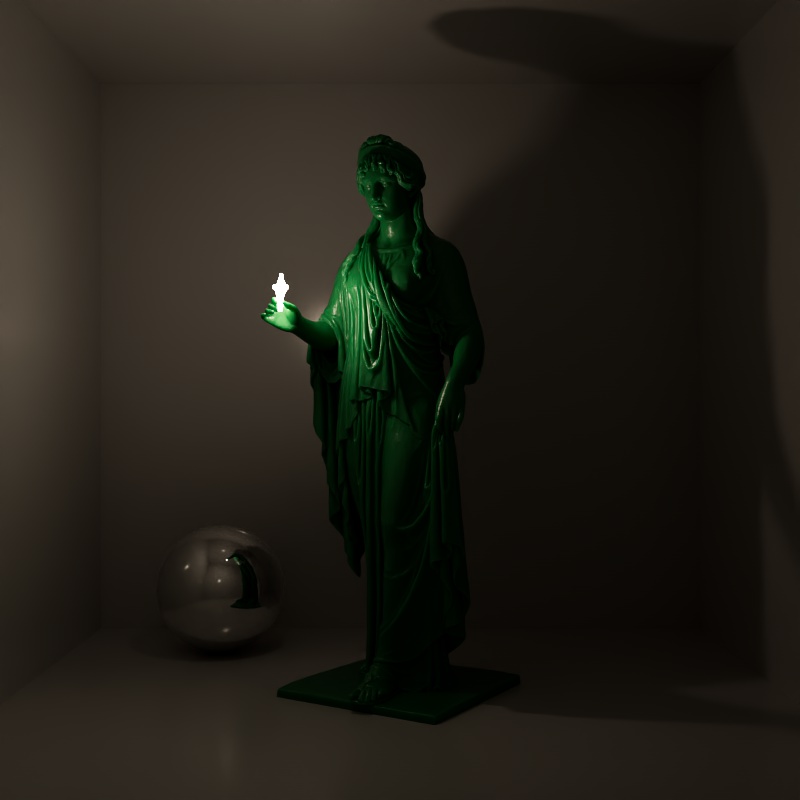
Specifies the physical shape of the area light:
- Rectangle
- Disc
- Sphere
- Cylinder
- Mesh
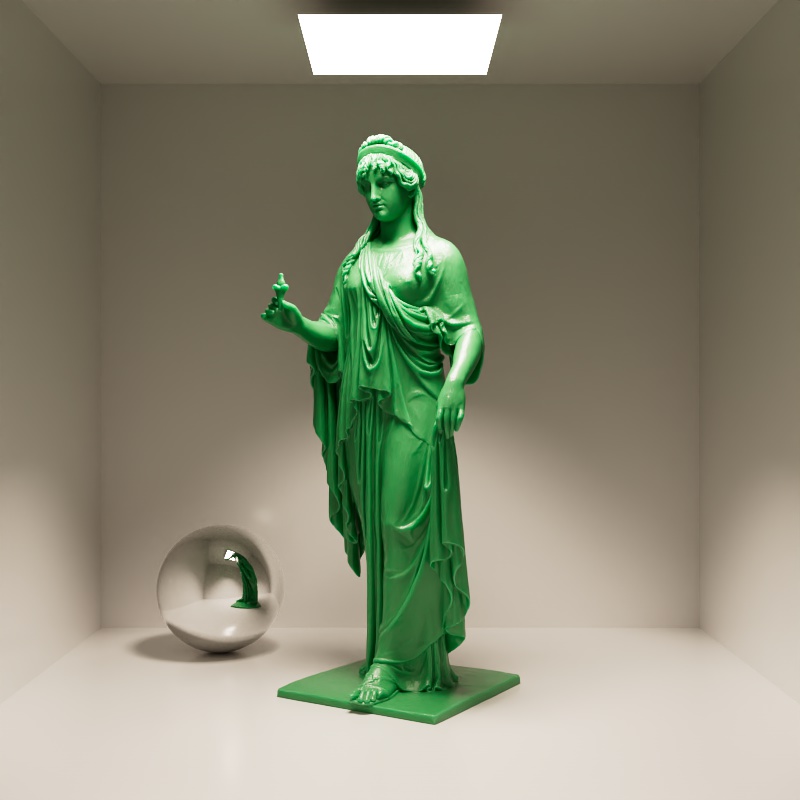
|
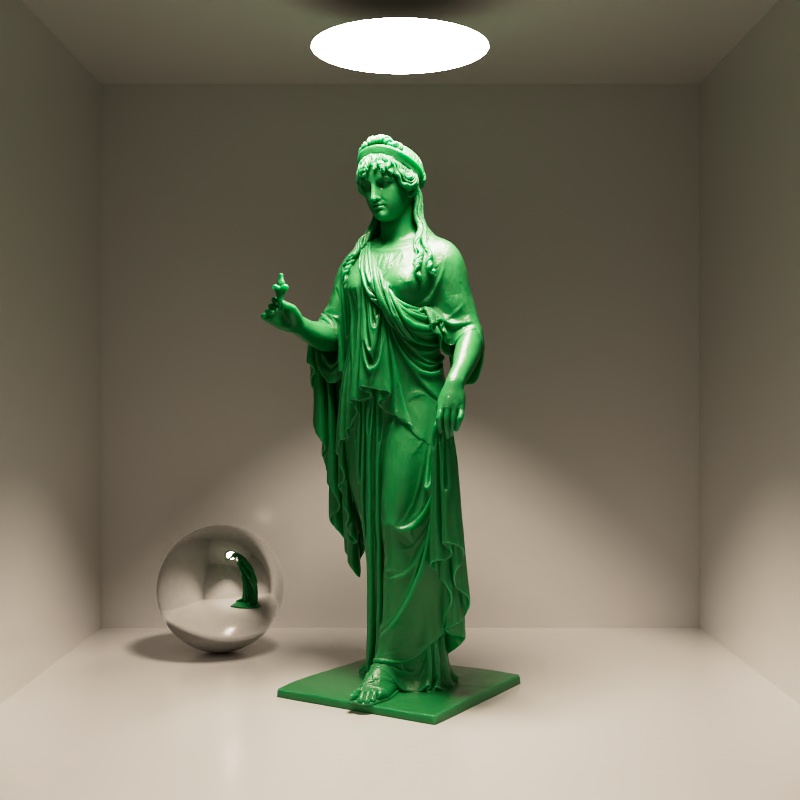
|
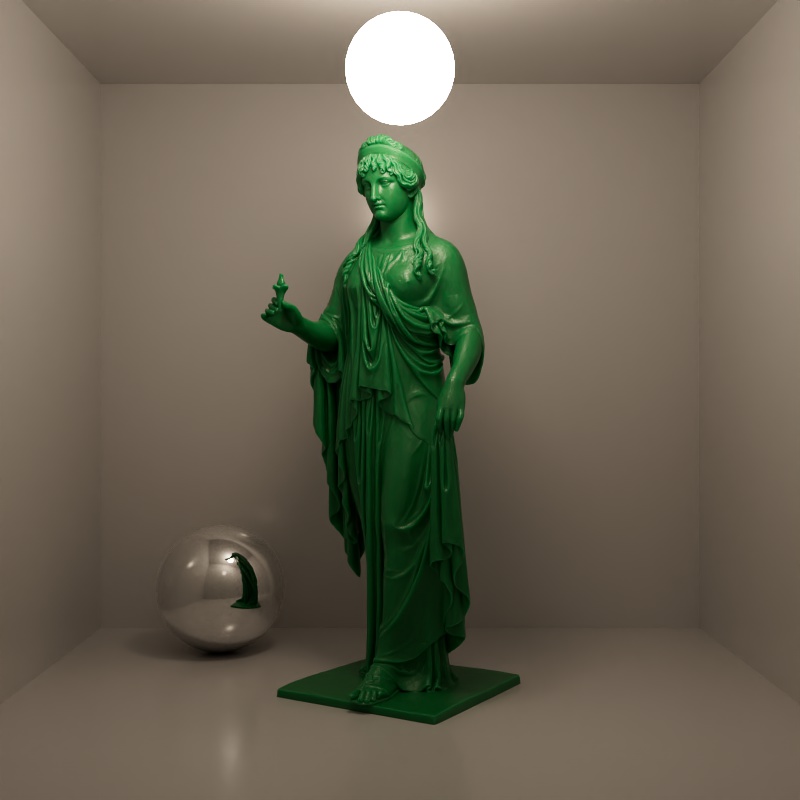
|
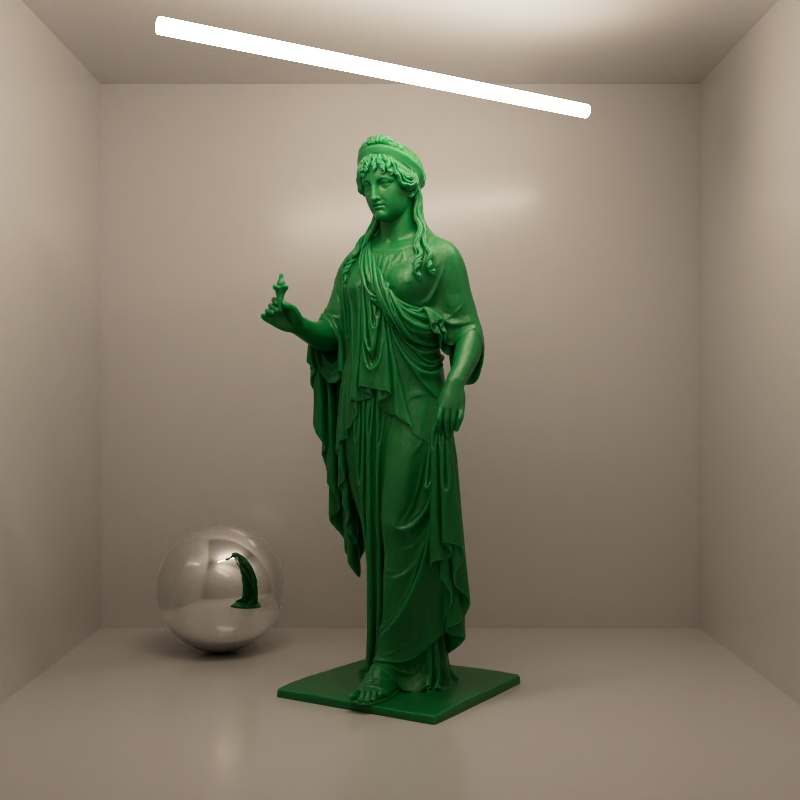
|
|
| Area Shape: Rectangle | Disc | Sphere | Cylinder | Mesh |
Blocks Rays
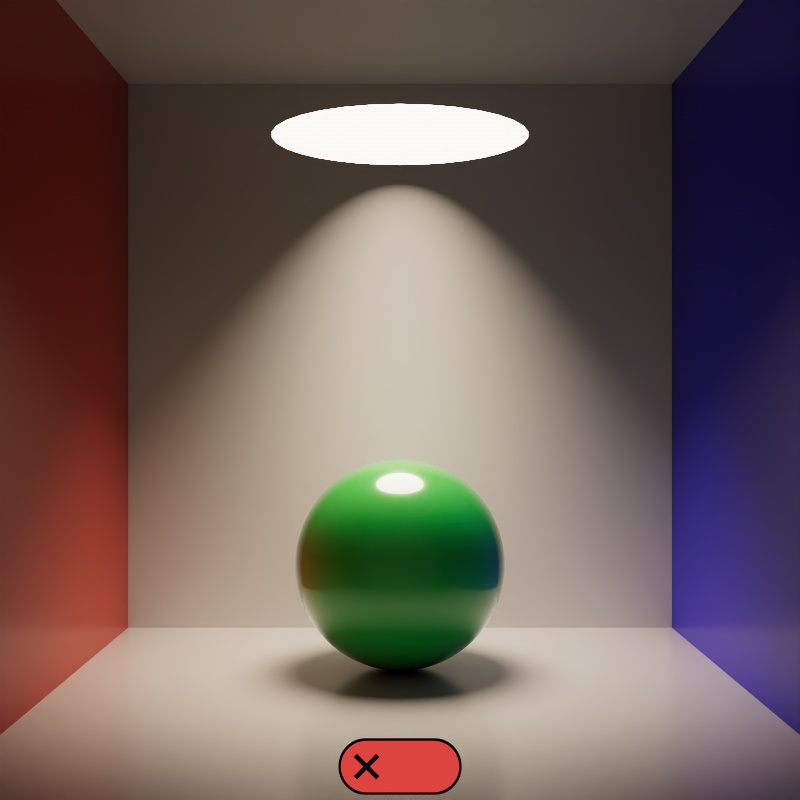
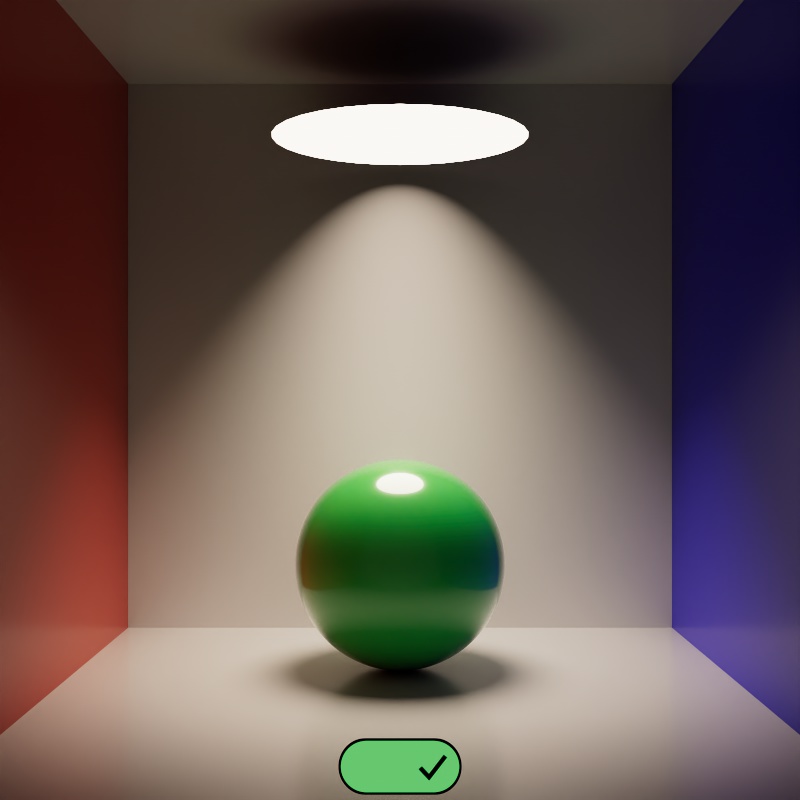
When enabled, a light blocks rays in the same way as a physical object — allowing a light to cast shadows based off of its size and shape. When disabled, by default, a light does not block rays.
Note, this option has no bearing on a lights direct visibility to the camera — visibility is controlled by the Camera slider in the ray contribution section.
In the example below, notice how the light casts a shadow on the ceiling when Block Rays is enabled — this is from global illumination rays being occluded by the light. When disabled, no rays are blocked so bounce lighting fills this area with light.
|
|
| Blocks Rays: Disabled (default) | Enabled |
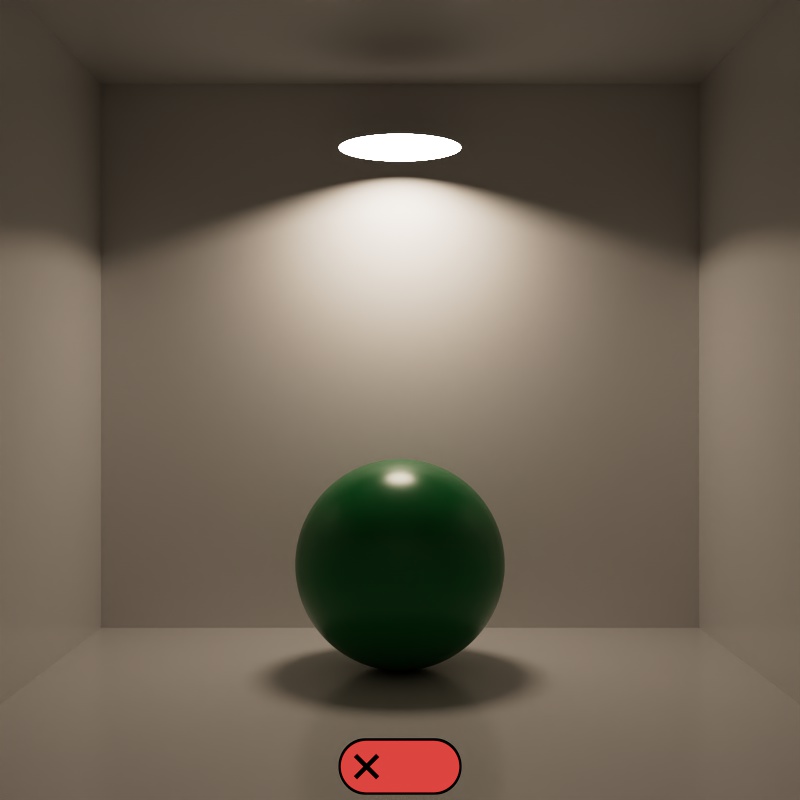
Bi-directional
Only applicable for Rectangle and Disc area shapes.
Enables bi-directional lighting so that light is emitted on both sides of the shape.
|
|
| Bidirectional: Disabled (default) | Enabled |
Spread
Enables directionality control for Rectangle and Disc area lights, similar to a barn door effect or spot light. The lower the Spread, the more the light is concentrated in the direction of the light normal. A Spread value of 1.0 is the default, physically correct lighting behavior, while a value of 0.0 makes the light almost a directional light.
Note that a Spread of 0.0 is close to a fully directional light, but not completely directional. This is due to a mathematical sampling limitation.
At very low spread values the light can visually disappear within a specular highlight.
| Spread: 0 - 1 |
Normalize Intensity
Removes the area of the light from the lighting calculation. Enabling this option prevents the light intensity from changing when the size of the light changes.
| Normalize Intensity: Disabled (default) | Enabled |
Opacity
Only applicable for Area Lights
Controls the base opacity of the area light.
The total light opacity is the result of the opacity value, opacity texture, and an alpha channel (if present and enabled) from the light's color texture multiplied together.
| Opacity: 0 - 1 |
Opacity Texture
Only applicable for Area Lights
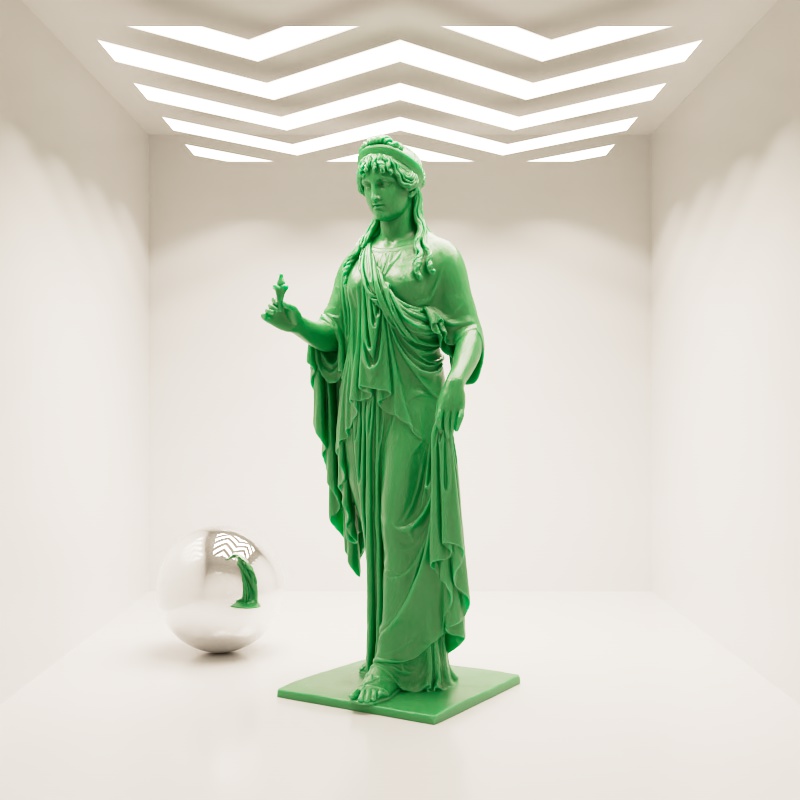
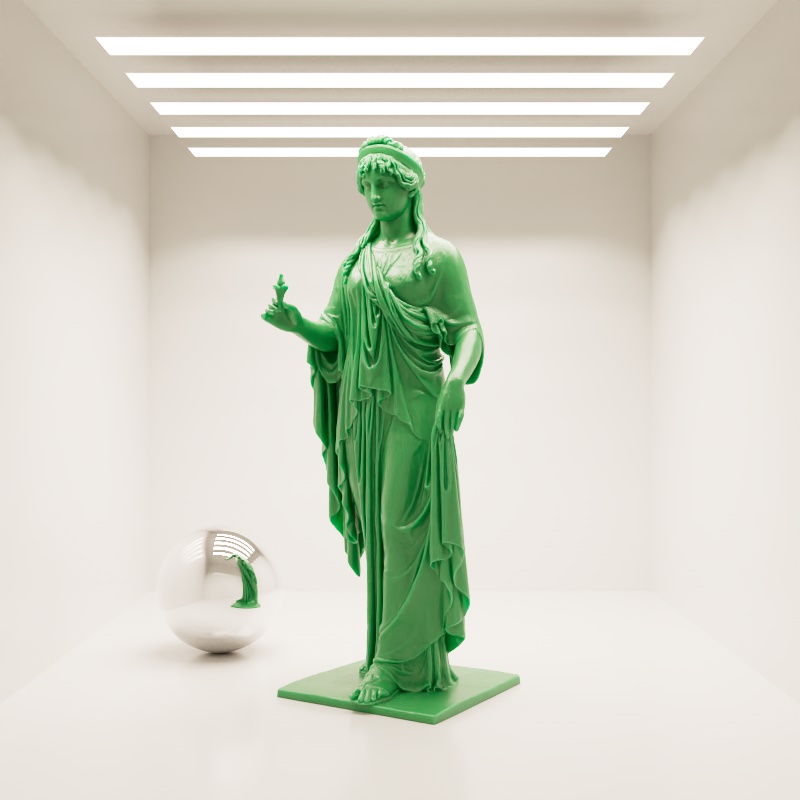
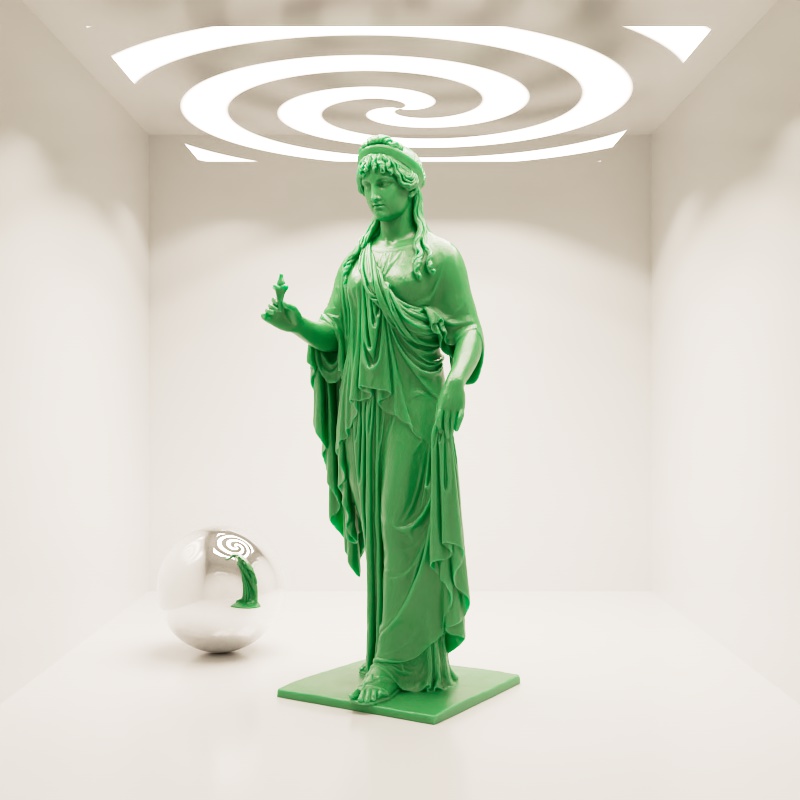
Controls the opacity of an area light from a grey scale texture. Dark colors reduce the opacity while bright colors increase the opacity.
|
|
|
| Opacity Texture: Sawtooth | Lines | Spiral |
Use Alpha from Color Texture
Only applicable for Area Lights
If texture used to control the light's color has an alpha channel, enabling this option will use the alpha channel to control opacity in addition to the opacity options above.
Spot Shape
The parameters below are only relevant to a light set to Spot.
Cone Angle
Specifies the maximum angle of the spot light's cone.
| Cone Angle: 1 - 179° |
Falloff Angle
Specifies the angle over which light falls off at the edge of a spot light cone. Lower values produce a sharper edge while higher values produce a softer edge. What is considered a low or high value is relative to the main Cone Angle because the Falloff Angle only takes effect up to half of the Cone Angle.
In the examples below, note how the Cone Angle limits the effective range of the Falloff Angle. Each example animates the Falloff Angle from 0-180° but only values from 0° up to half of the Cone Angle's range have any impact. For example, when the Cone Angle is 179° the Falloff Angle only affects up to 90°. When the Cone Angle is 90° the Falloff Angle can only affect up to 45° and so on.
| Falloff Angle: 0 - 180° Cone Angle: 179° |
0 - 180° 90° |
0 - 180° 45° |
Falloff Curve
Controls how the light intensity transitions from the Falloff Angle to the Cone Angle. Higher values result in softer transitions while lower values result in a more linear transition.
| Falloff Curve 0 - 10 |
Shadow

|
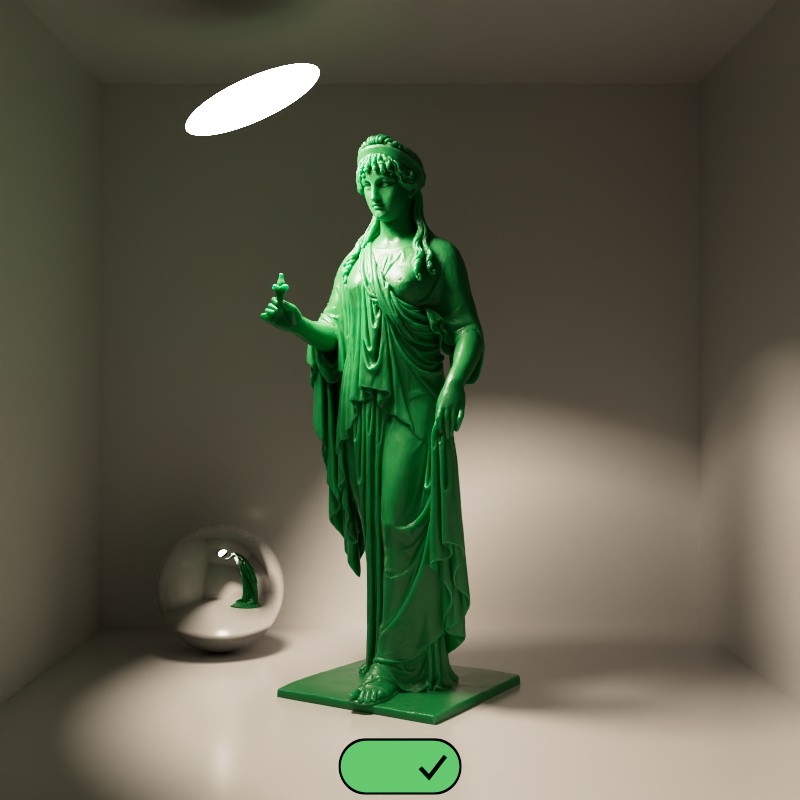
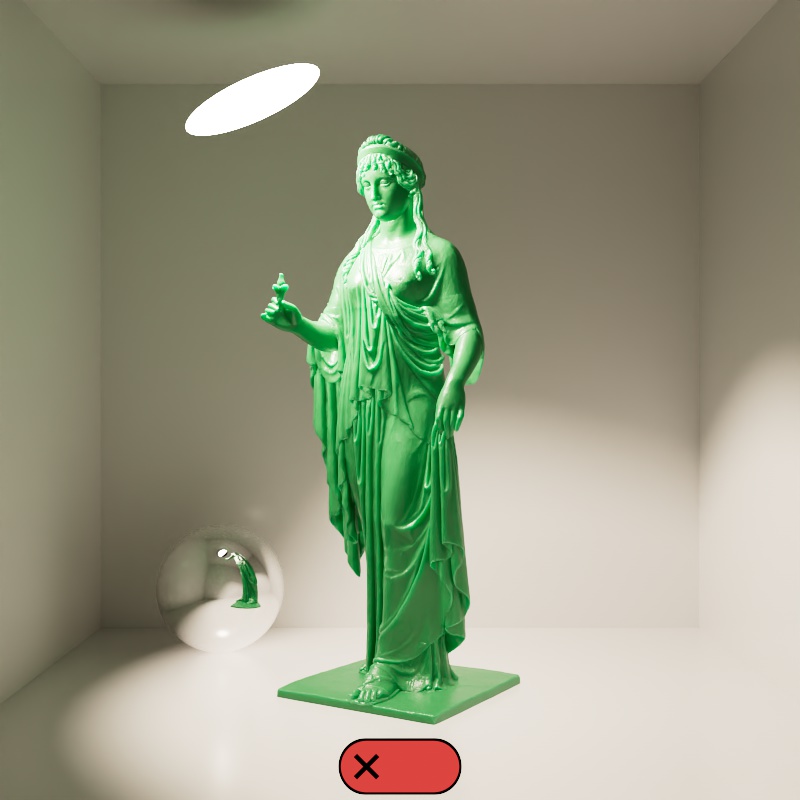
Cast Shadow
Enable or disable shadow casting.
|
|
| Cast Shadows: Enabled (default) | Disabled |
Transparency
Specifies the transparency of the shadows cast by the light.
A value of 0, by default, results in a completely opaque shadow up to a value of 1 where the shadow is completely transparent.
| Shadow Transparency: 0 - 1 |
Softness
Specifies edge softness for non-area light shadows. A value of 0 means no softness and will yield sharp shadows. Values above 0 will produce softer shadow edges.
Only available for Point, Spot, Directional, and IES lights. (Lights with no area)
The shadow softness of an Area light is controlled by the light's size itself.
| Shadow Softness: 0 - 1 |
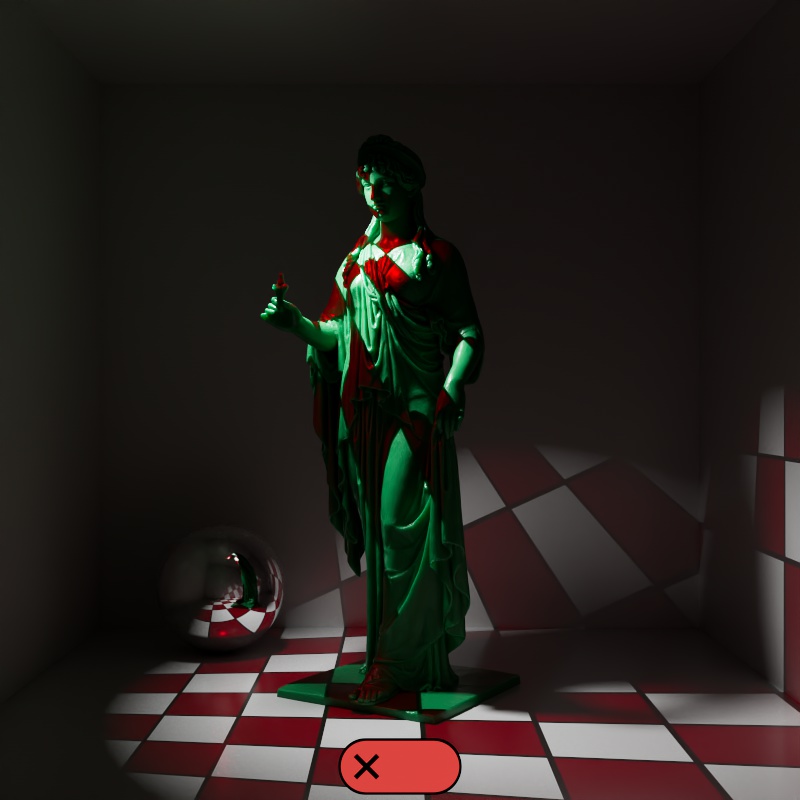
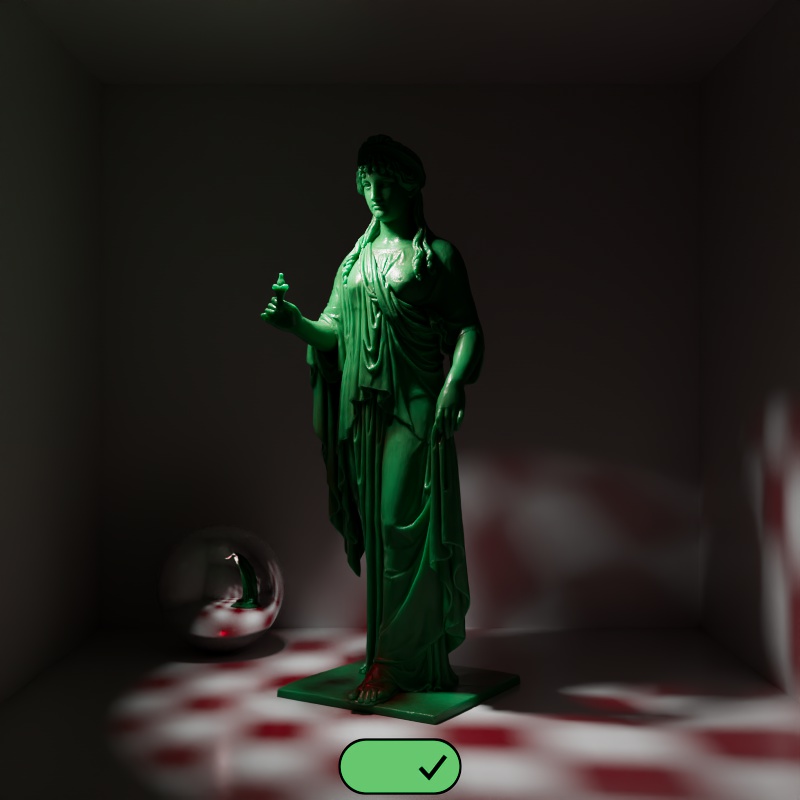
Softness Affects Gobo
When enabled, Shadow Softness affects the sharpness of the projection when a texture is used as the light color. When Shadow Softness is high then the texture projection is blurrier. When disabled, Shadow Softness has no effect on the texture.
Softness Affects Gobo is only available for non-Area Physical lights and IES lights.
|
|
| Softness Affects Gobo: Disabled (default) | Enabled |
Light Group

|
AOV Light Group
This is the name of the AOV light group this light is associated with.
For more information on Light Groups and how to set them up and use them please see here.
Contribution

|
Matte Shadow Illuminator
Specifies whether the light can illuminate 'Matte Shadow' surfaces (see Matte Shadow Catcher shader).
Matte Shadow Illuminator is only available for Redshift Physical and Redshift IES lights.
Affected by Refraction
This option allows you to control how specular reflections are affected by rough/refractive objects that block the light and whether or not the light rays bend as they pass through. Prior to 2.6.10 this option was not available and the light rays would never bend. Specular ray bending is an important effect for rendering realistic-looking glass and lenses.
- Never - Specular rays do not bend. This is the legacy lighting behavior.
- Auto - Specular rays bend through refractions if they are not too rough and bias towards not bending if they are rough.
- Always - Specular rays bend through refractions regardless of ray roughness.
This effect is available only for area lights and dome lights. Spot and IES lights can not be seen through bent rays because their source is infinitesimally small.
Care must be taken when using 'Always', as this can disable Multiple Importance Sampling, which is a crucial technique for getting clean renders for rough surfaces.
Light/Shadow linking is not available for specular rays that have been bent.
GI Max Trace Depth
This option lets you override the maximum trace depth for GI rays on a per-light basis.
Light Sampling Parameters
The following parameters are only visible and relevant when Automatic Sampling is disabled.

|
Light Samples
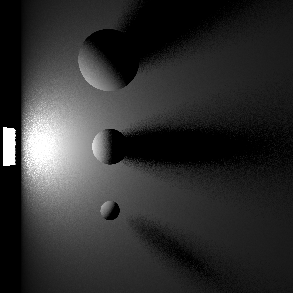
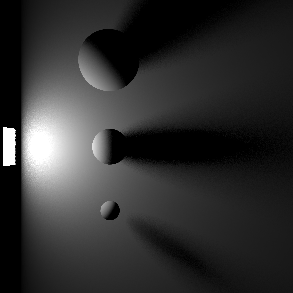
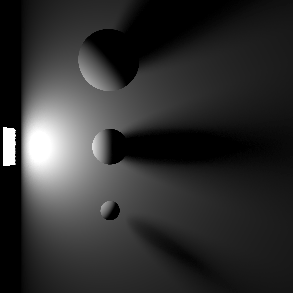
Specifies the number of ray samples to use for the light. Higher sample values will produce smoother lighting and shadows. Generally, the larger and more intense a light is, the more samples it needs to produce noise-free results.
Sampling values can range anywhere from smaller numbers like 32 to 4096 or higher all depending on your scene and lights. Values like 4096 or higher will not necessarily lead to the kind of slow-down you may be used to in other renders so don't hesitate to prioritize image quality and push this value until your scene looks smooth enough. For more information, see the Unified Sampling page.
|
|
|
| Samples: 2 | 16 | 128 |
Volume Samples
Specifies the number of ray samples for the light to use for volume shading. Higher sample values will result in less volume noise.
Contribution Scale Parameters

|
The contribution parameters covered below control how much a light is able to affect each shading component. The ability to control the intensity of each component offers creative flexibility, each can be raised or lowered and even completely disabled.
For physically correct results all contribution values should be left at 1 so the contribution of each shading component is equal and it matches a light's overall intensity. A value of 1 is indicated by a blue pole at the center of the bar in the examples below, when the bar is to the left of the pole then the output is lower than physically accurate and when the bar is to the right the output is greater than physically accurate.
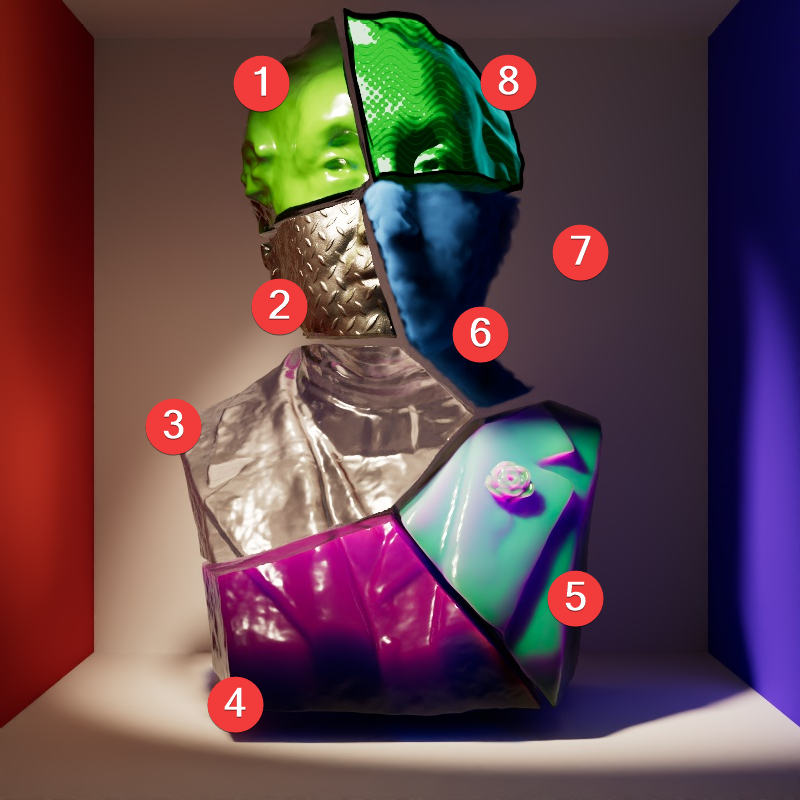
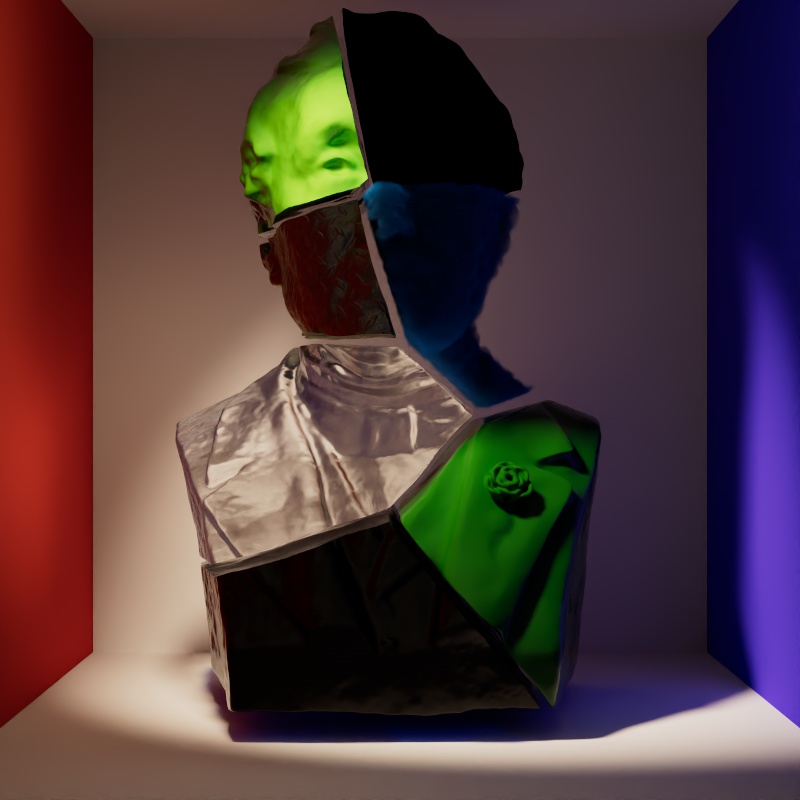
The example scene in this section features a Cornell Box with a bust from Three D Scans that is separated into pieces with different materials to illustrate the impact a light has on each shading component. The components and materials used in the scene are:
-
Camera: An additional light used to demonstrate camera visibility and transmissive effects where relevant.
-
This light uses an HDRI texture from AmbientCG.com.
-
-
Diffuse: A green Standard material with reflections.
-
Reflection: A fully metallic Standard material with diamond plate bump mapping and no diffuse component.
-
Transmission: A fully transmissive Standard material with reflections.
-
Single Scattering: A pink transmissive Standard material with single scattering and reflections.
-
Multiple Scattering: A teal sub surface scattering Standard material with reflections and a very subtle diffuse component.
-
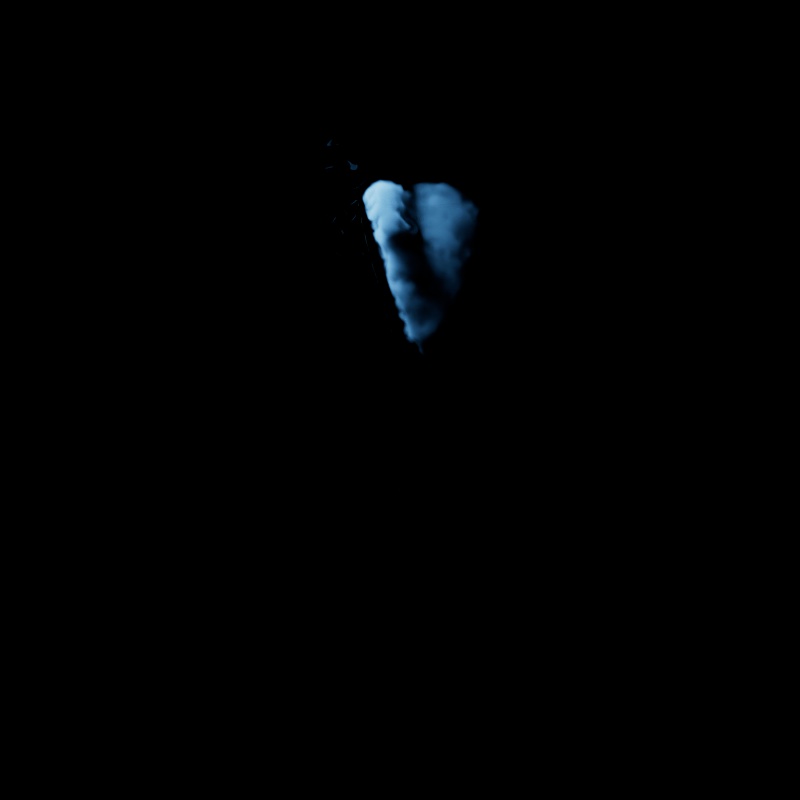
Volume: A blue Standard Volume material with no emission.
-
Global Illumination: The Cornell box demonstrates bounce lighting in shadow regions where no direct lighting is cast.
-
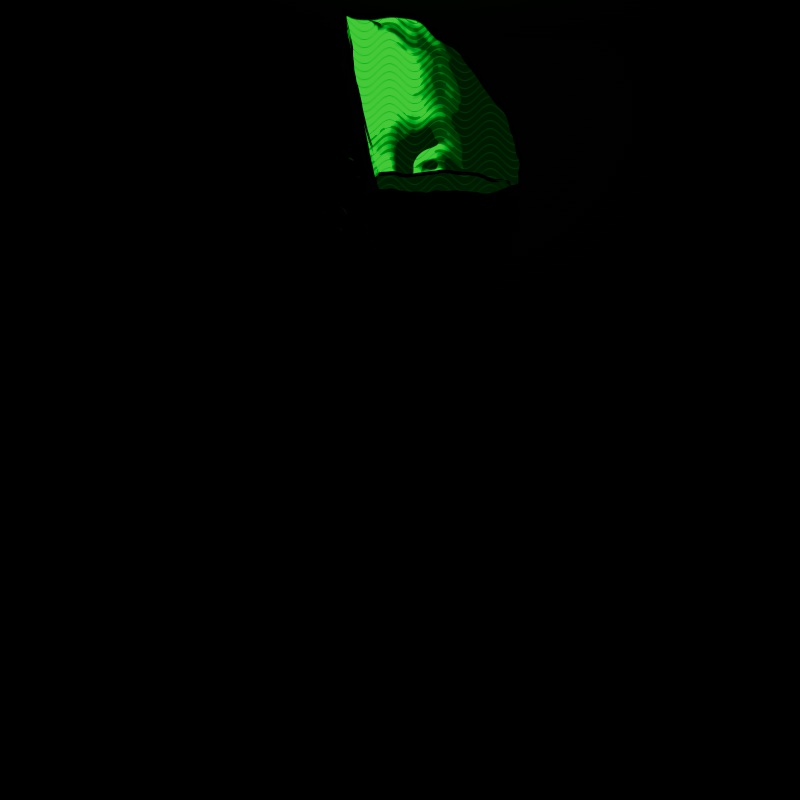
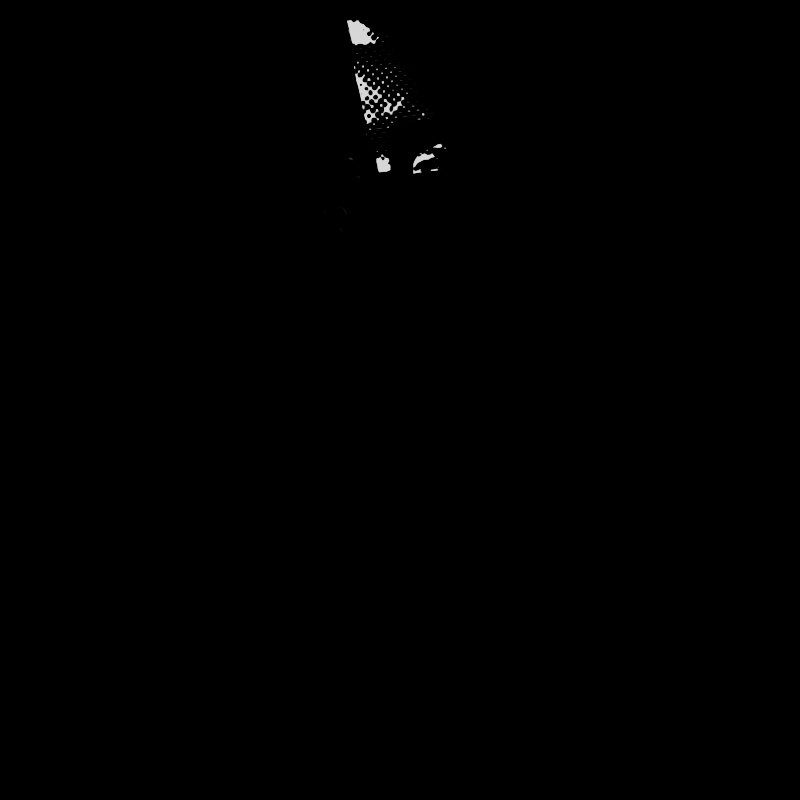
Toon Diffuse, Toon Reflection, Toon Rim: A toon material with a green diffuse component and a sine wave pattern, a white reflection component with a half tone dot pattern, and a light blue rim component.
|
| Contribution Sections |
Camera
Only available for area lights and dome lights.
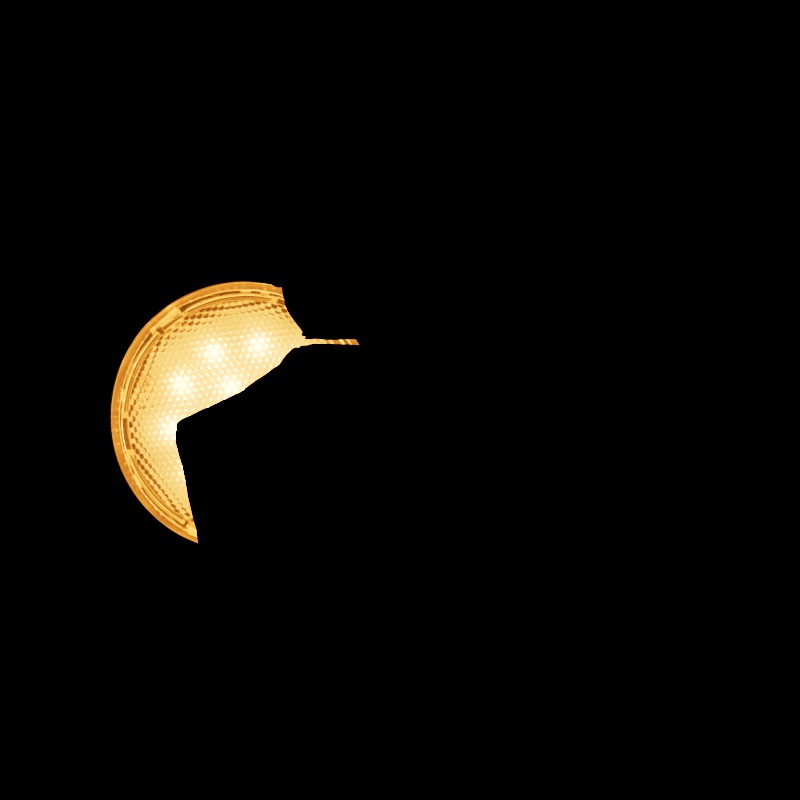
Scales the visibility of the light to camera rays. Lower values dim the visible appearance of the light to the camera while higher values make the light appear brighter. A value of 0 makes the light appear invisible to the camera.
Note that this does not affect the contribution of a light on any materials or objects in the scene, it only affects the direct visibility to the camera.
|
||
| Camera: 0 - 2 Other Contribution Types: 1 Blocked Rays: Enabled |
Camera: 0 - 2 Other Contribution Types: 1 Blocked Rays: Disabled |
1 0 (Isolated for Reference) |
Diffuse
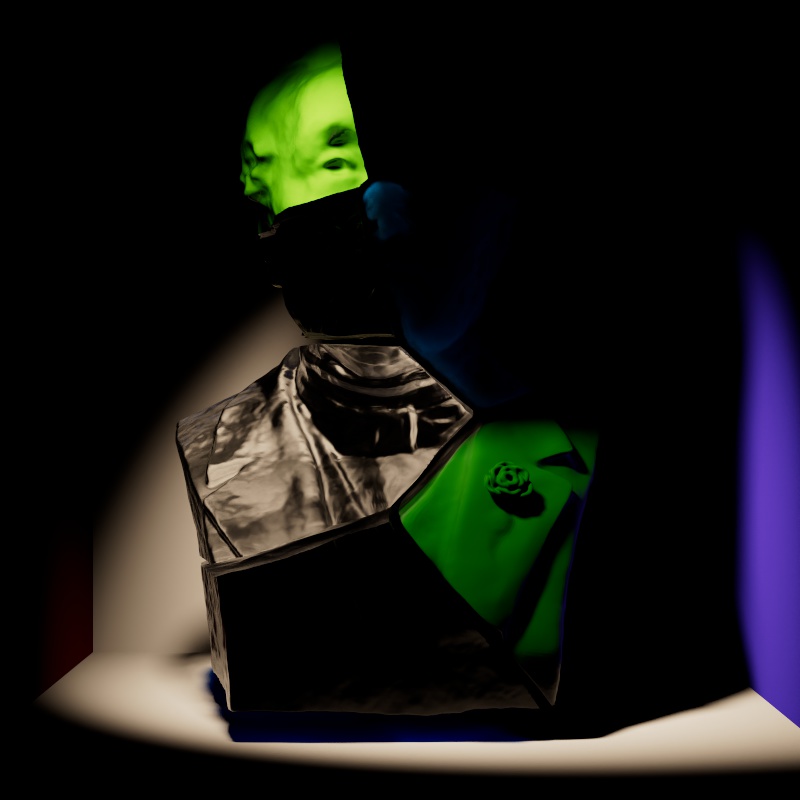
Scales the intensity of light for diffuse shading. Diffuse shading is generally responsible for the base color shading of most materials.
Note that this affects global illumination intensity as well.
|
|
| Diffuse: 0 - 2 Other Contribution Types: 1 |
1 0 (Isolated for Reference with GI disabled) |
Reflection
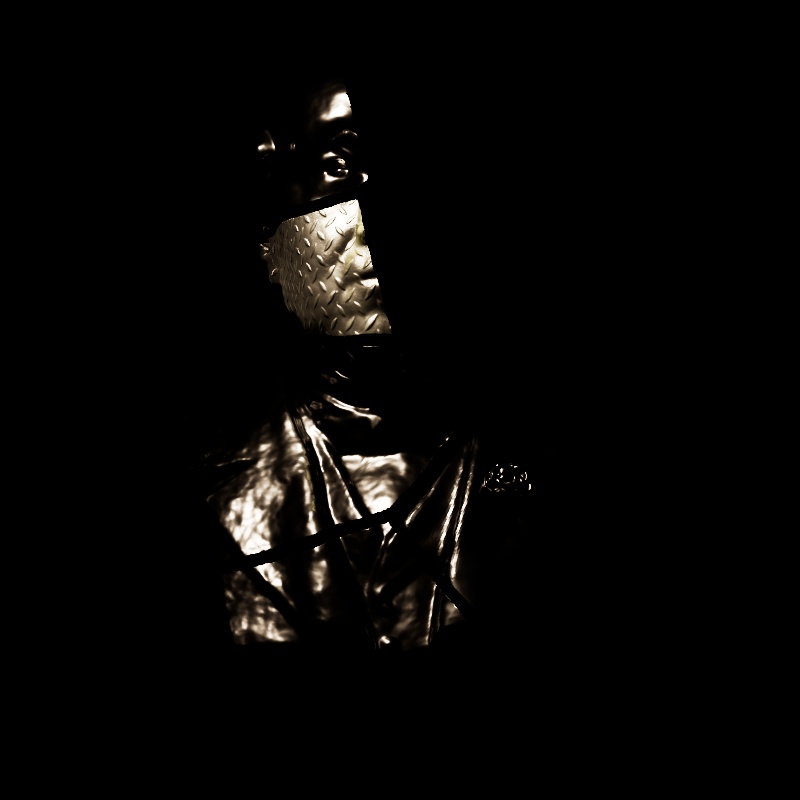
Scales the intensity of light for specular reflections, the direct reflections of a light source.
Note that reflections of other objects are still seen in reflective materials even with a reflection contribution value of 0. In the example below, the metallic material with diamond plating is mostly heavily affected because it has no other shading component besides reflection, however, the specular highlights on the diffuse material, transmissive material, single scattering material, and multiple subsurface scattering material are affected as well.
|
|
| Reflection: 0 - 2 Other Contribution Types: 1 |
1 0 (Isolated for Reference) |
Transmission
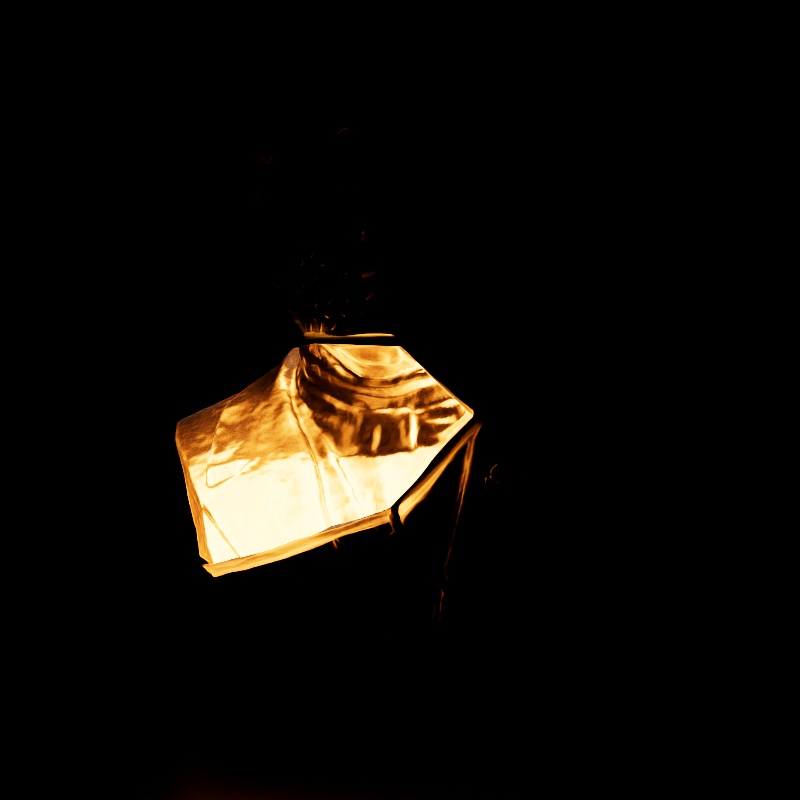
Scales the intensity of a light as seen through a transmissive / refractive material. This can be thought of as the visibility of a light in a transmissive material.
|
||
| Transmission: 0 - 2 Other Contribution Types: 1 Block Rays: Enabled |
0 - 2 1 Disabled |
1 0 (Isolated for Reference) |
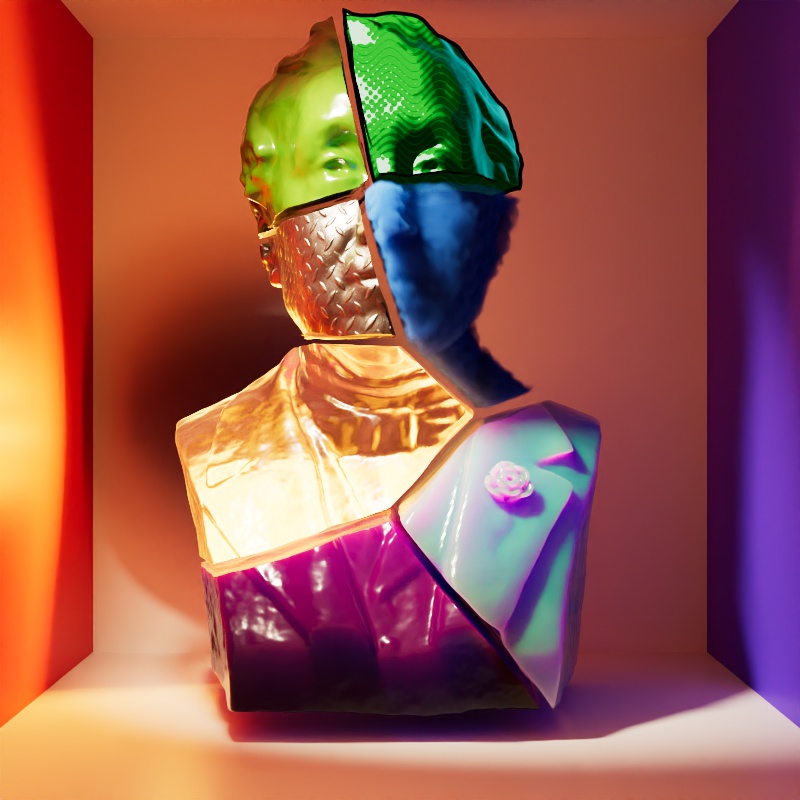
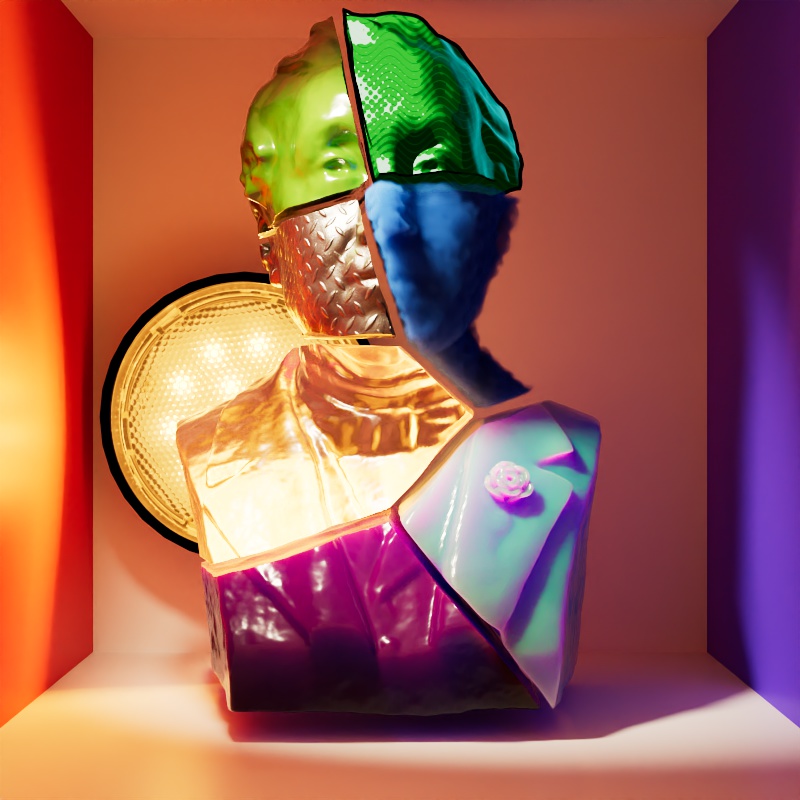
Note that a light can be visible in transmissive materials even when the Camera contribution is set to 0 — making the light appear invisible to the camera but still visible in transmissive materials. In this example the light has Block Rays enabled so the light casts shadows even when Camera is set to 0.
|
|
| Transmission: 1 Camera: 0 |
1 1 |
Single Scattering
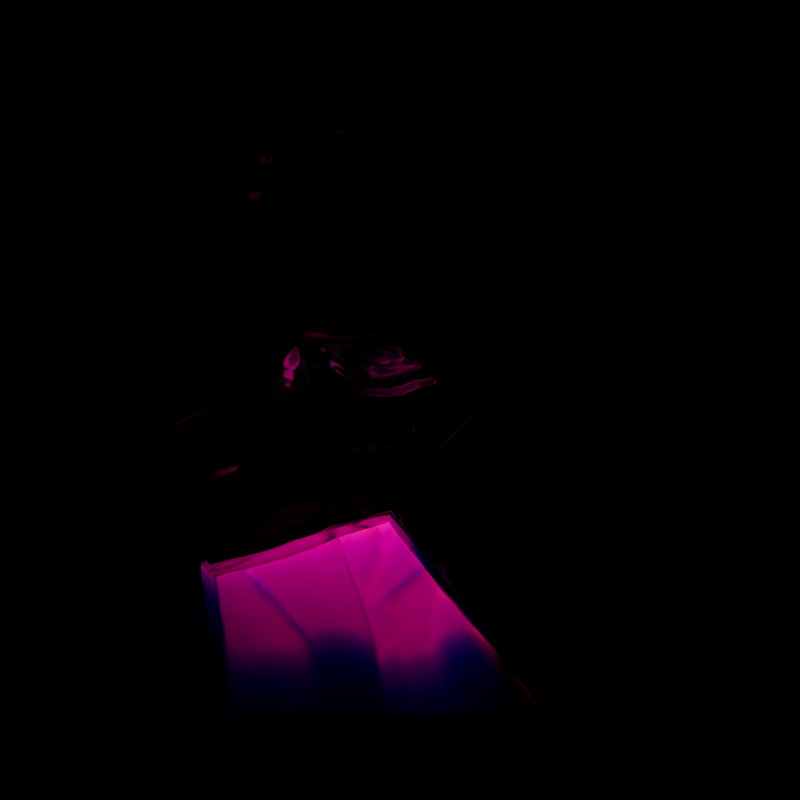
Scales the intensity of light for single scattering. Single scattering simulates microscopic particulate suspended in a medium and is part of the Transmission controls of a Standard Material — this is similar to multiple subsurface scattering but is better suited to thinner volumes.
|
|
| Single Scattering: 0 - 2 Other Contribution Types: 1 |
1 0 (Isolated for Reference) |
Multiple Scattering
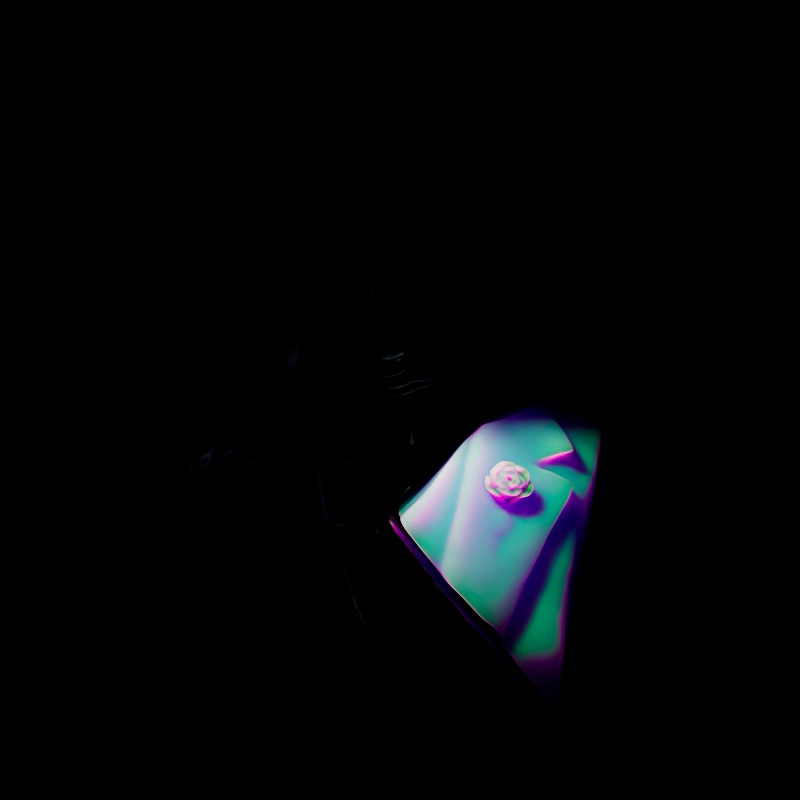
Scales the intensity of the light when seen through sub-surface multiple scattered materials.
|
|
| Multiple Scattering: 0 - 2 Other Contribution Types: 1 |
1 0 (Isolated for Reference) |
Global Illumination
Scales the intensity of a light's global illumination contribution.
Global Illumination requires Diffuse contribution, this is because global illumination simulates the secondary bounces that only occur after the first bounce of light which is what diffuse contribution represents.
|
|
| Global Illumination: 0 - 2 Diffuse: 1 Other Contribution Types: 1 |
1 1 0 (Isolated for Reference) |
Volume
Scales the intensity of a light's volume contribution, this affects the scattering component of a volume material and environmental fog. A value of 0 disables volume contribution.
In the example below, a blue volume is illuminated by the light and the scene is demoed with and without environment fog.
|
||
| Volume: 0 - 2 Other Contribution Types: 1 Without Environment Fog |
1 0 (Isolated for Reference) |
0 - 2 1 With Environment Fog |
Toon Diffuse
Scales the intensity of a light's Toon Diffuse contribution. A value of 0 disables the effect.
|
|
| Toon Diffuse: 0 - 2 1 |
1 0 (Isolated for Reference) |
Toon Reflection
Scales the intensity of a light's Toon Reflection contribution. A value of 0 disables the effect.
|
|
| Toon Reflection: 0 - 2 Other Contribution Types: 1 |
1 0 (Isolated for Reference) |
Toon Rim
Only available for point, spot, and infinite lights.
Scales the intensity of a light's Toon Rim contribution. A value of 0 disables the effect.
|
|
| Toon Rim: 0 - 2 Other Contribution Types: 1 |
1 0 (Isolated for Reference) |
Caustics

|
Casts Caustics
By default, all Redshift lights start in a Casts Caustics mode called "Render Settings". In this mode, a light's caustic capabilities are controlled by the "Light Casts Caustics" parameter found in the Caustics tab of the Render Settings. This allows you to easily control all lights in a scene from the Render Settings, making caustics much more simple to set up and control.
When Casts Caustics is set to "Render Settings" the default behavior of lights is:
- The light cast caustics
- Override Refraction Shadows is enabled
When Casts Caustics is set to "On":
- The light casts caustics
- Override Refraction Shadows is enabled by default but can be manually disabled.
When Casts Caustics is set to "Off":
- The light does not cast caustics
- Override Refraction Shadows is disabled
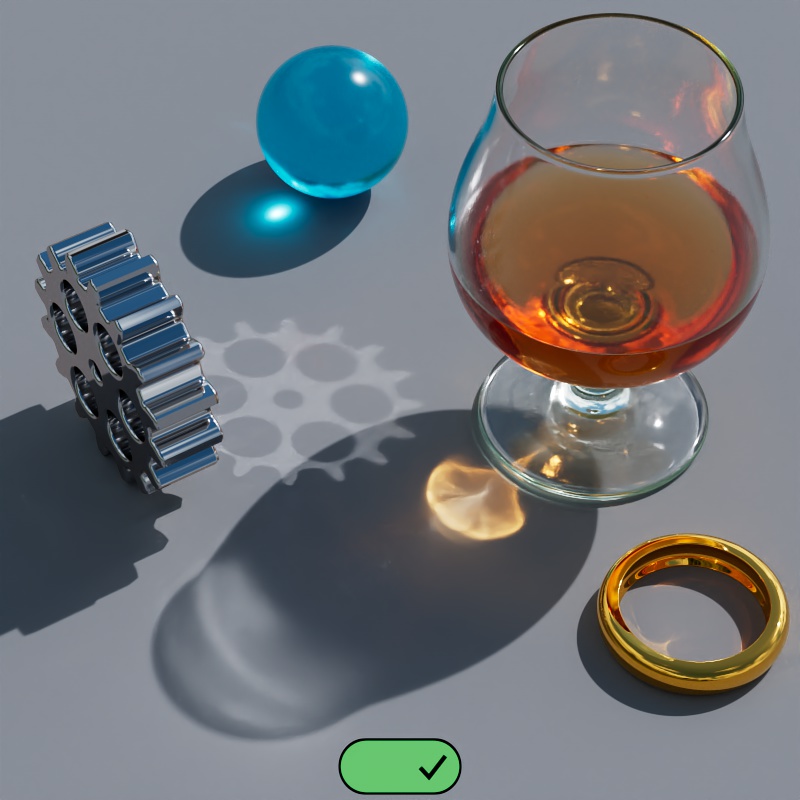
|
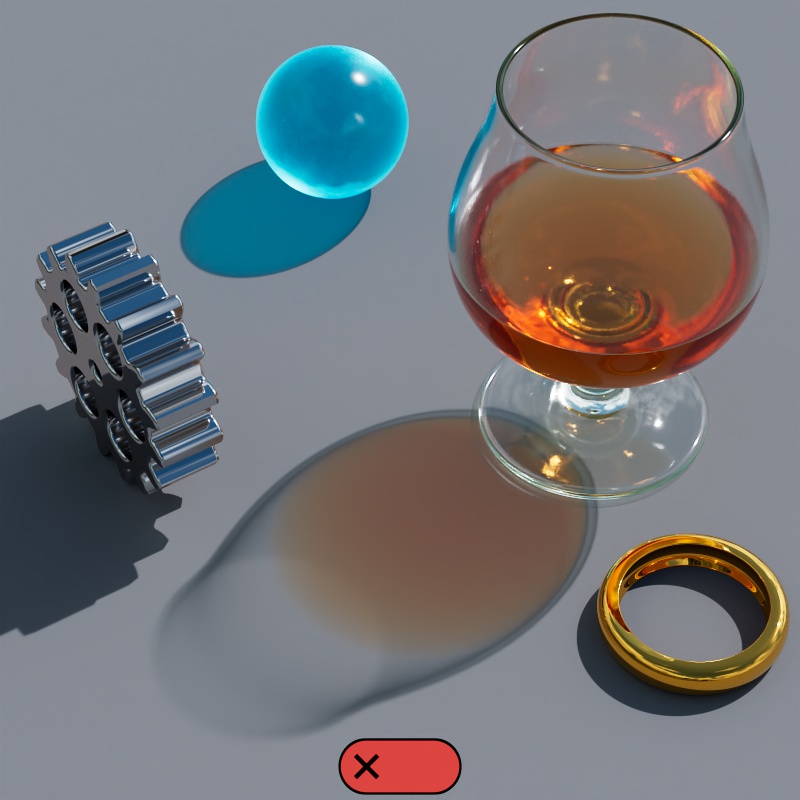
|
| Casts Caustics: On | Off |
Override Refraction Shadows
Only editable when Casts Caustic is set to "On."
Casts Refraction Caustics must be enabled on an object for this option to have any effect.
When enabled, Transmission Shadow Opacity is set to 1 for Standard Materials that are lit by any light with this option enabled. This ensures that a transmissive object's shadow is appropriately dark so that it can be lit up by the more realistic caustics.
Intensity
Controls the brightness of the caustics as a multiplier relative to the intensity of the light. For the most realistic look use a value of 1 for caustics that match the intensity of the light. Increasing this value results in brighter caustics. A value of 0 can be used to effectively disable caustics for the light but Override Refraction Shadows will remain in effect, resulting in opaque shadows for transmissive materials.
Photon Multiplier
Controls the number of photons cast for the light. This is determined by multiplying the Photon Multiplier value by the "Num Photons" value found in the Photon Caustics Render Settings.
For example, if Num Photons is 10,000 and the Photon Multiplier is set to 1.5 then the light will cast 15,000 photons. If the Photon Multiplier were set to 3 then it would cast 30,000 photons.
Legacy

|
Non-Area Light Intensity
This option is only relevant for Point, Spot and Infinite light types.
Non-Area Light Intensity activates a previous calculation method for these lights to preserve the look of older scenes. For new lights this option is disabled by default.
Soft Shadow Technique
This parameter is only relevant for Point, Spot, Infinite, IES and Physical Sun light types.
When enabled a previous calculation method for shadows will be used to preserve the look of older scenes. For new lights this option is disabled by default.
Project
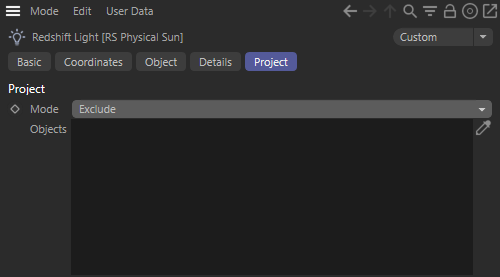 |
In this tab, light link relationships can be made with objects in the scene.
For more information please see the Light and Shadow Linking tutorial.
Mode
Specifies whether the objects in the list should be excluding or included with respect to the light settings.
Objects
The list of objects that should be affected (in Include Mode) or not affected (in Exclude mode). For each object in the list the light behavior can modified to receive light, receive shadows, and to affect the object's children.