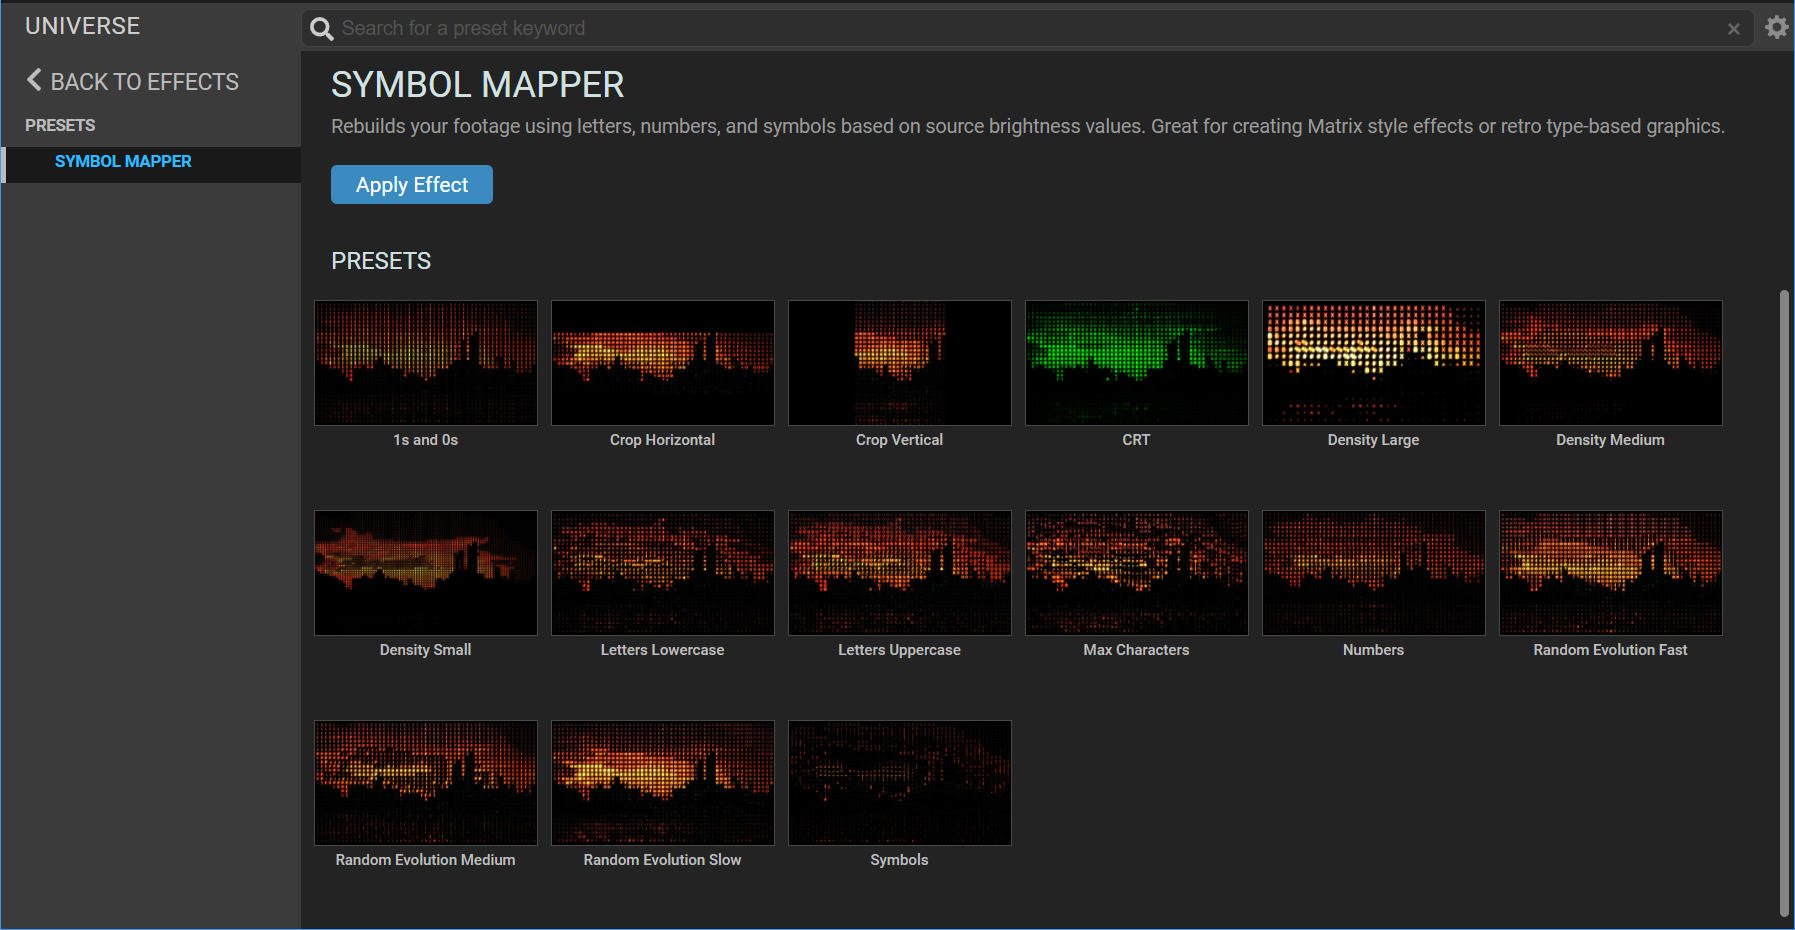
Symbol Mapper: Main UI
From your host application (we’ll illustrate with Adobe After Effects), drag Symbol Mapper (located under AE’s Effects & Presets > RG Motion Graphics > uni.Symbol Mapper) onto your clip. The following user interface will appear under the Effect Controls tab in the ECP.
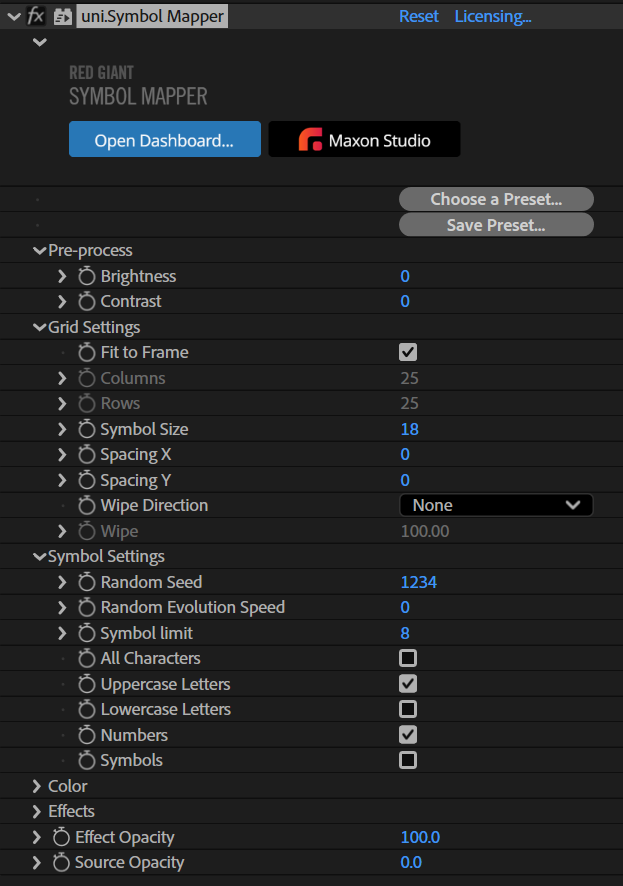
The big, blue Open Dashboard… button looks like it might open a highly graphical alternate UI, as is the case in other Maxon titles, and it could be confusing if this is what you expect. In fact, the button spawns the Red Giant Universe Dashboard, from which you can easily choose from other Universe effects. This is a different way of accessing the same items you can find in the Effects & Presets panel. It’s handy, but it’s not really part of our Symbol Mapper discussion.
Alonside the Open Dashboard... button, find the Maxon Studio button, a one-click shortcut for putting the power and design convenience of Maxon Studio alongside your Symbol Mapper workflow.
And the convenience just never stops, because you can also click the Choose a Preset... button. As shown below, Symbol Mapper ships with 15 different presets. Apply any of these to apply a certain look, or flip between then and observe their settings to learn how different parameter settings yield different results. If you arrive at a certain Symbol Mapper look you want to freeze for later, click Save Preset... to add your creation to the presets list.