
LOGO MOTION
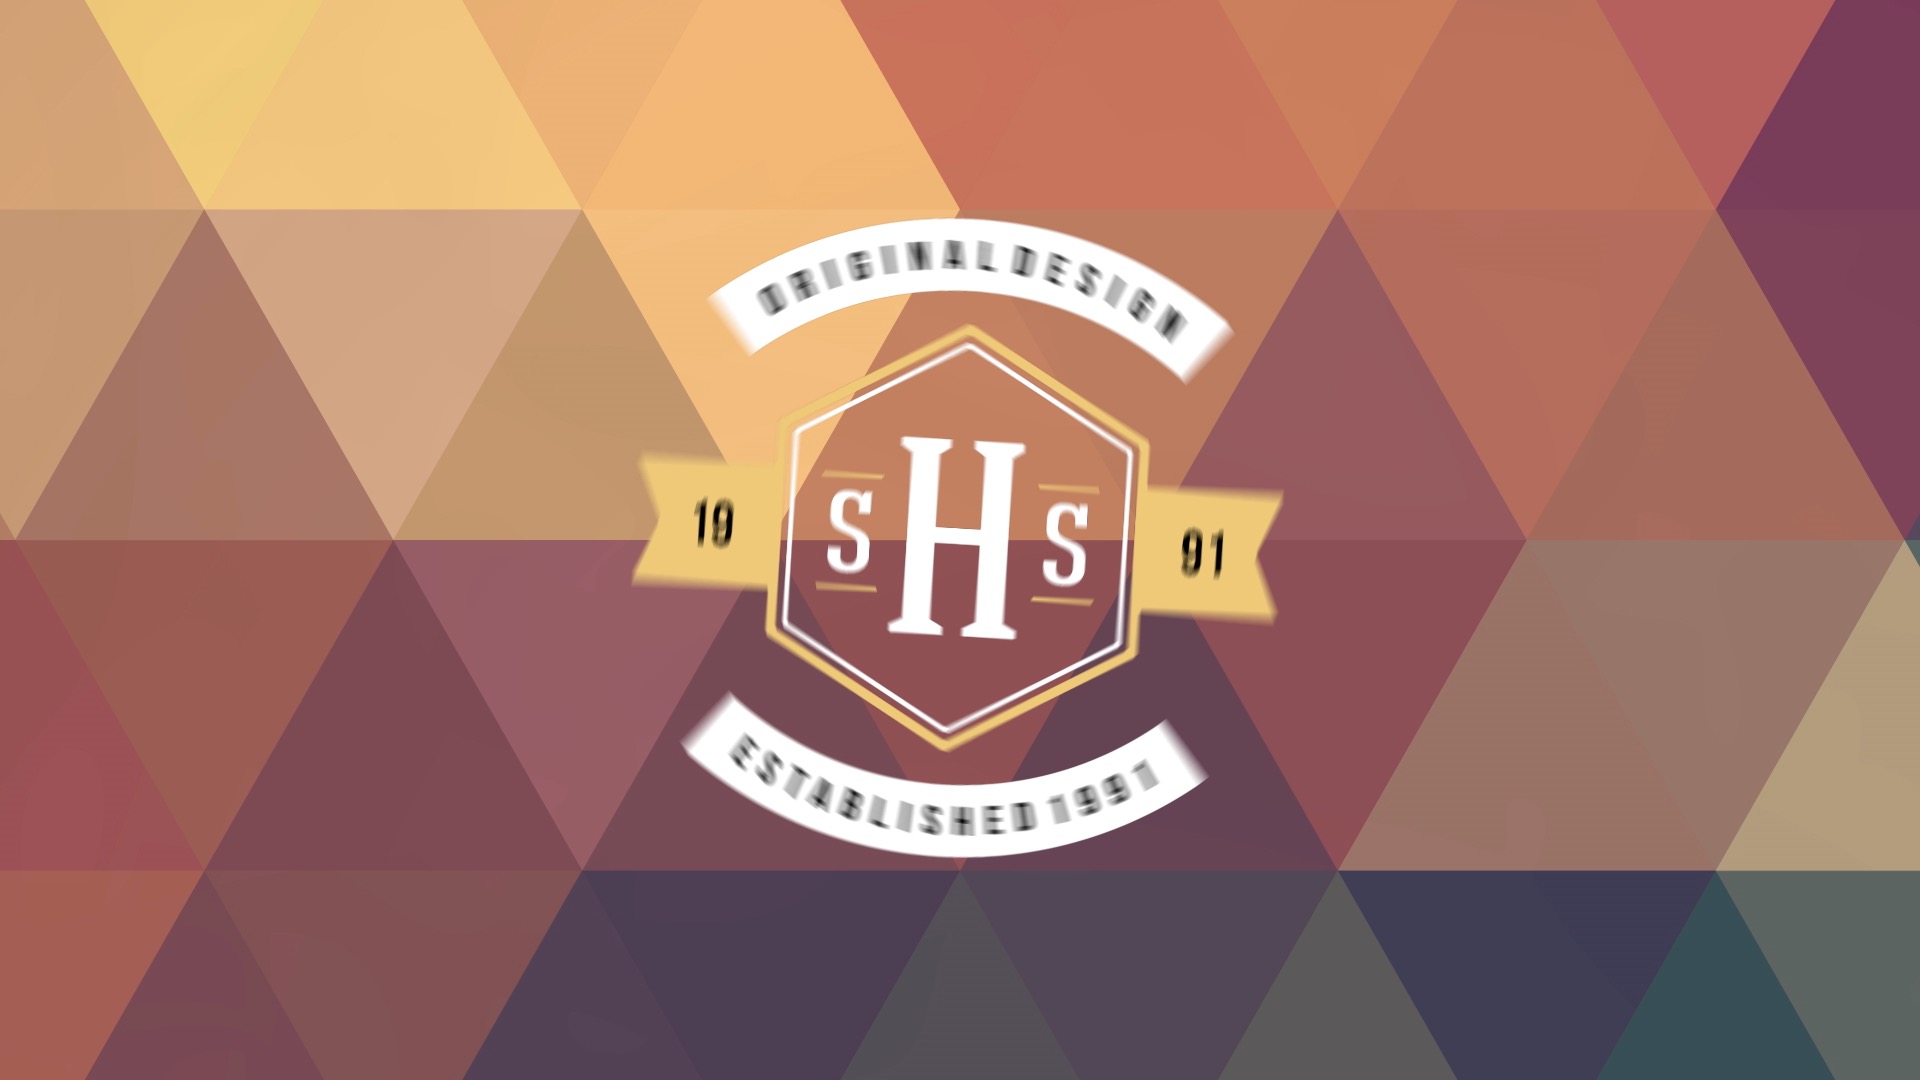
Instantly add dynamic animations that bring your text and logos to life.
Special Notes
- Source. If you want the effect to work on a different video layer, or on the current video layer without any other effects applied, you can choose the layer name in the Source drop-down. If left at the default (None), Logo Motion will move the current layer, including any other effects applied to it.
- By default, the animation is set to Enter Exit Left for the clip length.
- Best Practice Reminder: Because Logo Motion animates graphic files that tend to be smaller than the composition size, you may encounter situations in which the edges of your logo clip off as the tool animates the image. (See first example, below.)
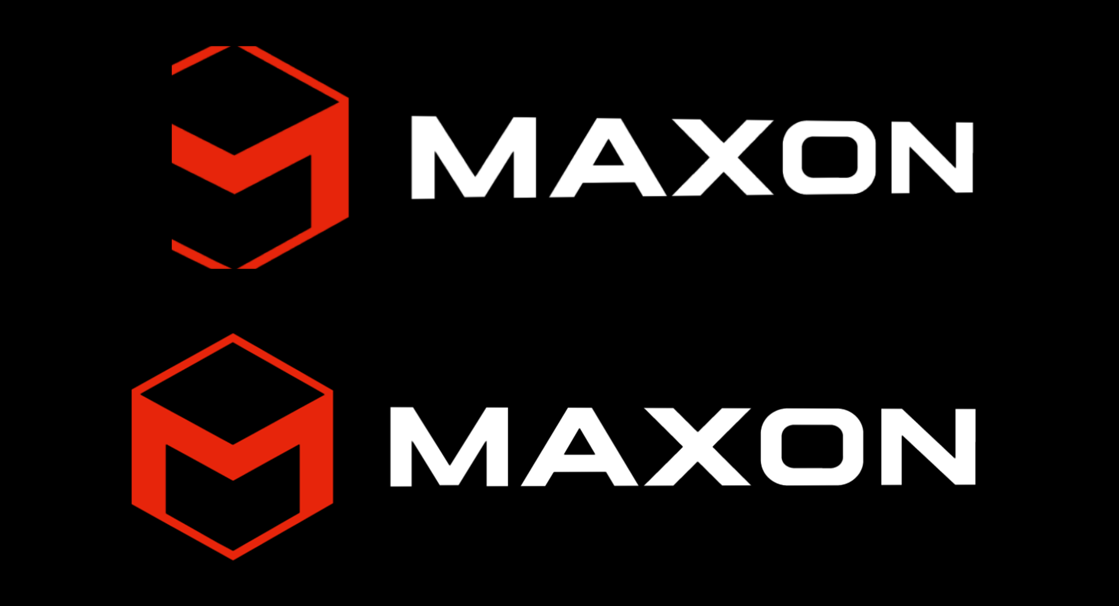
To eliminate this clipping, pre-compose the logo. In After Effects, you would select the "Move all attributes into the new composition" option. Now, wobbles, pivots, and other motions won't cut off the logo edges that would otherwise be cropped due to the logo's dimension limitations. - Finally, if you'd enjoy a few minutes of comprehensive video overview on Logo Motion, look no further than our own tutorial waiting for you on our Cineversity site.
Presets
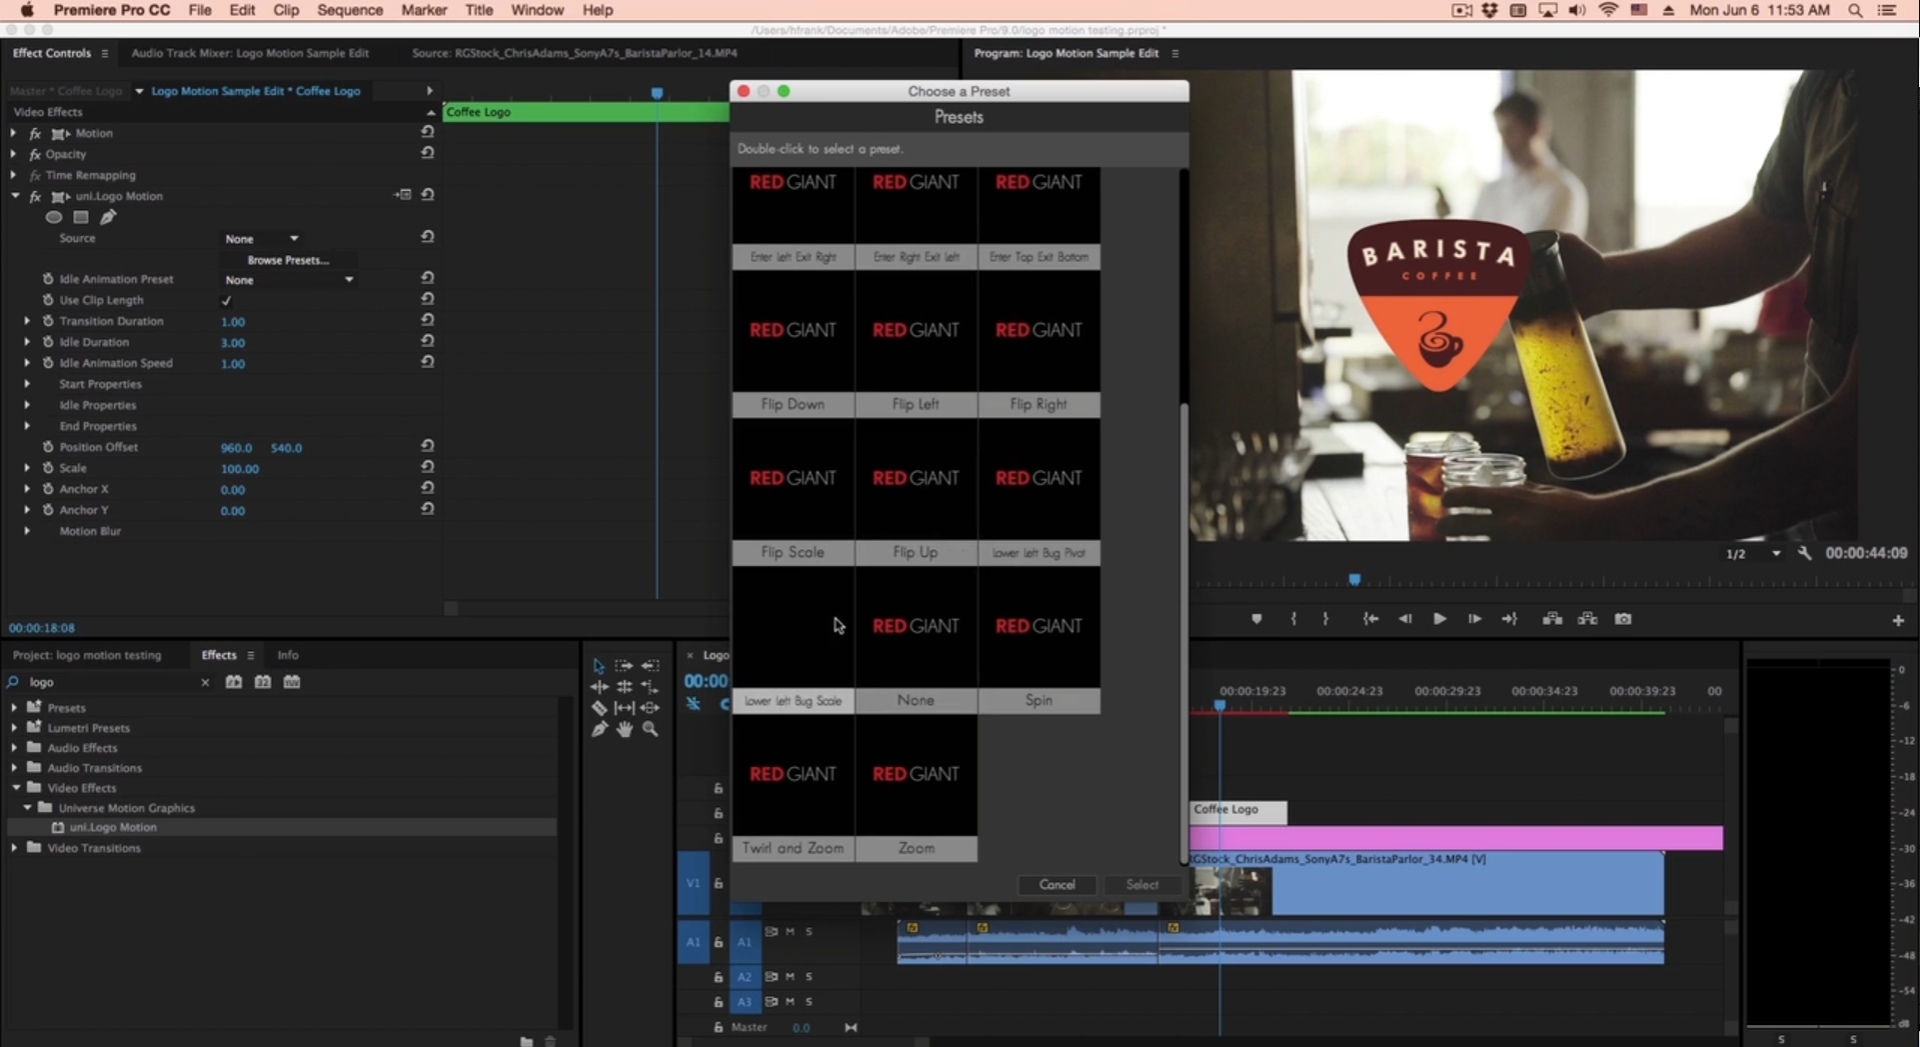
Logo Motion delivers a host of presets to get your graphics animated in seconds. Then, if you like, just tweak the parameters to taste. Find our presets via the blue Open Dashboard... button or the Choose a Preset... button below it.
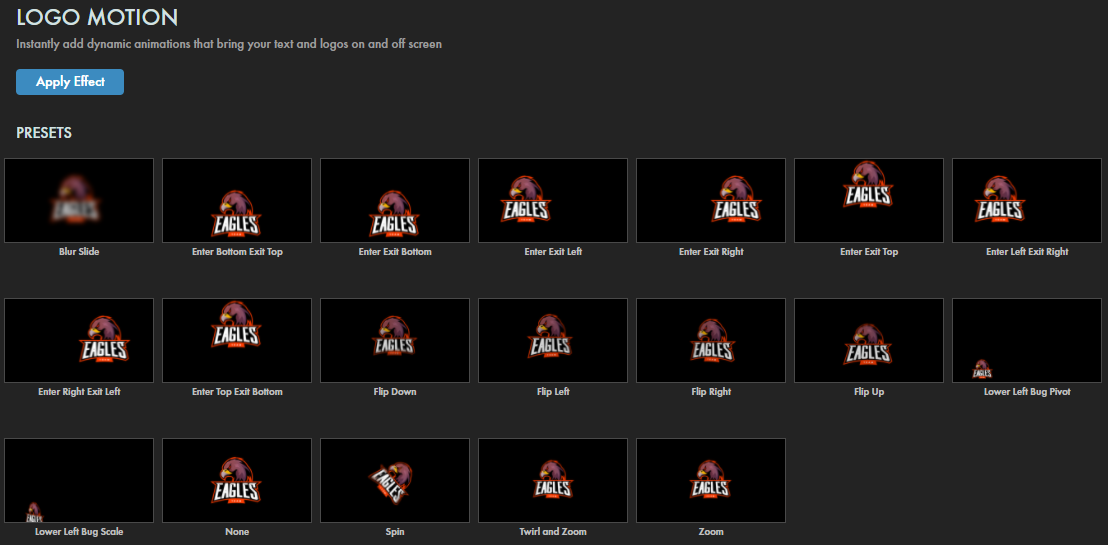
As with all other Universe tools, you can modify or create a Logo Motion look and then save it under its own name by pressing the Save Preset... button.
Modify the Animation
-
Idle Animation Preset.
In simple terms, you can think of a Logo Motion effect dividing into three phases: entrance (when the logo enters into the comp), idle (when the logo pauses to be seen), and exit (when the logo exits the comp or moves to its final resting position). The Dashboard presets govern entrance and exit, but Idle Animation Preset options control what happens during the idle phase. Choose from six idle animation options: Springy, Springy Fast, Wobble X/Y, Pivot Y, Pivot Z, or Hover. Modify the idle animation duration with Idle Animation Speed (see below).
The first of the two clips above uses the Enter Bottom Exit Top Dashboard preset with no Idle Animation Preset. The second adds the Wobble X/Y Idle Animation Preset. - Use Clip Length sets the animation to the length of your clip.
- Refresh Length. (After Effects only) If you change the length of the clip in your composition, you will need to click this button to update the animation for the new length.
- Transition Duration controls the length of time in seconds for the transition duration (the span from entrance to exit).
- Idle Duration sets the length of time in seconds of the idle phase between entrance and exit. Make sure your Transition and Idle Durations fit within your total cycle time. (In other words, don't have a five-second Idle Duration if you're using a four-second clip length.)
- Idle Animation Speed establishes the number of seconds for the duration of the animation set in the Idle Animation Preset (above).
Start Properties
Adjust the following properties for the transition's start.
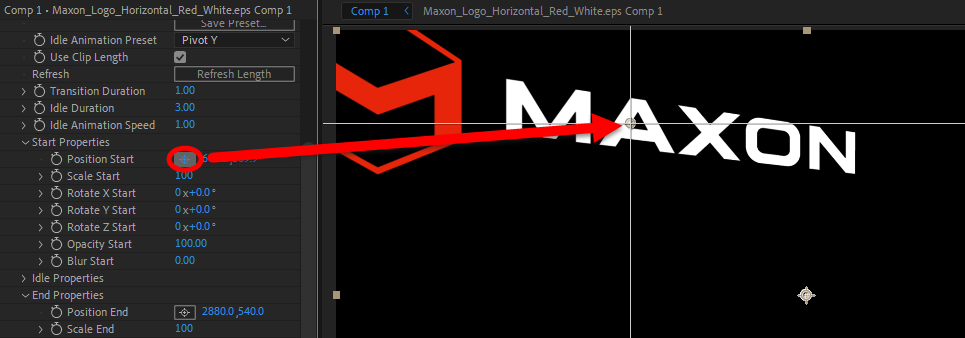
- Position Start. Type in x and y values for the position or use the cross-hairs to drag the start point to where you want. The image below shows our logo's position at the beginning of its entrance. Note how most of the logo is already visible because we placed the start point well within the comp's boundary.
- Scale Start sets the element's size at the beginning of the entrance. You might start with this value much greater or less than your Scale Idle (see below) to create a more dramatic animation.
-
Rotate X/Y/Z Start
establishes the element's rotation at the start of the entrance. In the following animation, you can see how we started with Scale Start: 200 and Rotate Y Start: 0x+180.0 degrees.
Attentive viewers may also notice that our logo shrinks during its exit. To do this, we set Scale End to 0. Note that this doesn't reduce the element size into oblivion because we left the Position End off the comp. If we'd placed it within the comp, the logo would have appeared to vanish into the Position End point. - Opacity Start sets the element's transparency. A setting of 0 will render the element initially invisible, then it will gradually revert to an opacity of 100% throughout the transition to the idle phase.
- Blur Start controls the starting blur level. A 0 setting may turn your element to little more than faintly colored fog.
Idle Properties
Again, the idle phase is the period between the end of the element's entrance and the beginning of its exit. Adjust the following idle phase properties as needed.
- Position Idle. Either type in x and y values for the idle position or use the cross-hairs to drag it where you want.
- Scale Idle sets the element's size. Note that a value of 100 (the maximum) is "full size" while 0 shrinks the element into invisibility and -100 (the minimum) has the same inverting effect as rotating x and y with values of 180.
- Rotate X/Y/Z Idle controls the element's rotation.
- Anchor Offset establishes the x/y offset from the element's anchor. Set this value with either manual value entry or the cross-hair tool.
-
Idle Animation.
This is where you control what the element does during its idle phase. You might want it to sit still for the entire idle duration. You might want to wiggle it just a little bit. Either way, use the following parameters to adjust your idle action.
- Idle Preroll Adjust
- Spring Amplitude
- Spring Frequency
- Spring Decay
- Wiggle Amplitude X/Y
- Wiggle Frequency
- Pivot Amplitude X/Y/Z
- Pivot Frequency
- Hover Amplitude
- Hover Frequency
End Properties
These controls copy the previously discussed Start Properties, except they apply to the animation's exit phase.
Overall Element Controls
If you want certain adjustments made to the entire Logo Motion effect, using the following global controls may be more convenient than making more granular changes to each animation phase.
- Position Offset. Either type in x and y values for the offset location or use the cross-hairs to drag the offset anchor to where you want.
- Scale sets the element's size.
- Anchor X/Y establishes the element's anchor position — effectively its center.
- Motion Blur controls help create a smoother look to the effect. This group allows you to simulate the low shutter speed blur and frame blending commonly seen in film.
-
To enable the Motion Blur effect, choose Low, Medium, or High from the
Motion Blur
drop-down. Higher quality blurs may impact render speeds.
Below, we show settings of Off (left), Low (center), and High (right).

- Motion Blur Shutter. A higher number creates more motion blur on the footage since the it mimics a longer frame exposure.
- Motion Blur Phase allows you to synchronize or desynchronize the timing of the shutter opening and closing with the footage's frame rate.
-
To enable the Motion Blur effect, choose Low, Medium, or High from the
Motion Blur
drop-down. Higher quality blurs may impact render speeds.
Below, we show settings of Off (left), Low (center), and High (right).
Notes on Logo Motion & Text Effects
Since Universe's Logo Motion effect relies on time factors pulled from your composition's information (i.e., when the motion starts, when it ends, how long to idle), it sometimes doesn't seem to work well when used with other effects that also utilize time factors.
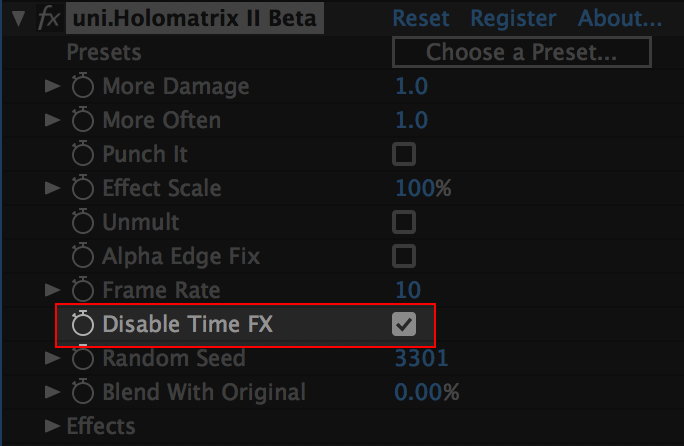
Holomatrix II, for example, disables Logo Motion when applied alongside it because Holomatrix uses time variables to determine things like how often it should flicker, glitch, or damage.
For this reason, you should use the Disable Time FX toggle whenever it's present if you find Logo Motion isn't operating properly.
If the effect you're using doesn't have this toggle available and it seems to disable Logo Motion, try nesting your clip with Logo Motion applied to it in its own composition/timeline. Then apply the effect on top of that.
You mainly want to allow Logo Motion to work with your composition/sequence's time data without other plugins behaving as a third party between the two.