
Form
Particle group
The Particle group contains all the basic settings for the particle's appearance in 3D space. Controls include Size, Opacity, Color, and how these properties vary over time.
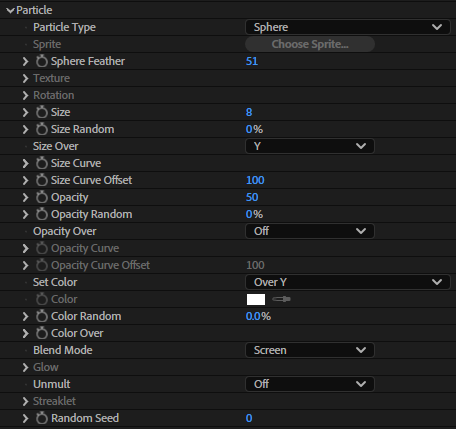
Particle Type pop-up: Selects from the several different particle types available. See the Particle Type page .
Sphere Feather: Controls the amount of feather or softness for the spheroid-shaped Particle Types: Sphere, Glow Sphere, Cloudlet, and Streaklet. This parameter changes its name based on the Particle Type selected, like Streaklet Feather when the Streaklet type is active. It is grayed out for the other Particle Types.
A value of 0 will set no softness and the sphere will appear distinct. Low values give the look of sharp circles. High values give a more organic, smooth look. A value of 100 will cause the spheres to soften and blend into the surrounding particles.
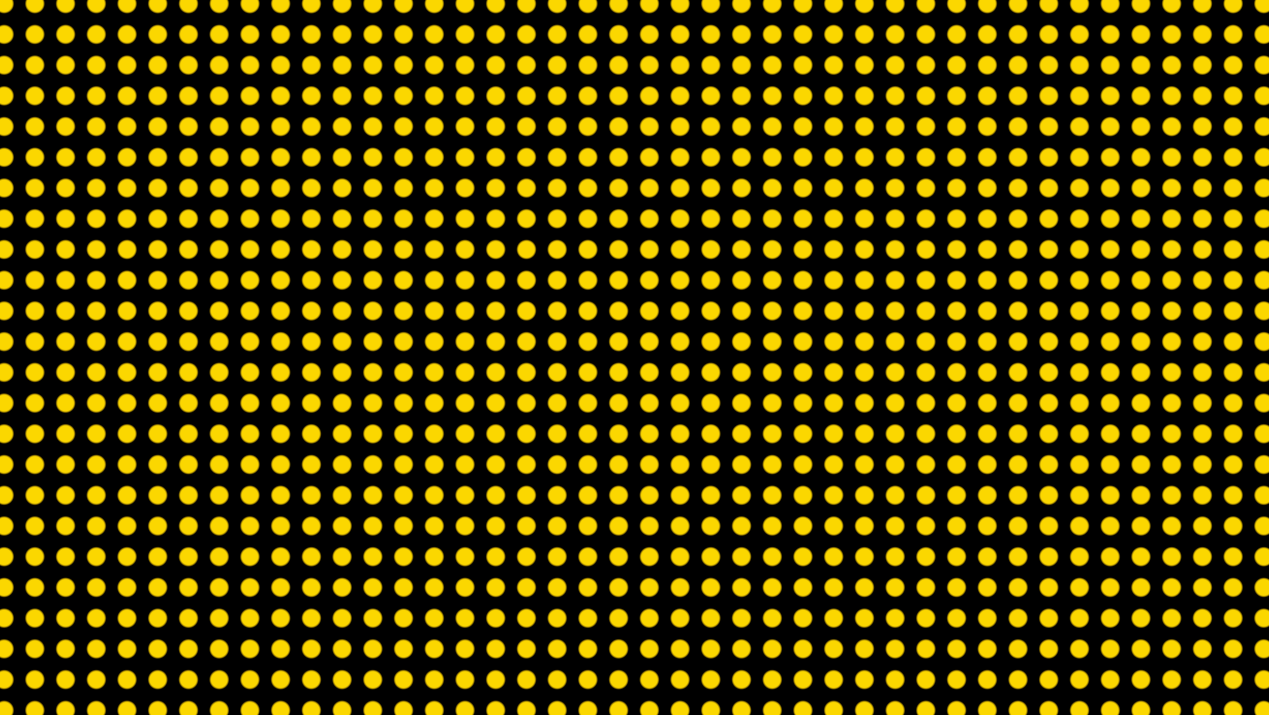
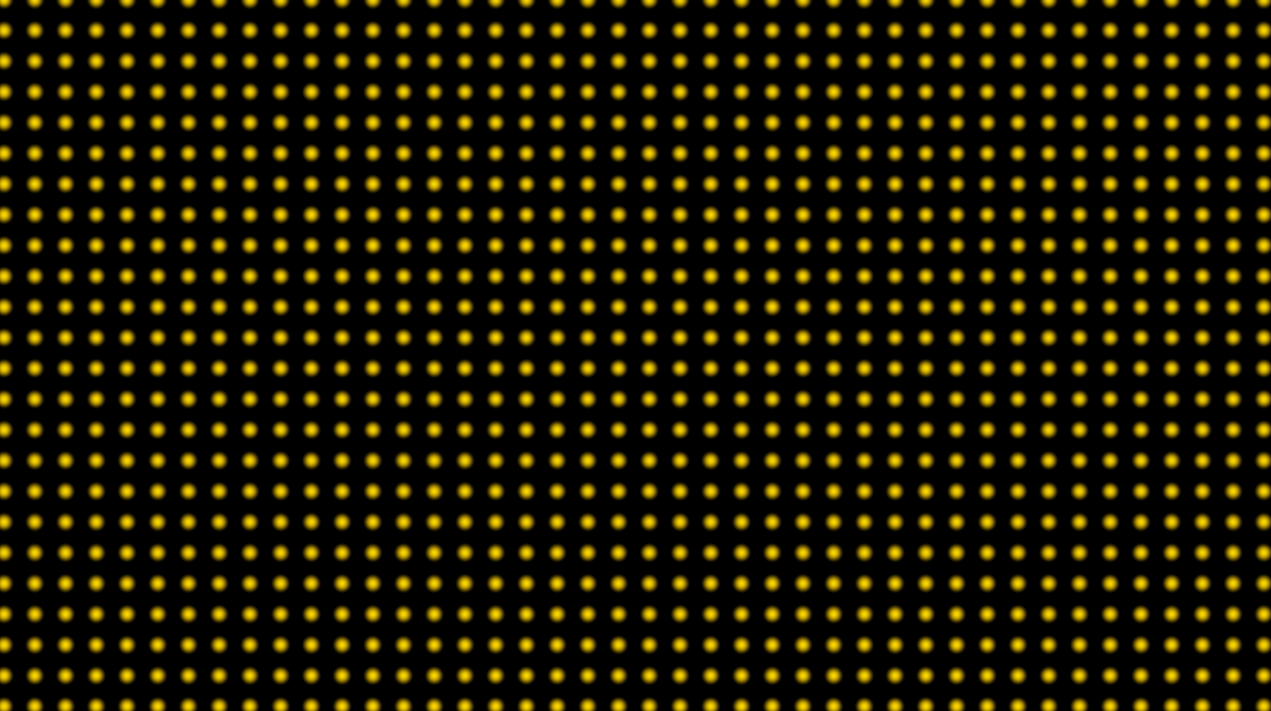
Sphere Feather at 0 (top) and 100 (bottom). Particle Type is Sphere.
Texture group: The Texture group controls the custom layer, or "texture," used for custom particles. This subgroup is active when the Particle Type is Sprite or Texture Polygon. Learn more in Texture Group.
Rotation group: The Rotation group rotates particles independently on the x, y, and z axes. Learn more in Rotation Group.
Size, Size Random: These controls set the particle size in absolute pixels for both standard particle types and custom particles. High values create a larger particle and more density for the form.
Size Random sets the randomness for Size, measured as a percentage. A value of 0 means no randomness. When the value is set above 0, particles get slightly different sizes. A value of 100 will vary the size between the minimum and current particle size settings. Higher values means the randomness is higher and the particles have more variation in size.
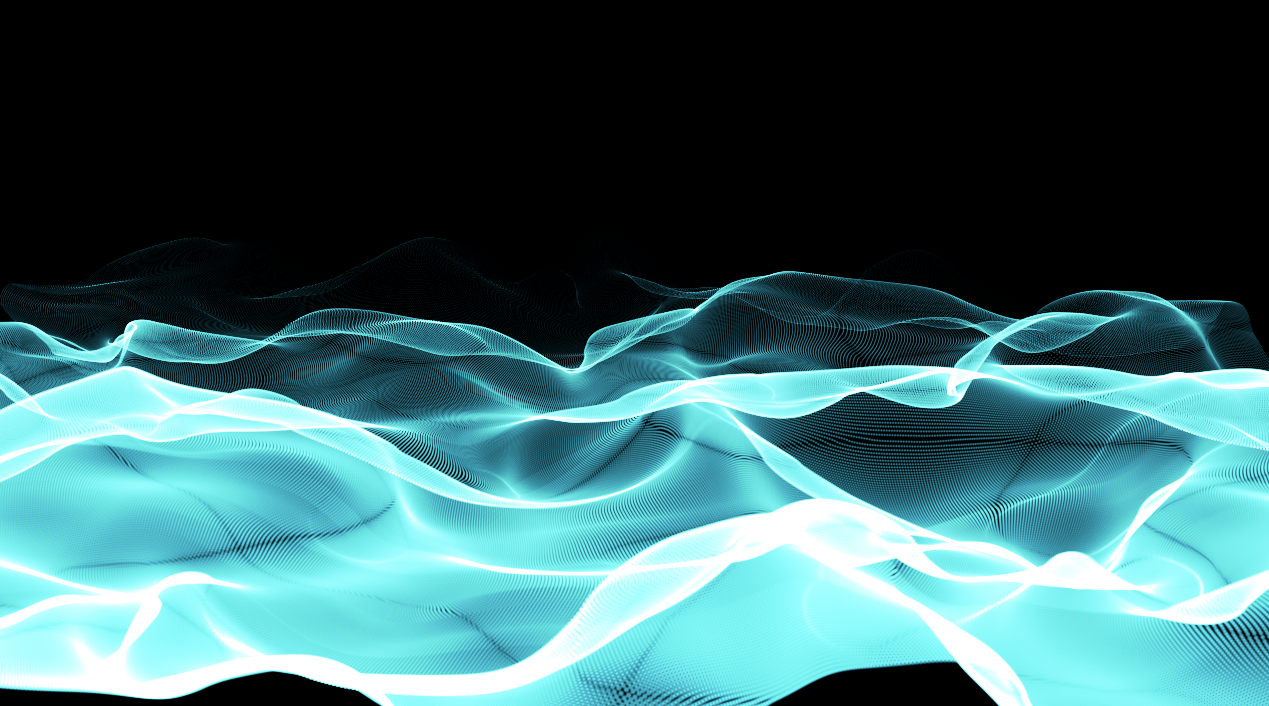
Size at 1 (left) and 1.5 (right).
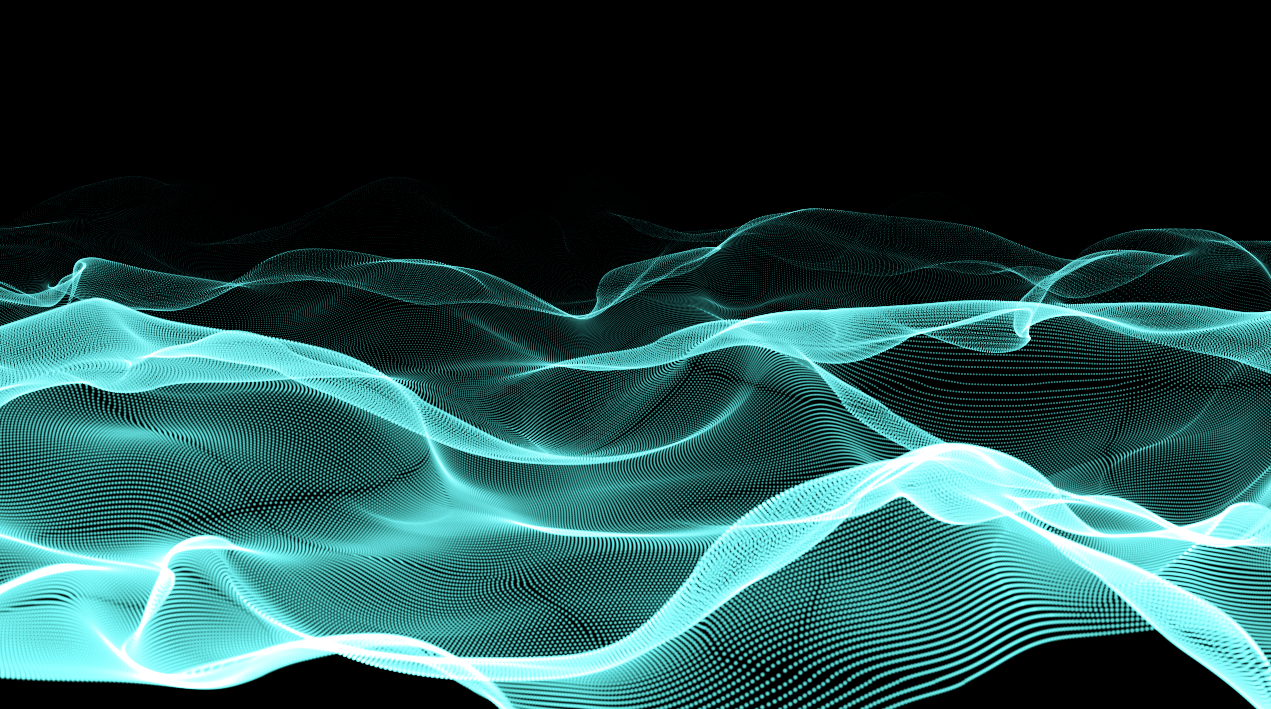
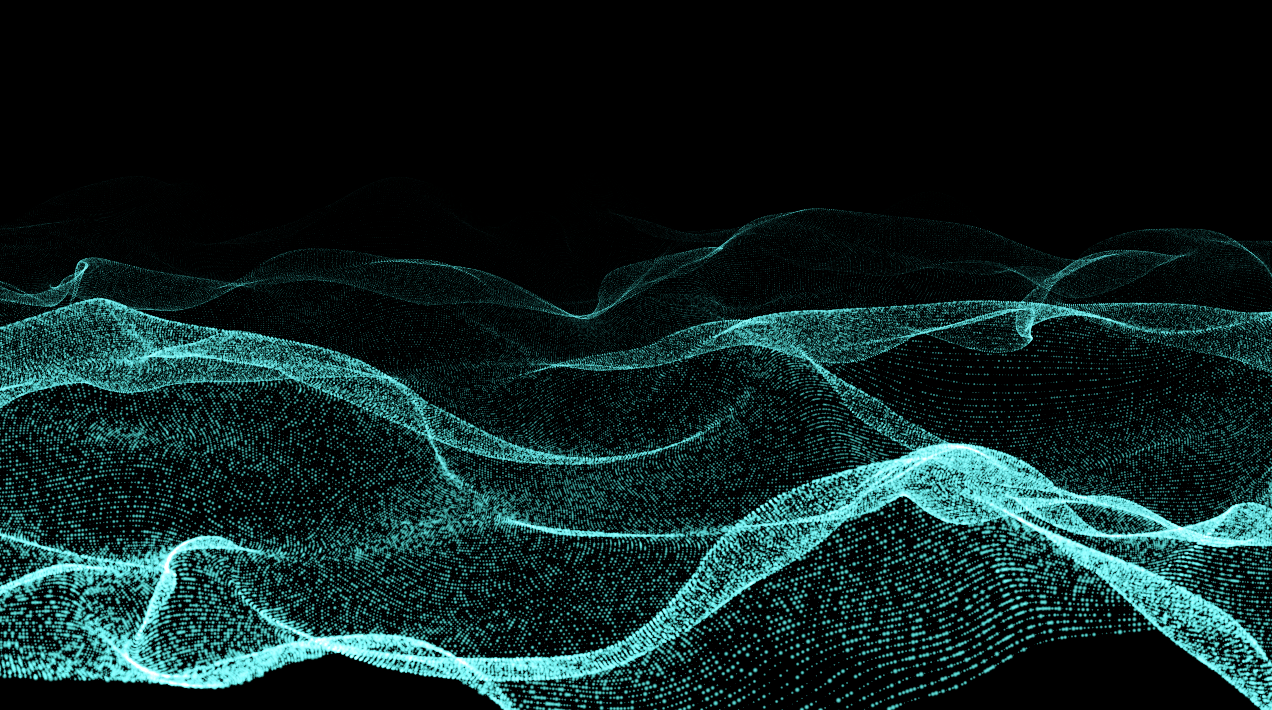
Size Random set to 0 (left) and 100 (right).
Size Over pop-up: Sets the axis for the Size Curve. See the Using Curves page for more information.
Size Curve: Allows you to control particle size across the form. See the Using Curves page for more information.
Size Curve Offset: Universally adjusts all values of the Size Curve and allows you to animate the values of the curve. See the Using Curves page for more info about curves.
Opacity, Opacity Random: Sets the opacity of the particles. High values give a higher opacity, and 100 makes the particles completely opaque. Low values give more transparency, and a value of 0 makes the particles completely transparent.
Opacity Random sets the randomness for Opacity, as measured by a percentage. A value of 0 means no randomness. When the value is set above 0, the particles get slightly different transparency levels. A value of 100 will vary the opacity between the minimum and current opacity settings. Higher values means the randomness is higher, and the particles have more variation in opacity.
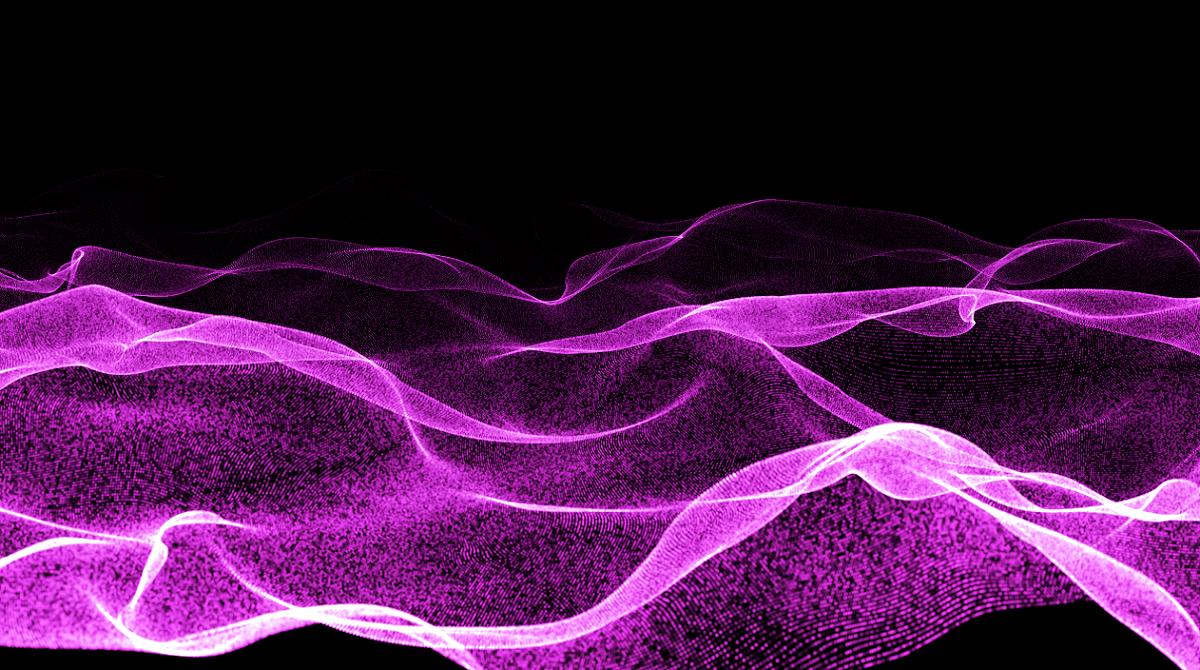
Opacity Random set to 0 (left) and 100 (right).
Opacity Over pop-up: Sets the axis for the Opacity Curve. See the Using Curves page for more information.
Opacity Curve: Allows you to control the opacity of particles across the form. See the Using Curves page for more information.
Opacity Curve Offset: Universally adjusts all values of the Opacity Curve and allows you to animate the values of the curve. See the Using Curves page for more info about curves.
Set Color pop-up: Sets the axis for the Color Ramp value. When set to any value other than Off, this will recolor the particles using the Color Ramp instead of the Color value. The way that the color is mapped over the form is identical to the way all curves are mapped over the form. See the Using Curves page for more information about the map-over pop-ups used throughout Form.
Color:This property sets the color of the particles. Click the swatch to set the color, or click the eyedropper tool here to sample a color from your composition.
Color Random: Color Random sets the randomness for Color as a percentage. Higher values ean the randomness is higher, and the particles have more variation in color.
Color Random set to 0 (left), 50 (center), and 100 (right).
Color Over: Allows you to adjust a color gradient applied to the form particles based on the Set Color pop-up. The gradient consists of a number of color boxes, and the gradient is interpolated between the boxes.

The color controls (including the Color Ramp) in the Particle group.
The Color Over subsection has a host of features, including five control boxes for setting the gradient's color, access to a Presets gallery, and a one-click button for randomizing the gradient.
NOTE: The features in the Color Over area will only become adjustable if the Set Color pop-up is set to a value other than Solid Color.
Features of Color Over
-
Color controls below the gradient:
- Color Swatches: To add a color swatch, click in the area just below the gradient. The box will initially get the color the gradient shows at that position.
- Change, move, or delete a color swatch: To change the color of a swatch, double-click it. Double-clicking the swatch will bring up the Adobe color picker where you can set the color for the swatch. To move a swatch, click and drag it sideways along the gradient. To delete a swatch, click and drag it downward away from the gradient bar.
-
Access preset gradients via the Presets button. This will immediately replace the current gradient.
Pro Tip: If you customize a gradient and want to retain it for later use, click the Save Gradient Preset button just to the right of the Presets button.
The following image shows a Color Over preset applied across the x axis.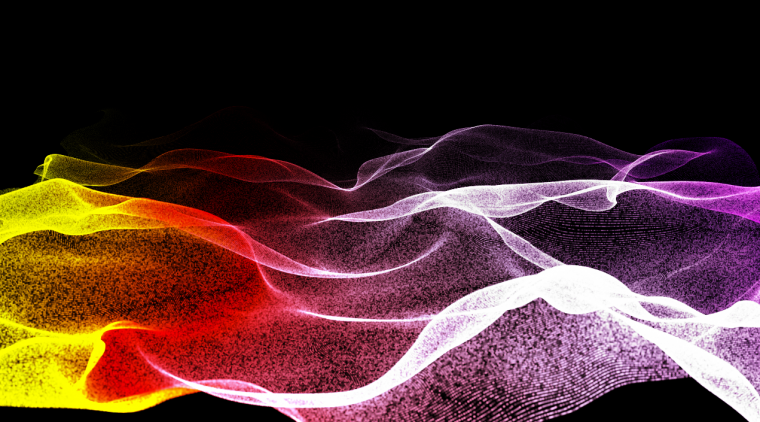
- Gradient Interpolation button: This button pops up a menu offering four gradient interpolation modes: HCL (the default), LAB, HSV, and RGB. To oversimplify, these interpolation models give different ways of getting from one color to another in a gradient. RGB (shown in the first image, below) and LAB work to blend from one color to the next, which is why they can sometimes yield muddy gray tones as they travel through the middle of the color spectrum. HCL (bottom image, below) and HSV are cylindrical models, so gradients will take the shortest path around the cylinder to reach a color target. As a result, HCL and HSV tend to be brighter, yield more vibrant colors, and offer more gradient variety with fewer stops. Below, we see RGB (left), HSV (center), and HCL (right).

- The Hamburger Menu button:
- Copy and Paste: These commands copy the gradient progression to the clipboard and paste the gradient colors from the clipboard, respectively. If nothing has been copied, then the Paste option will by grayed out. These commands are useful for moving color gradients between systems.
- Reset: This reverts the gradient back to its default color stop settings.
- Distribute: This feature takes the current color stops and distributes them equally across the gradient, which can be a handy shortcut when creating smooth color transitions.
- Flip: Flip reverses the colors and positions of color stops around the gradient's center.
- Step All: Above, we discussed how step interpolation affects the transition between a selected color stop and the stop to its right. This feature creates step transitions at all color stops.
- Interpolate All: Not surprisingly, this is the opposite of Step All. It applies linear interpolation between all color stops.
Blend Mode
Blend Mode controls how particles composite together. This works much like blending modes in After Effects, except the individual particles behave like layers in 3D space.
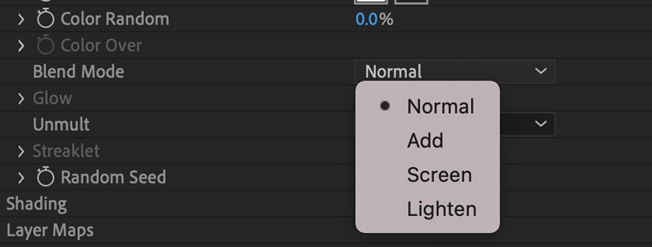
- Normal: Normal composite operation. Opaque particles will block particles behind them along the z axis.
- Add: Particles add together. Add gives an even brighter look than Normal or Screen and also disregards depth values. This is useful for light effects and fires.
- Screen: Particles are screened together. Screen mode often results in a brighter look than Normal and disregards depth information. This can be useful for light effects and fires.
- Lighten: Here, the lightest color wins and the effect does not "build up" like Add and Screen. Lighten means particles are composited in order along the z axis, but only pixels that are brighter than the pixels behind them are written.
Blend Mode Over Life:Allows you to control the Normal Add over Life and Normal Screen over Life Blend modes when selected in the Blend Mode drop-down menu.
Glow group:The Glow group adds a glow to particles. Control this effect with the Size, Opacity, and Feather parameters. Note that these controls are only active when the Particle Type is Glow Sphere or Star. Learn more in the Glow group.
The two Blend Modes that accompany Normal within the Glow group have more noticeable effects on sprites and textured polygon effects than they do normal particles.
- Add:Switches the blend mode from Normal to Add over the duration of the particle's lifespan. This is useful for creating particles that remove their depth value and increase their intensity.
- Screen: Switches the blend mode from Normal to Screen over the particle's lifespan.
Unmult: Keys out any pure black from the particle it's been given.
Streaklet group: The Streaklet group sets properties for a Particle Type called Streaklet. This is active when the Particle Type is Streaklet. Learn more in the Streaklet group.
Random Seed:The Random Seed controls all random parameters in the effect, such as Particle Size, Color, and Opacity. It is useful when duplicating the effect and a slight variation in randomness is needed. It is also helpful when the look you’re getting just doesn’t seem right. This value can be changed for varying looks.