HALFLIGHT
A library of optically-captured, highly customizable light leak transitions that give your footage a moody, filmic look.
Presets
These HalfLight presets deliver one-click application of transition effects including solarization, light beams, and circular light artifacts. Find the presets via the blue Open Dashboard... button or the Choose a Preset... button below it.
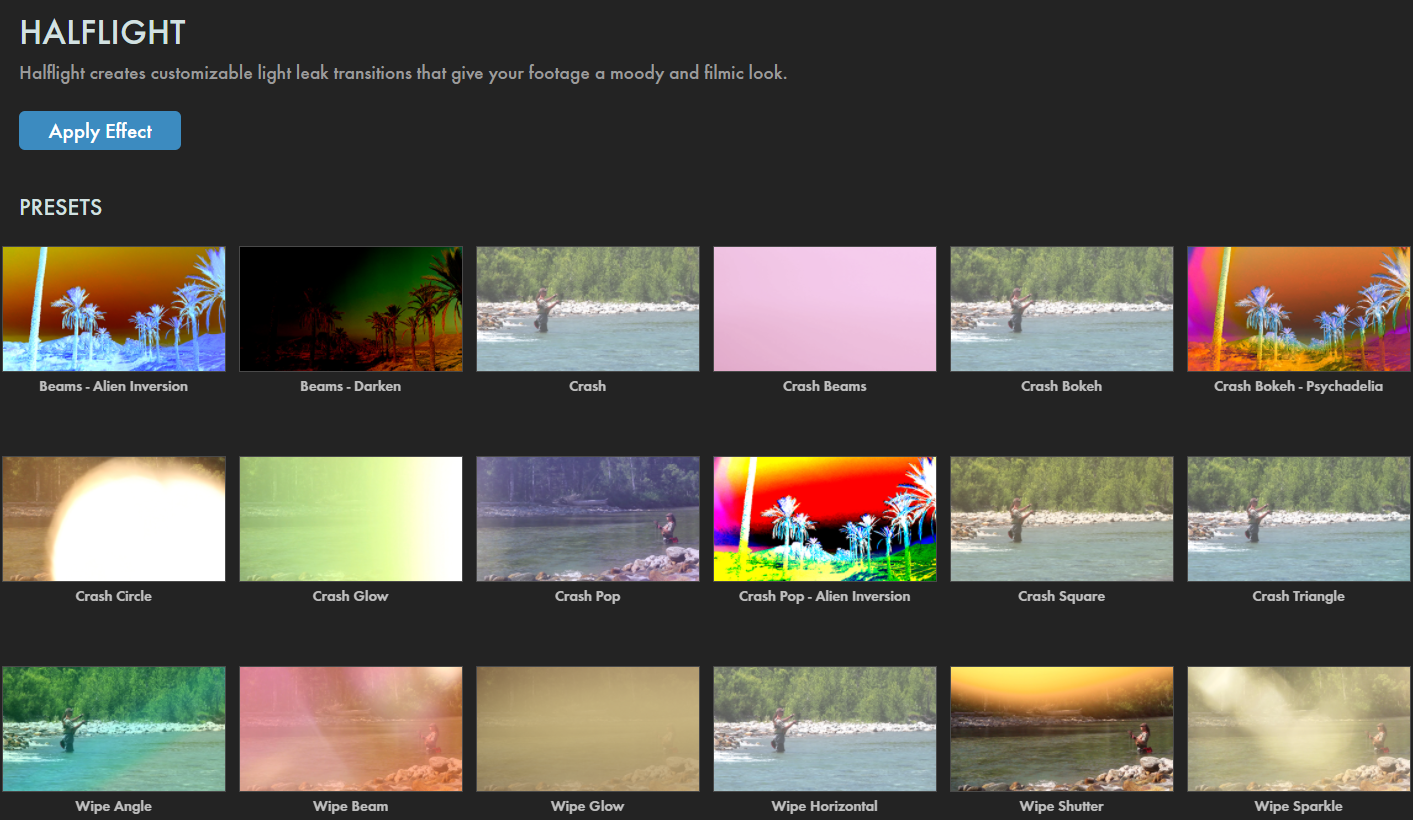
As with all other Universe tools, you can modify or create a HalfLight look and then save it under its own name by pressing the Save Preset... button.
Getting Started in a Timeline




- Drag the transition over your edit in the timeline, placing it at the end or beginning. Alternatively, you can place it between two successive clips.
- Modify the Duration of the transition either by entering a length in the field or dragging directly in the timeline.
- You can choose the Alignment (Center at Cut, Start at Cut, End at Cut, or Custom Start) either by positioning the transition in the timeline or by choosing from the Alignment drop-down in some host applications.
Getting Started in a Compositor


- Apply the transition to the layer you want to transition from.
- Choose the footage layer you would like to transition to in the Transition B drop-down menu. (Note for Motion users: Drag the footage layer up to the Transition B box.)
- Animate your transition using the Mix slider from 0% to 100 percent. Set a keyframe for 0% where the transition should start, then set another at 100% for the end. You should experiment with where you position your final keyframe, but we often like the look of finishing the effect just after the new clip begins. It tends to give a seamless result.
Modify the Transition
- The Lens Flare drop-down allows you to select from 15 presets to set your transition's tone.
-
Use
Blend Mode
to select the blending mode for compositing the lens flare transition over the original image.
This control can have a significant impact on how the effect manifests, as shown below in the comparison of Difference (left), Normal (center), and Color (right).

- Set the Opacity to a number lower than 100.00 to make the lens flare more transparent.
-
The
Brightness
slider will lighten the overall look of the Lens Flare as it transits.
Shown here are values of 0.5 (left) and 1.8 (right).

- Use the Saturation slider to decrease or increase color intensity within the frame during the transition.
- The Hue color picker control can be used with the Hue Intensity slider to bring an overall colored tone to the lens leaks. For the hue to appear, the Hue Intensity slider must be raised from its default of 0.
-
The
Flip
drop-down menu allows you to change the position of the transition in the frame. Choose from Horizontal, Vertical, or Both.
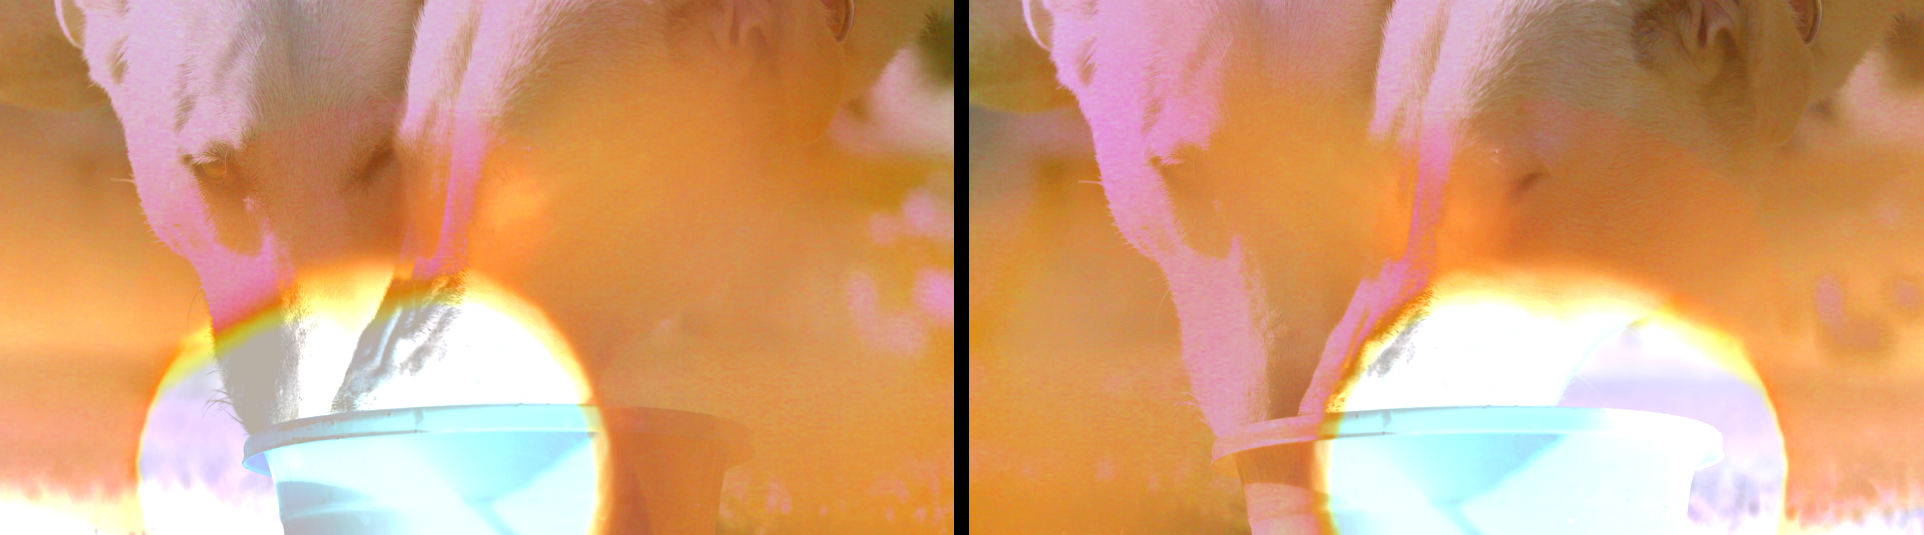
In the below example based on the Crash Circle preset, we show the Horizontal default at left, but selecting None shows that the effect's native positioning of that circle is mostly on the right side of the image. Selecting Vertical would flip that circle more toward the upper-right image quadrant.