
Particular
Particle > Sprite Controls
The Sprite particle is a custom layer loaded into Particular. The default Sprite is a Square.
Importing Sprites
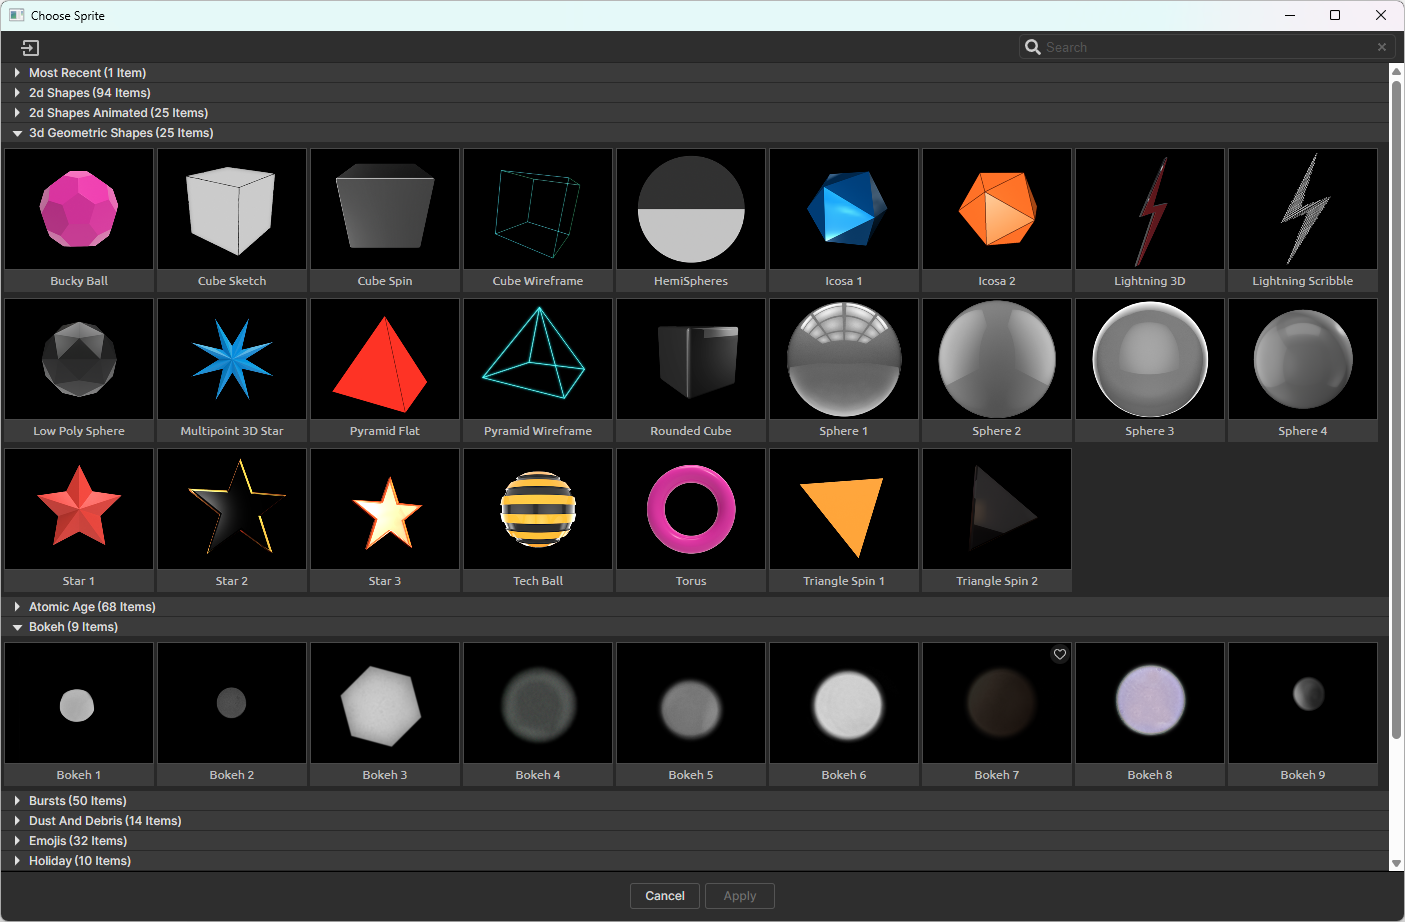
There are two ways to bring in images for Sprites. After selecting Sprite as the Particle Type, the Choose Model… button appears. Clicking this opens a window that shows you Particular's bundled sprites. You can also import your own still image or animated movie by clicking the Add New Sprite… button in this window's upper-left corner.
Face Camera
By default, sprites always face directly at your camera, even as the camera moves. Unchecking Face Camera will allow your sprite to act more like a regular 3D layer.
NOTE: When Face Camera is turned off, sprites behave like what was formerly called Textured Polygons.
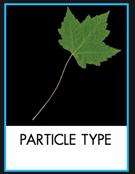
Particle Type set to Sprite, with the Leaf image selected.
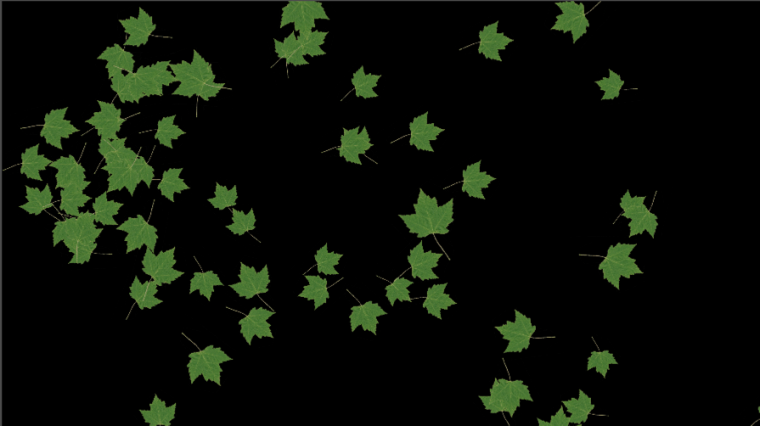
Sprites with Face Camera turned on.
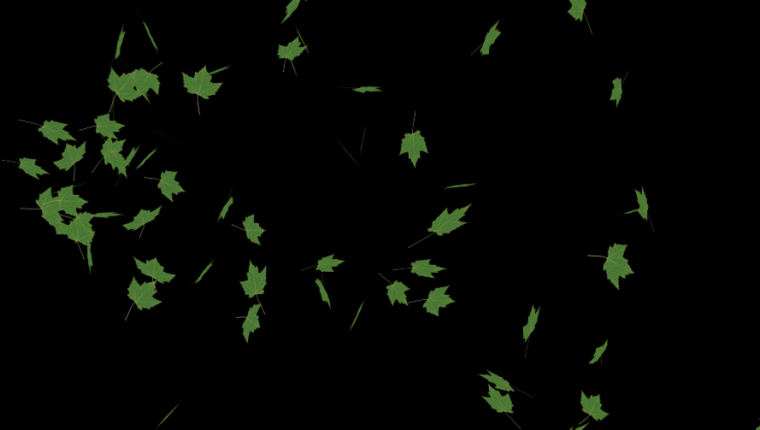
Sprites with Face Camera turned off.
Layer
This option chooses the source layer that will be used as a "texture" or custom particle. All other Texture group parameters affect the image loaded into Layer.
By default, the Layer pop-up is set to None and turned off. To turn it on, choose a layer from your timeline in the drop-down menu.
Note that using larger layers will drastically increase render times and may result in instability, depending on particle counts and system resources.
Time Sampling
Time Sampling determines which layer frame gets sampled to generate the custom particle. There are 11 modes. The mode determines which frame the custom particle is sampled from. Options include the first frame, picking a random frame, or splitting the layer source into multiple clips.
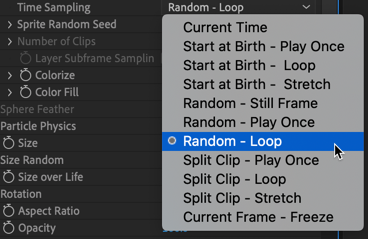
The default choice is Random - Loop. If the custom particle is a still image, the mode should always be set to Current Time. This option will speed up rendering because the same frame of the layer will be used for all particles in the current frame.
When using an animated particle, other modes may be more useful. For example, the Start, Random, and Split modes can drastically reduce the time needed to pre-render the custom particle layer.
The Start at modes all begin at frame 1 (the start) of the custom input layer.
- Start at Birth - Play Once: Plays the custom layer once from its start. The particle may die before the custom layer ends, or the custom layer may end before the particle dies.
- Start at Birth - Loop: Plays the custom layer from its start and restarts (or loops) if the layer ends.
- Start at Birth - Stretch: Plays the custom layer from its start and time-stretches it, so it ends exactly when the particle dies.
The Random modes pick a random frame to use.
- Random - Still Frame: Selects a random frame from the custom layer and uses it throughout the particle's life.
- Random - Play Once: Starts playing the custom layer from a random frame, then plays at normal speed. The particle may die before the custom layer ends, or the custom layer may end before the particle dies.
- Random - Loop: Starts playing the custom layer from a random frame, then plays at normal speed. If the custom layer ends, it loops and restarts from the beginning.
Split Clip modes split the custom layer into a number of clips. The number is set within the Number of Clips parameter . For instance, if the custom layer is 30 frames and Number of Clips is set to 3, the custom layer will be split into three ten-frame clips. This can be useful for creating a set of animated particles.
- Split Clip - Play Once: Randomly selects one of the clips and plays it once.
- Split Clip - Loop: Randomly selects one of the clips and loops it.
- Split Clip - Stretch: Randomly selects one of the clips and time-stretches it to fit the particle life.
Current Frame - Freeze: Holds the referenced particle image at the current time throughout the particle's life. So, any particles born at a certain frame will have that same appearance throughout the particle's life, even though the input layer may be animating. This happens at each frame.
Sprite Random Seed
This control is active when any Random Time modes are selected in the Time Sampling pop-up. Random Seed randomizes which frame is sampled without changing particles' positions.
Number of Clips
This control is active when any Split Clip modes are chosen in the Time Sampling pop-up. Number of Clips defines the number of clips in the custom layer used by Split Clip. For example, you may have five movies, each ten frames long, in a pre-comp. You may then select a Split Clip mode and set Number of Clips to 5. This will tell Particular to use just one of the five clips as the custom particle.
Layer Subframe Sampling
This control is active when any of the Play Once, Stretch, or Still Frame modes are chosen in the Time Sampling pop-up. This allows subframe sampling for the custom particle layer. This feature isn't much use if the custom particle is a movie, but if it's an animation, the plug-in can retrieve frames that are between frames.
Colorize
Colorize screen blends the color of the Particle > Set Color parameter with the Sprite.
Color Fill
Fill does a normal blend of the color of the Particle > Set Color parameter with the Sprite. At 100%, it will be filled entirely by the color.
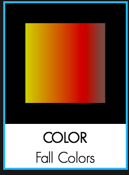
The Particle Color setting.
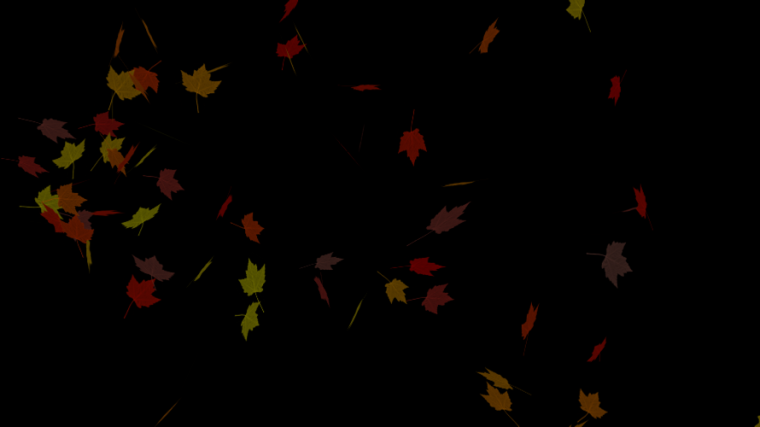
Sprites with Colorize turned up to 100 percent.

Sprites with Color Fill turned up to 100percent.