
CAROUSEL TRANSITION
This transition mimics the appearance of changing from one slide to the next while stylizing your footage to give it a classic look.
Presets
These handy Carousel Transition presets make short work of changing the look and style of your effect's slide film frame. Find the presets via the blue Open Dashboard... button or the Choose a Preset... button below it.
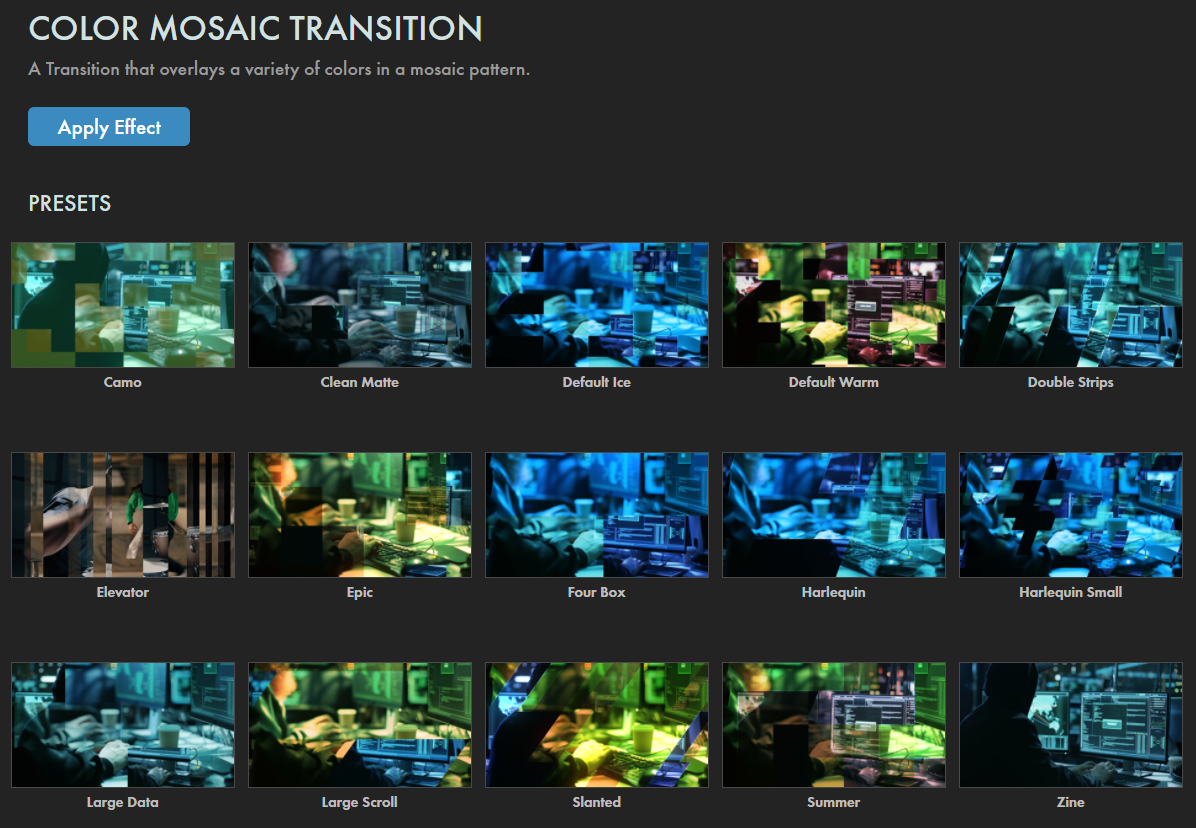
As with all other Universe tools, you can modify or create a Carousel Transition look and then save it under its own name by pressing the Save Preset... button.
Getting Started in a Timeline




- Drag the transition over your edit in the timeline, placing it at the end or beginning. Alternatively, you can place it between two successive clips.
- Modify the Duration of the transition either by entering a length in the field or dragging directly in the timeline.
- You can choose the Alignment (Center at Cut, Start at Cut, End at Cut, or Custom Start) either by positioning the transition in the timeline or by choosing from the Alignment drop-down in some host applications.
Getting Started in a Compositor


- Apply the transition to the layer you want to transition from.
- Choose the footage layer you would like to transition to in the Transition B drop-down menu. (Note for Motion users: Drag the footage layer up to the Transition B box.)
- Animate your transition using the Mix slider from 0% to 100 percent. Set a keyframe for 0% where the transition should start, then set another at 100% for the end. You should experiment with where you position your final keyframe, but we often like the look of finishing the effect just after the new clip begins. It tends to give a seamless result.
Modify the Transition
- Direction determines which way the footage moves offscreen: Upwards or Downwards .
- Animation contains a list of speed presets that determine how the transition executes. For more information on what these presets mean, visit the Animation Tweening page.
- The Dolly slider lets you move the camera closer or farther away along the z axis from the transitioning layers. Lower values move the layer toward the camera while higher values push the layer into the distance.
-
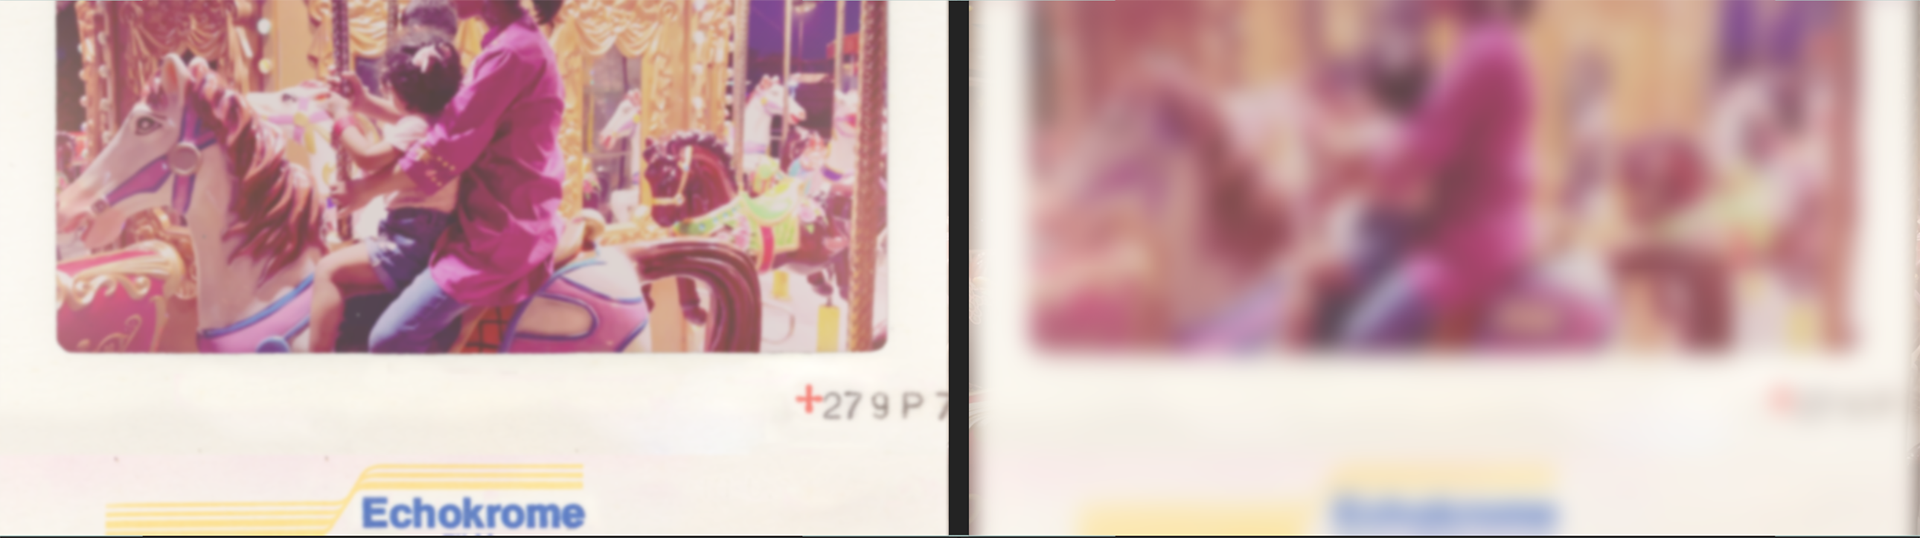
Max Blur
dictates how fuzzy the footage may get during the transition.
The below examples show values of 5 (left) and 50 (right).
-
Frame Style
contains a list of presets that controls the frame's appearance:
Color Slide
, Echokrome, Grungy, Dark, or Red Frame. We show these below, respectively, from left to right.

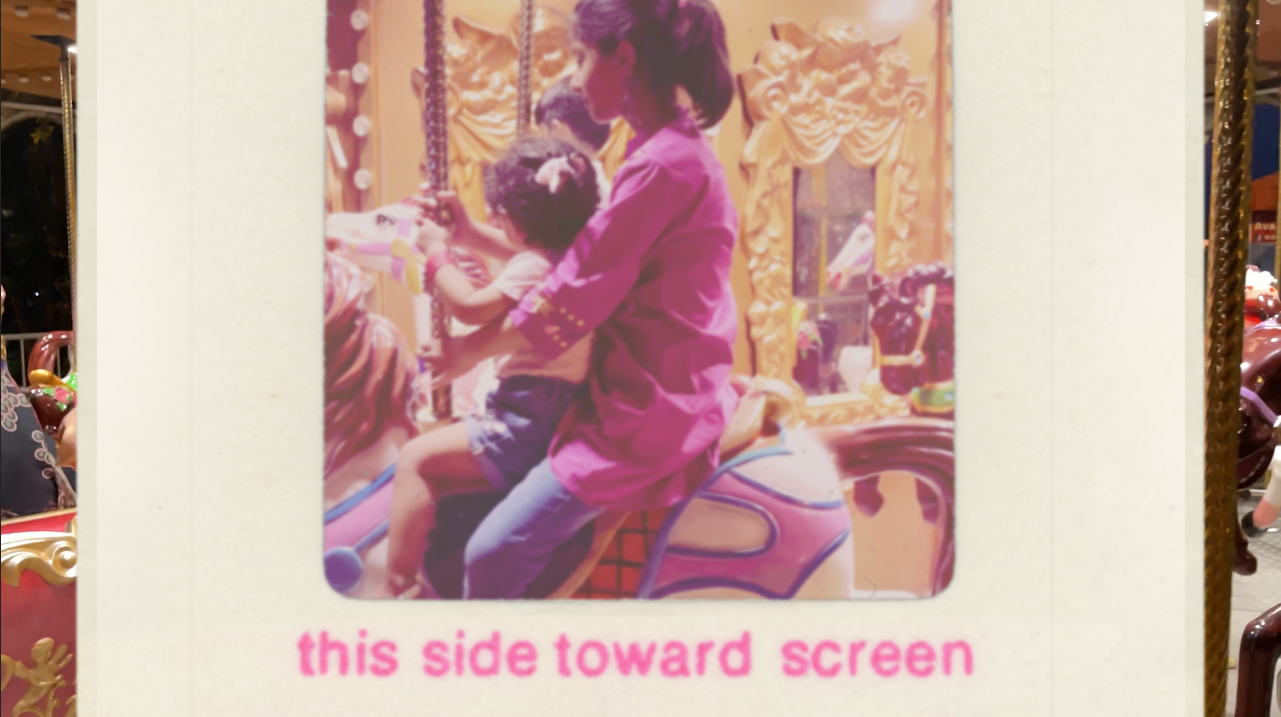
- Frame Size offers 16:9 and Square options. Keep in mind that a Square orientation, while historically accurate, may introduce some additional considerations in your comp, as seen below.
-
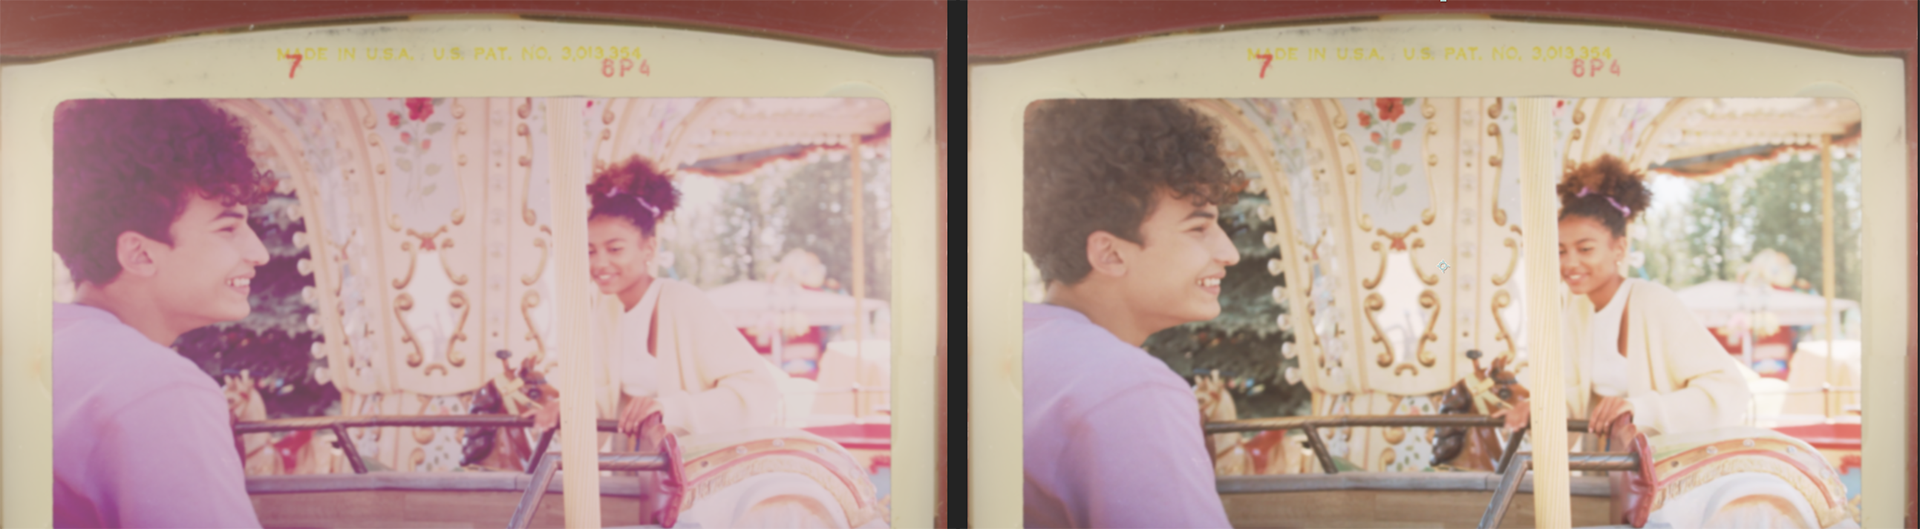
Enable Color
toggles whether the filmic control distortions described below apply to the footage.
Here, you can compare the enabled (left) against disabled (right) default values for the Dark preset.
-
Color
twirls down optional color adjustments applied to the shot.
- Vignette Amount customizes the harshness of the soft, dark border when applied to the shot.
- Color Process increases or decreases the stylized color adjustments created using the controls below to mimic the look of classic film.
- Red/Green/Blue controls the vibrancy of the individual color channels.
- Fading adjusts how muted the colors appear. This is a great control for helping to "age" your content.
- Contrast increases or decreases the range between brights and shadows within the footage.
-
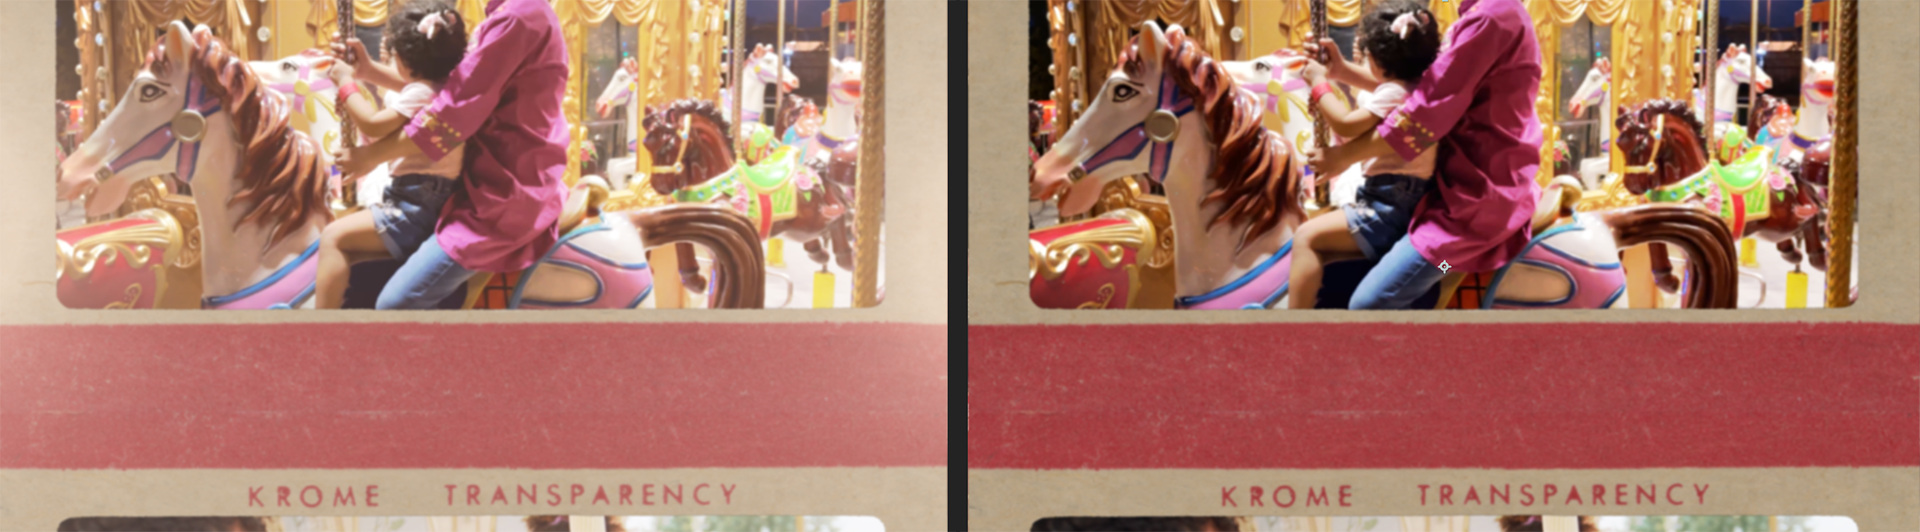
Enable Light Leaks
toggles whether an artificial light source shines on the footage and slide during the transition.
An example of enabled (left) and disabled (right) settings is demonstrated below.
-
Light Leaks
twirls down customizations for the look of the artificial light source toggled above.
-
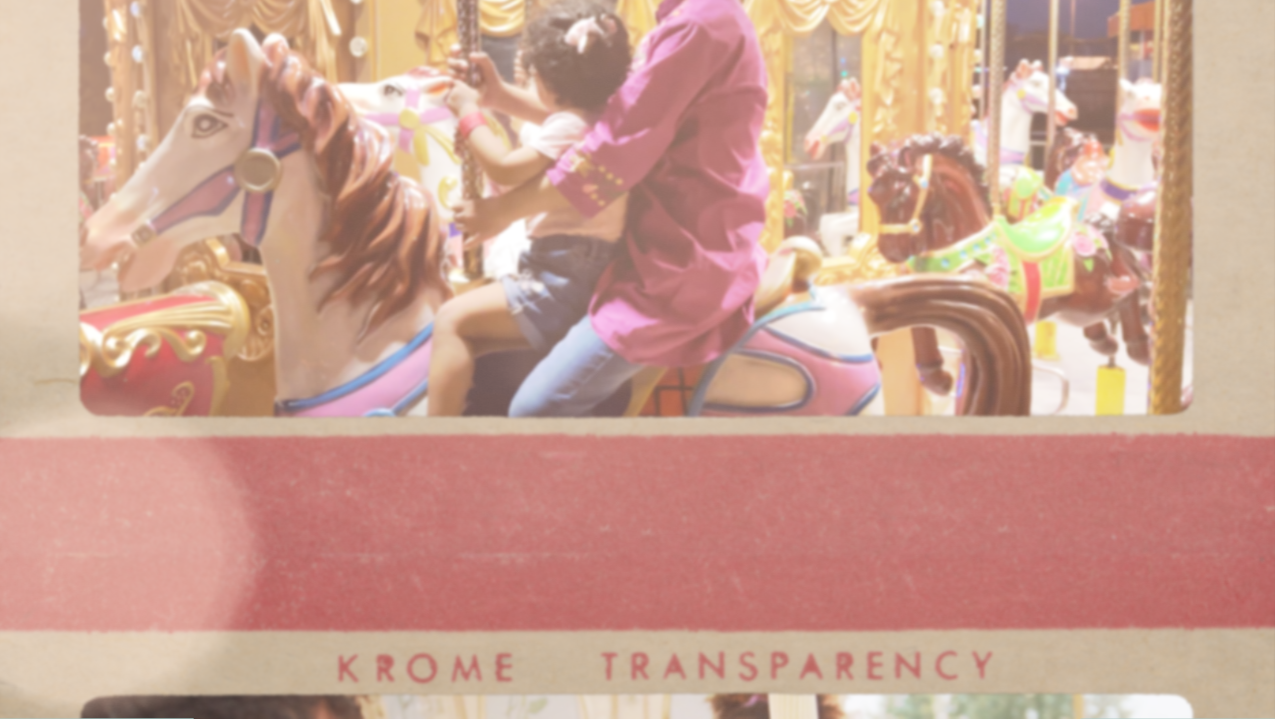
Light Style
adjusts the appearance of the light source based off presets:
Torches (shown below), Rays, Double Edges, or Edge.
- Opacity controls how blended or apparent the light source is onto the transition.
- Flicker Strength adjusts the brightness of the light leaks during their flickering.
- Flicker Speed customizes the amount of time between flickers.
-
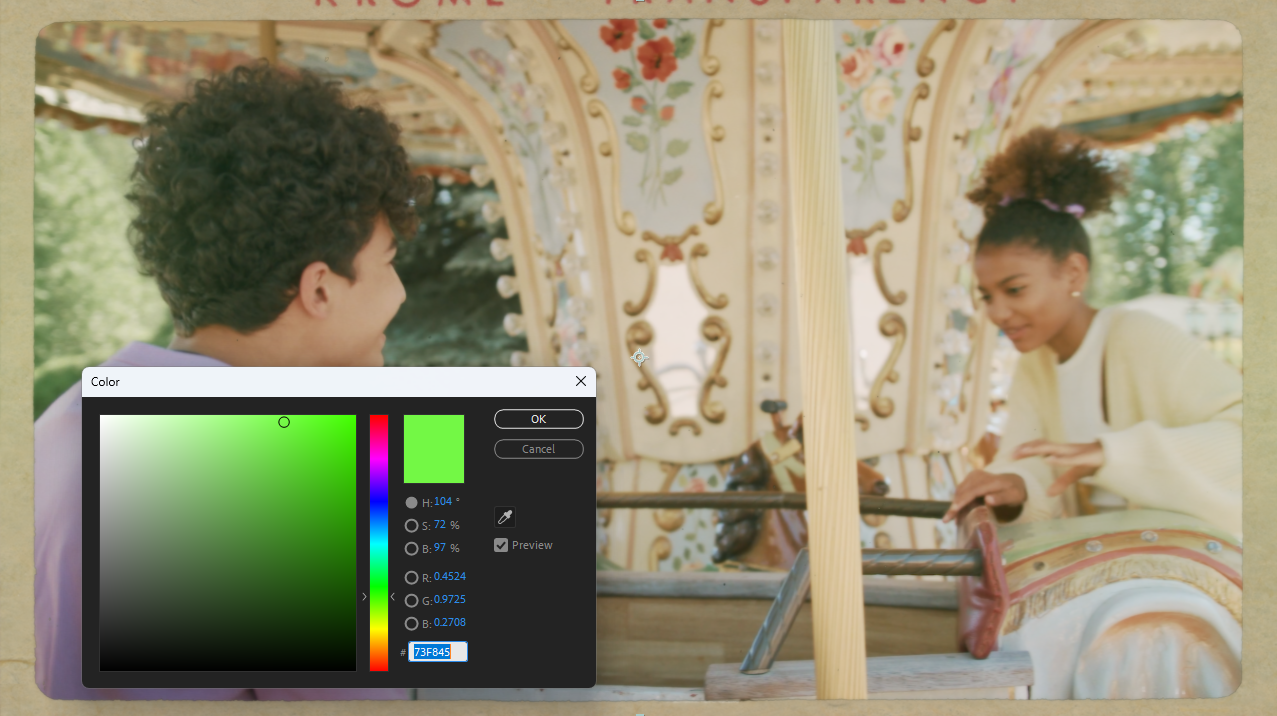
Color
modifies the color of the light using a swatch or eyedropper tool.
For instance, if we want to give our layer a greenish cast, we might do something like this:
-
Light Style
adjusts the appearance of the light source based off presets:
Torches (shown below), Rays, Double Edges, or Edge.