
Particular
Blocks in the Designer
Blocks are components that represent a subset of the groups found within Particular. For example, size, opacity, and color (see below) are all particle attributes represented by blocks in the Designer.
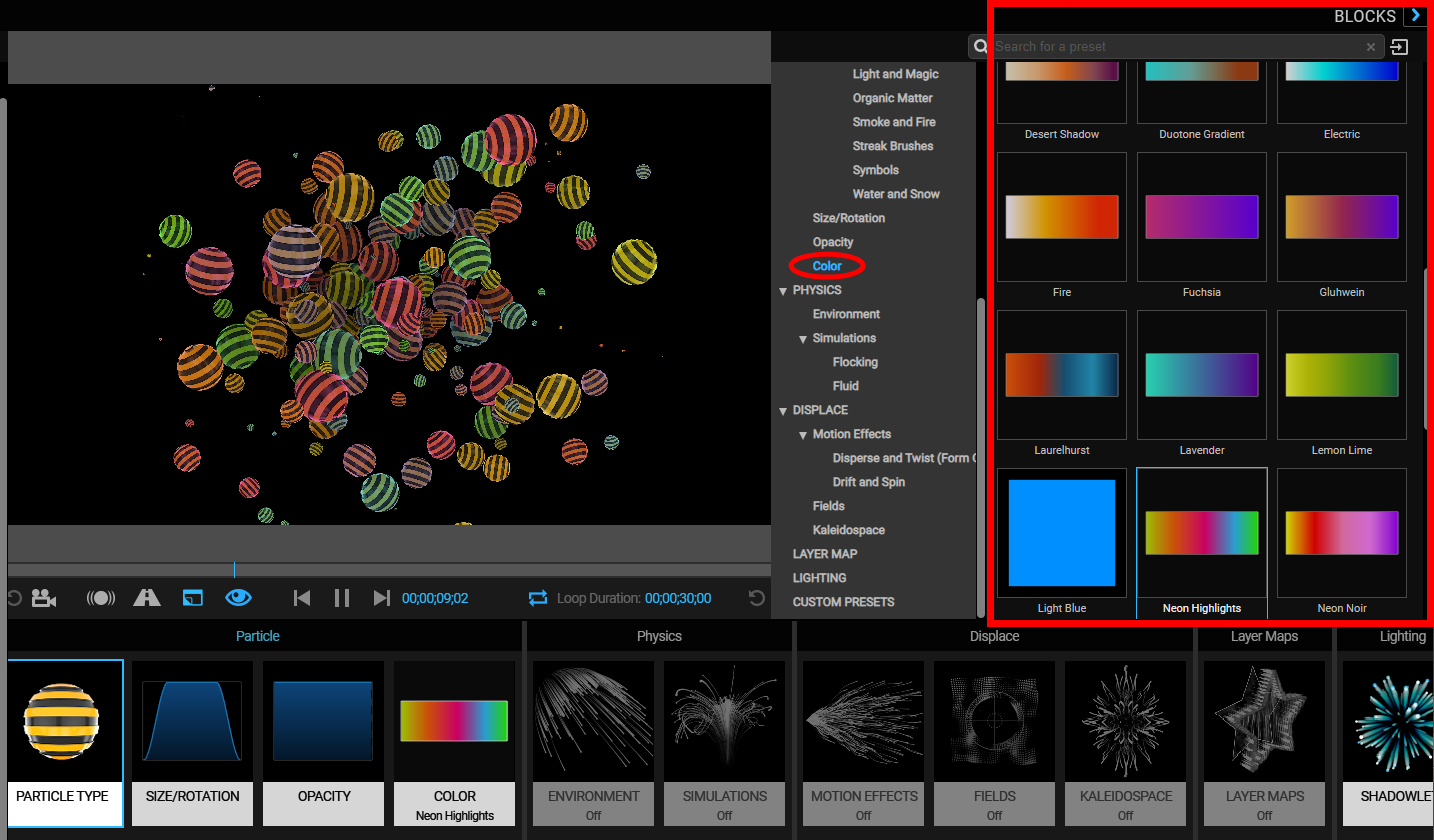
Let's start with the Designer's default blocks in the Effects Chain (below) and learn how to create a new effect.

To begin, access the Blocks pane in the upper right corner of the Designer. Move your cursor over the word Blocks (or the area immediately to its left). This will open the Blocks pane in Unlocked mode, exposing the block preset navigation tree and block preset browser. If your pointer travels off the Blocks pane, the pane will automatically close. You can click the chevron (<) beside the word Blocks to put it in Locked mode so it stays open. Click the chevron again to put it back into Unlocked mode.
The block preset navigation tree contains multiple block group presets that correspond to both the Effects Chain and the groups and sections of the main After Effects ECP interface.
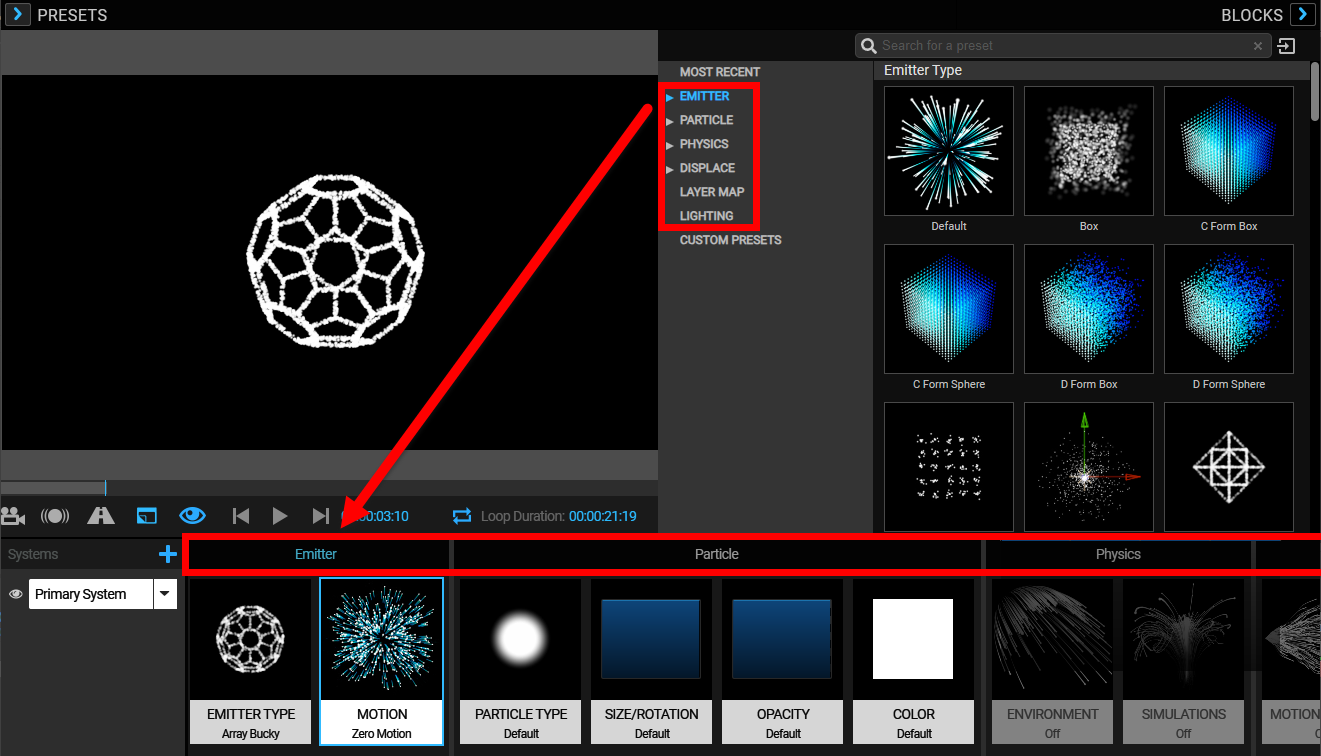
Note that these blocks apply for each system in a Multiple System setup.
Particular Block Groups
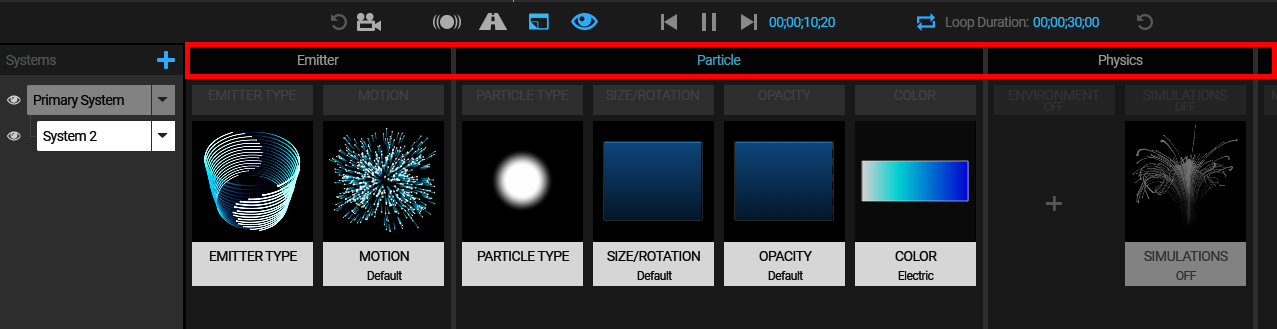
- Emitter blocks control where particles are born and given their initial velocity and direction. Learn more about the Emitter Group in the ECP interface.
- Particle blocks allow you to choose the particle type or select a pre-rendered .mov sprite from the Sprite library. This section also contains parameters like Size/Rotation, Opacity, and Color. You can read more on the Particle Group in the ECP UI.
- Physics blocks control how particles move once emitted. You can set environmental properties, such as Gravity, Air Turbulence, and Wind effects, on the particles. Apply Physics Simulations such as Meander, Flocking, or Fluids. Read more about the possibilities in the Physics Simulations group.
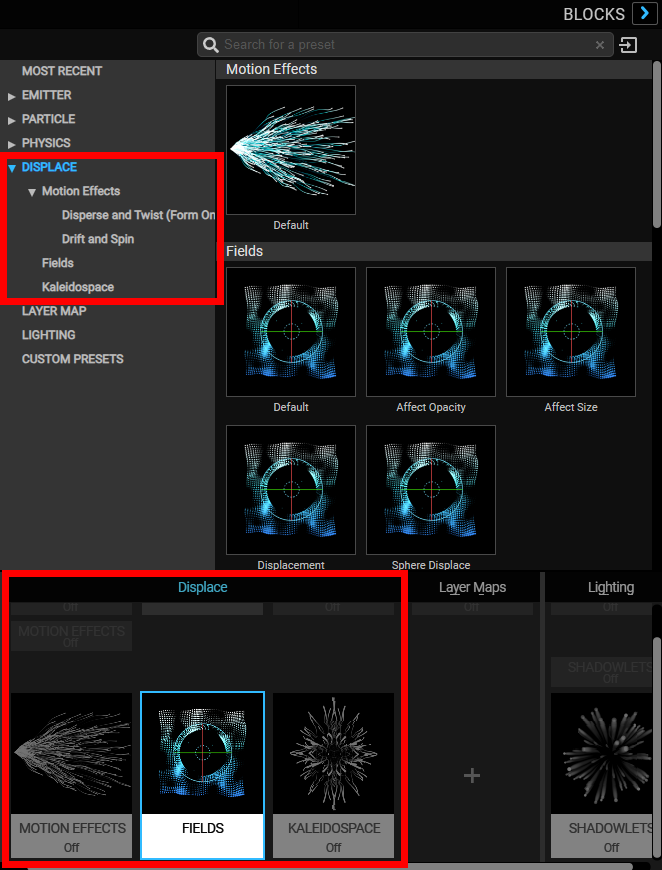
- Displace blocks give you control over motion, field, and kaleidoscopic effects. Motion effects include fast-rendering physics effects, including Drift, Spin, and Motion Paths. Fields includes controls for both Turbulence and Spherical fields. Kaleidospace allows you to mirror particles on all three axes.
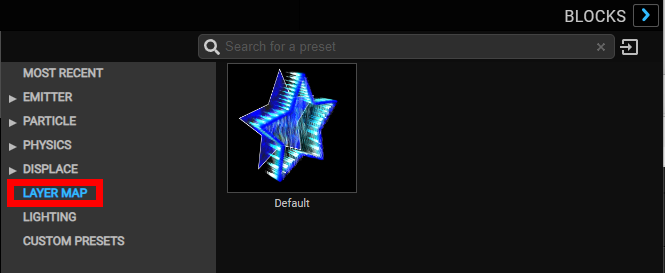
- Layer Maps. This lone block references attributes of an external layer. You can use a Layer Map block to drive various attributes of your particle system. For instance, you might use the luminance values of a separate layer to dictate the turbulence noise strength in your particles.
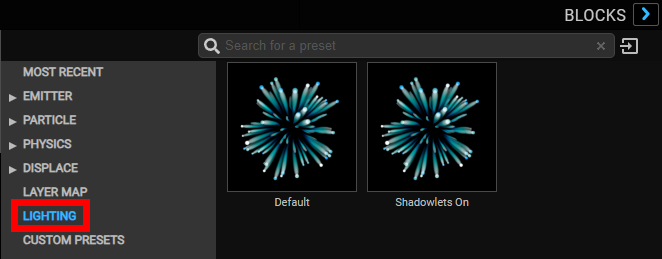
- Lighting blocks allow you to apply Shadowlets, which will interact with any lights that you have set up inside your AE comp. However, these may not be visible within the Designer's Preview Pane window. Read more about this category on the Lighting Group page. The Shadowlets page explains more about the Shadowlet Blocks in the Designer.
Consult the Saving New Blocks section later on this page to save your own custom Particle blocks.
Emitter Blocks
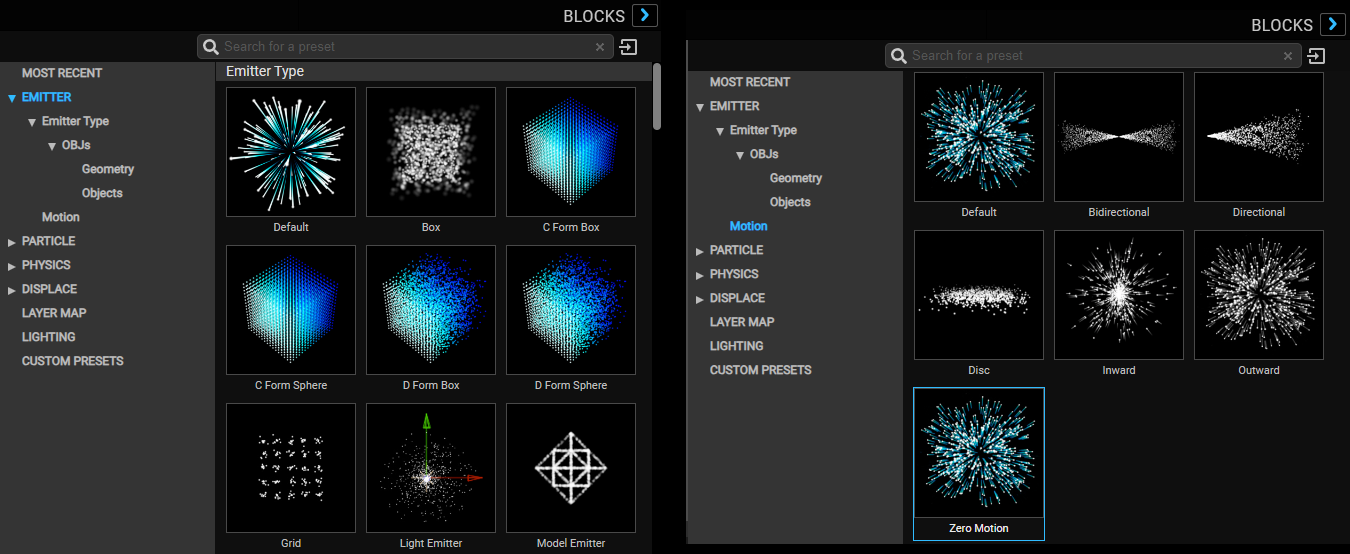
Emitter blocks divide into two categories: Emitter Type and Motion. You may have one from each category represented in the Effects Chain.
Opening the Emitter Type area in the Blocks preset browser reveals 3D model emitter presets across three categories: Emitter Types, Objects (noted as OBJs), and Motion. For more information on using 3D objects as emitters, see the Emitter > 3D Model Emitter page in the Emitter Group section. For more information on using the 3D model presets that come with Particular, check out the Using Presets page in the Overview of the Interface section.
Particle Blocks
The Particle group allows you to adjust the object that will be emitted as a particle. The group contains four categories: Particle Type, Size/Rotation, Opacity, and Color.
Open the Particle Type area in the block preset navigation tree to choose a particle type. Below the Particle Type section, you can also choose presets for Size/Rotation, Opacity, and Color. Simply click a block to apply it to your particles.
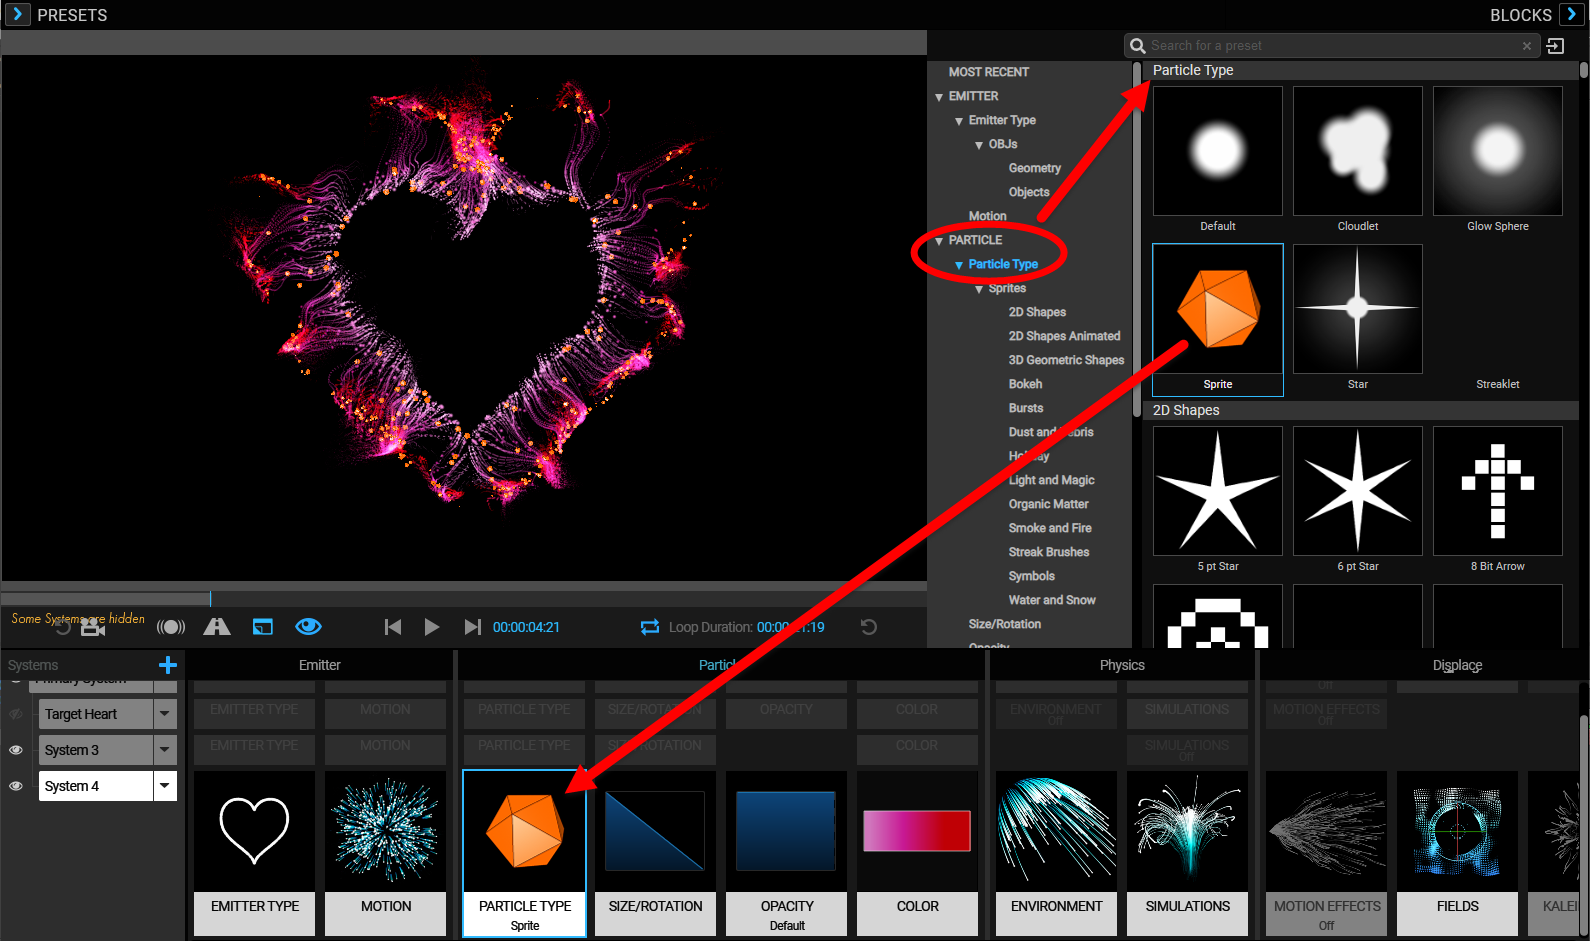
Note that selecting a block will overwrite whatever settings were previously there for that block type. For example, if you selected a block in the Color section, it would completely replace whatever color you’d previously applied.
Within the Particle Type group, you'll find some of the sprites built into the Designer. As with all blocks, simply click on a sprite's thumbnail to add it to your Effects Chain (see above).
Double-click the Particle Type block on the Effects Chain to bring up the Particle Type controls for the selected system in the Inspector. If the Particle Type pull-down menu is set to Sprite, the Choose Sprite... button will enable. Clicking that button launches the sprites browser (shown below), which contains hundreds of sprites for you to use.
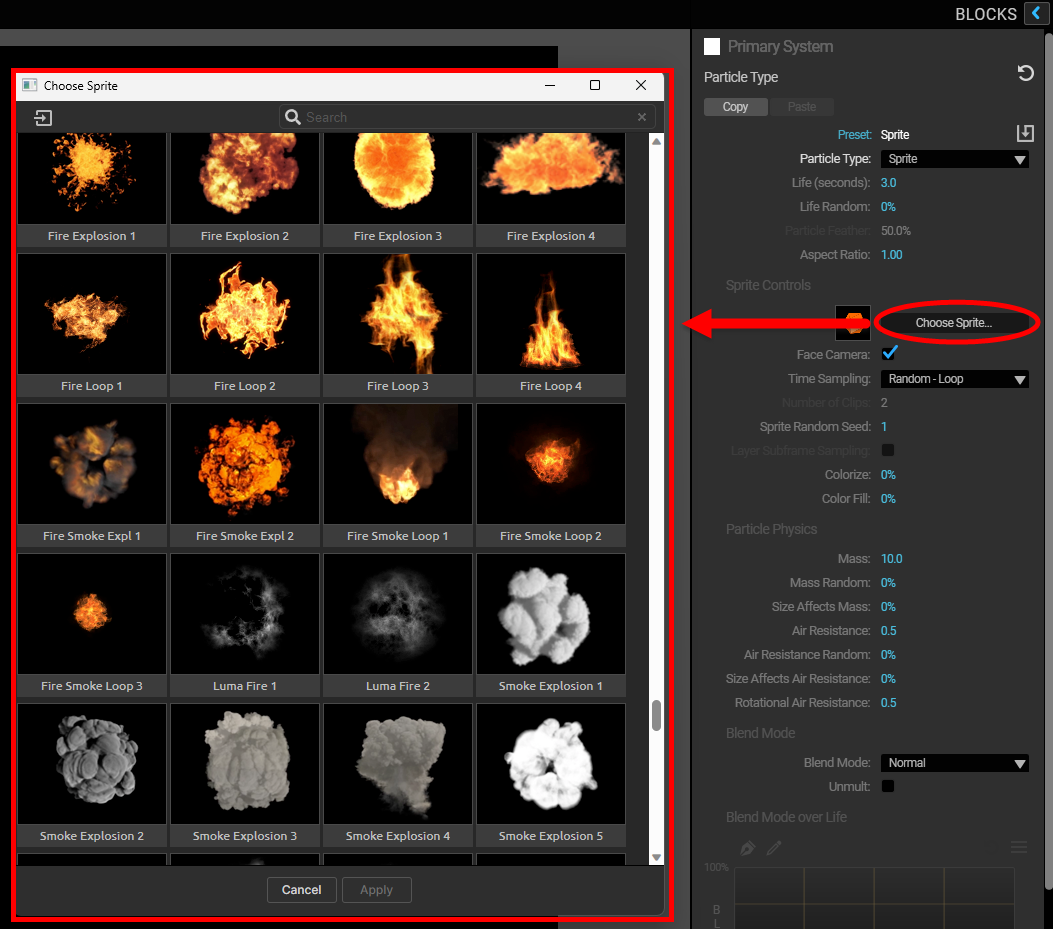
Once you select a sprite, you'll see it appear in the Effects Chain's Particle Type block and implement in your effect within the Preview pane.
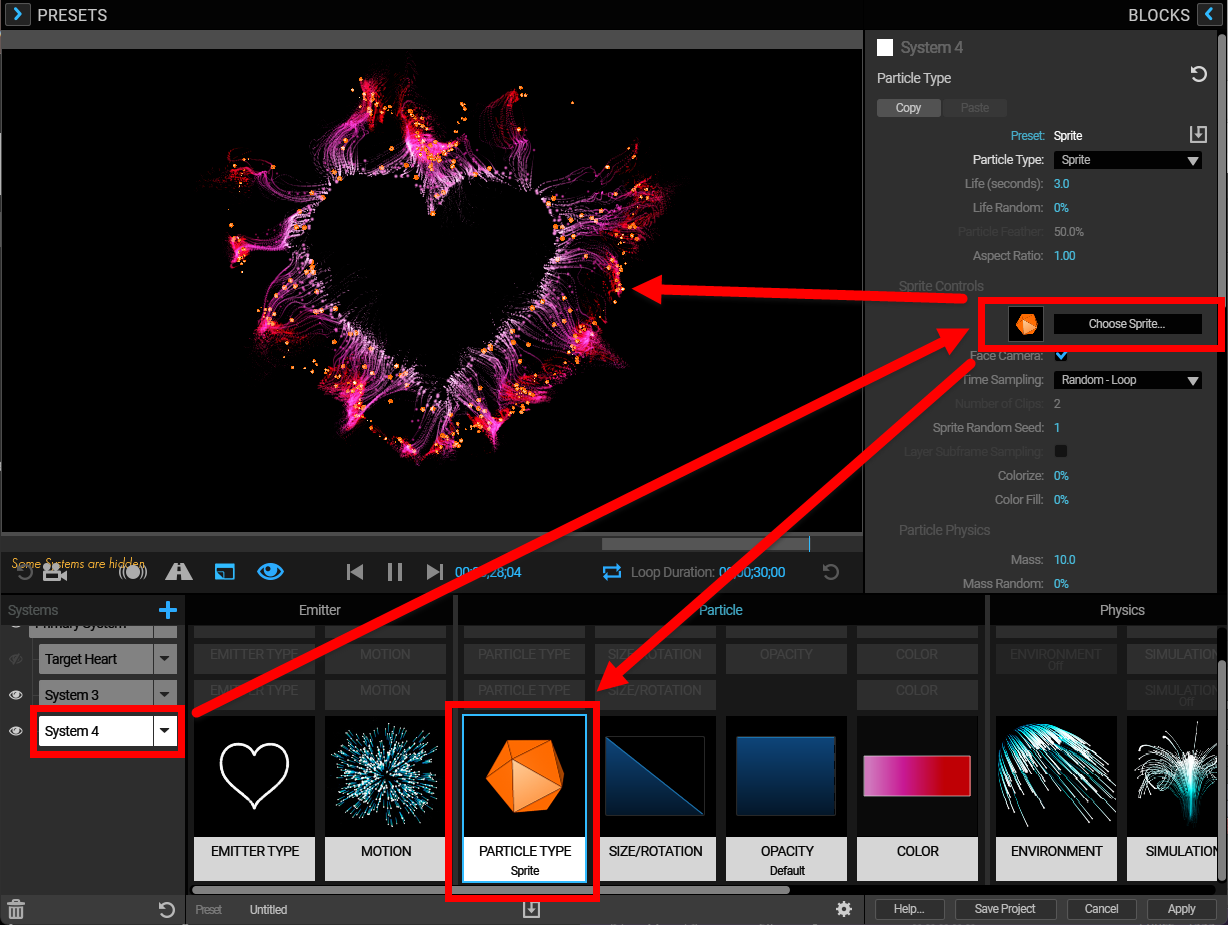
To add your own sprites, click the " Add New Sprite... " icon in the upper-left corner of the sprites preset browser. This will open a dialog window allowing you to locate and import the file into the sprite library. Particular supports .mov, .jpg, .jpeg, .png, and .psd file formats for sprites.
Imported sprites appear in a Custom category found beneath the main sprite categories, ready for use in all future projects.
Physics Blocks
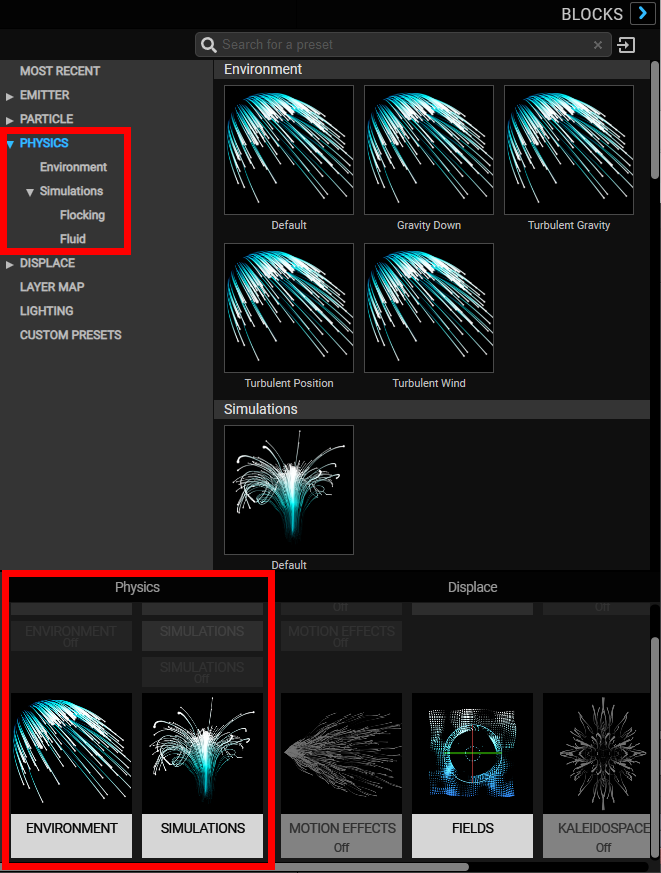
The Physics blocks divide into two categories: Environment and Physics Simulations. You may have one from each category represented in the Effects Chain.
Displace Blocks
The Displace blocks are divided into three different categories: Motion Effects, Fields, and Kaleidospace. You may have one from each category represented in the Effects Chain.
Layer Maps Blocks
Because Layer Maps depend on externally referenced source layers, the only provided block preset is Default.
Lighting Blocks
There is only one Lighting block category with two block options: Default and Shadowlets On. Choose one to be represented in the Effects Chain.
Saving New Blocks
From the Inspector, you can save your settings for each block. This creates a new preset block you can reuse whenever you like in the Designer.
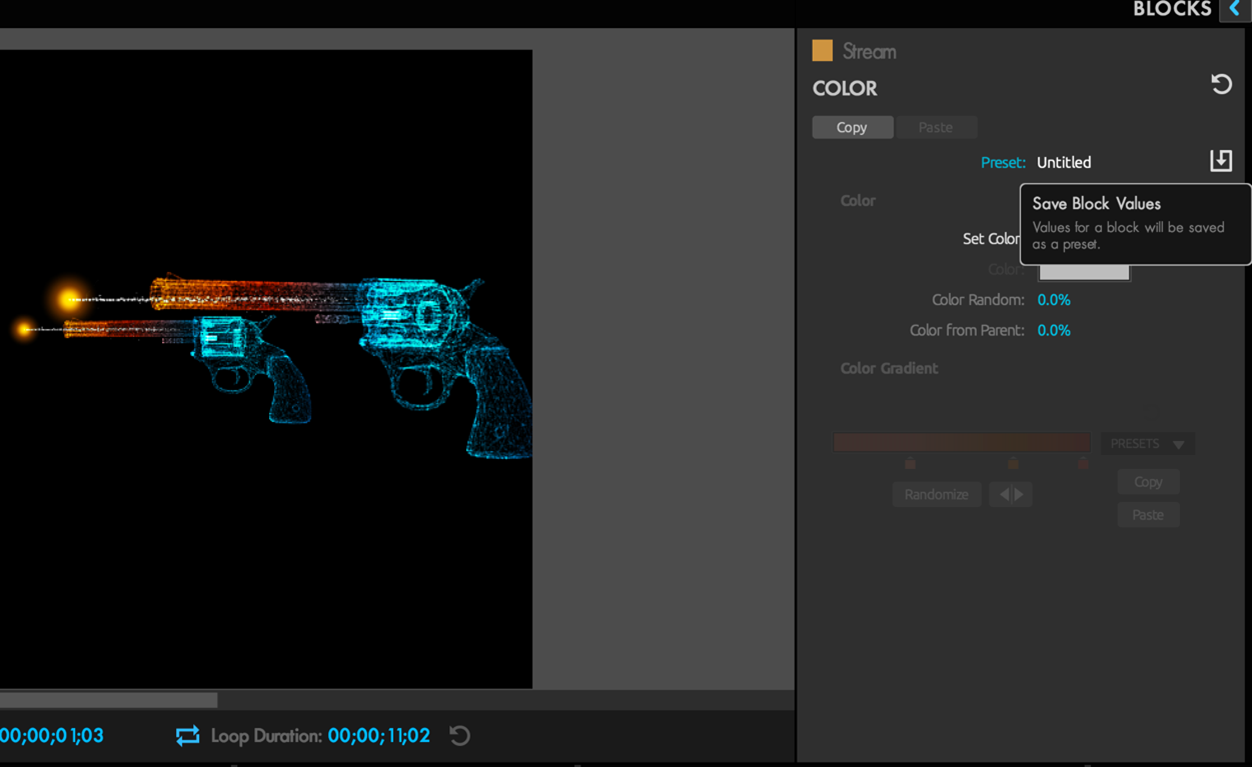

To save a custom block, click on the Save Block Values icon located at the upper-right hand of the Inspector pane. Once saved, the new block will appear below the preset blocks in alphabetical order within a newly created Custom section.
To reset a block's settings to their defaults, click the Reset icon located at the top-right of the Inspector pane (immediately above the Save Block Values icon).