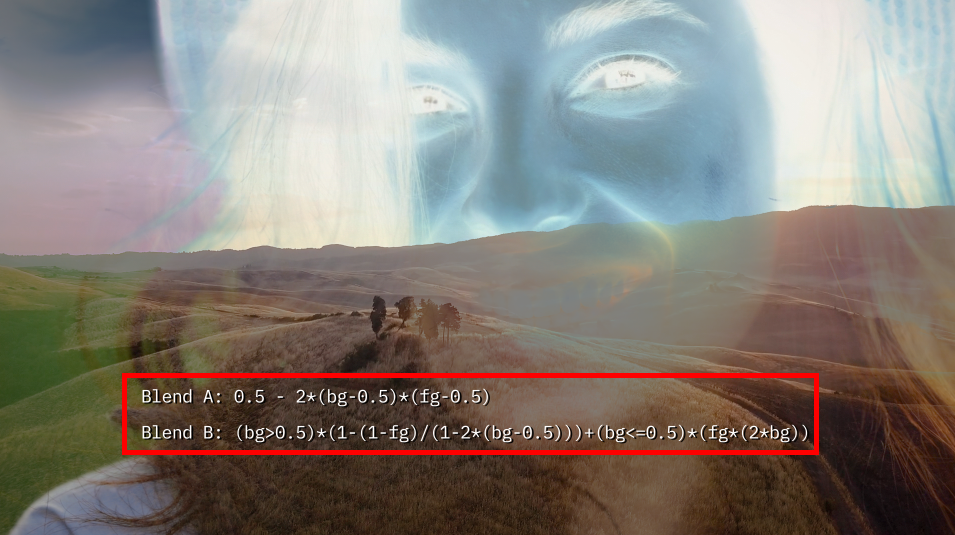
MODES

Modes is a technical artist tool for blending images with more control than you would get from most host applications. It allows you to combine multiple blend modes within a single image rather then having to duplicate layers and then combine and adjust them.
Prefatory Note:
Modes is not like most other Universe tools. It's part effect and part playground. If you're interested in
experimenting with blend modes or learning about how they work and interact, then you've come to the right place.
However, Modes can be conceptually intricate. For a brief but comprehensive dive into how Modes works, we recommend
watching our Cineversity overview.
Presets
Modes includes a host of presets designed to help you visually navigate the range of blending possibilities and quickly apply looks that can get you closer to your desired effect. Find them via the blue Open Dashboard... button or the Choose a Preset... button below it.
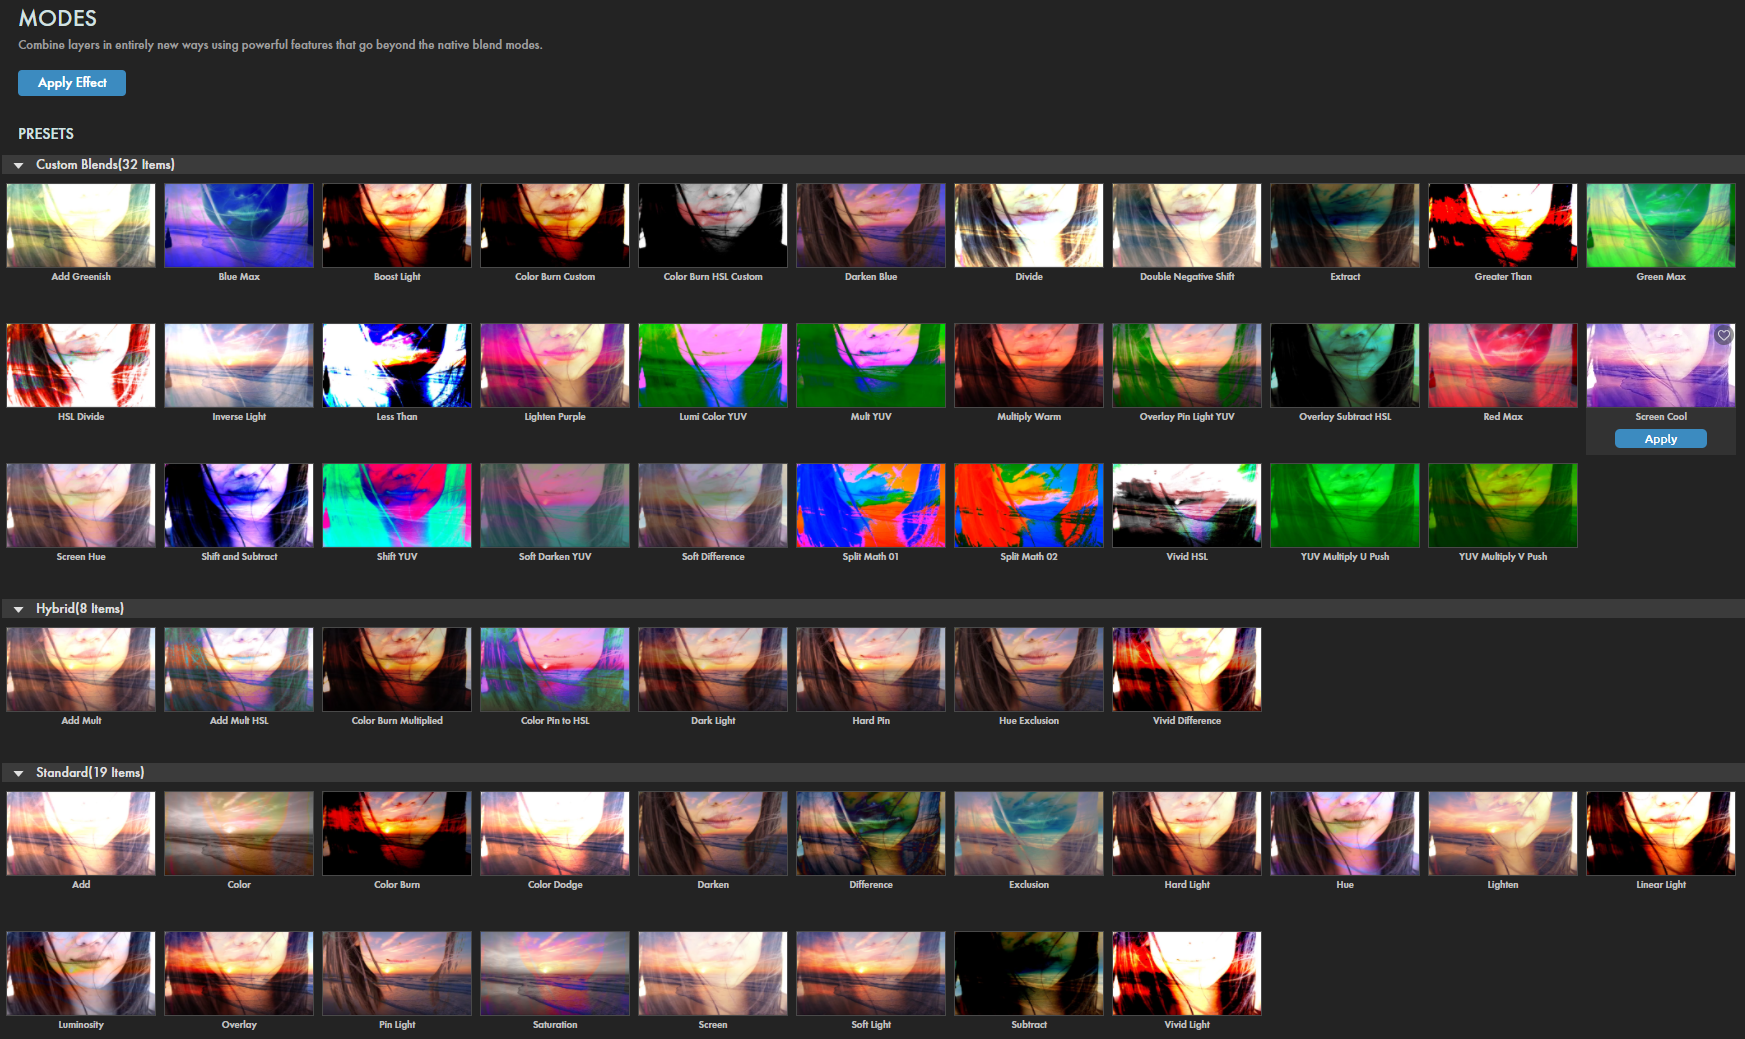
As with all other Universe tools, you can modify or create a Mode look and then save it under its own name by pressing the Save Preset... button.
Getting Started in a Timeline


- Place two clips in a timeline onto their own source layers, one above the other.
- Apply the uni.Modes effect onto the top clip and set Background Layer to the layer behind it used for the blending effect.
Modify the Effect
- Input Color Space sets how the color space integrates into the blend processing.
Note that there is an Output Color Space parameter near the end of the effect controls which sets how these integrations translate out the effect.- RGB leaves the RGB input values unchanged.
- RGB to HSL converts red to Hue, green to Saturation, and blue to Lightness.
- RGB to YUV converts red to Luma, green to Chroma Blue, and blue to Chroma Red.
- HSL to RGB converts Hue to red, Saturation to green, and Lightness to blue.
- YUV to RGB converts Luma to red, Chroma Blue to green, and Chroma Red to blue.
- RGB to Lightness merges all RGB channels into their lightness equivalents.
- RGB to Luminance merges all RGB channels into weighted luminance equivalents.
- Blend Mode A and Blend Mode B offer various standard blending options, which Modes then helps you to mix
together.
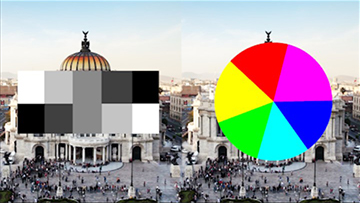
Normal: All RGB information is preserved during the blend process. 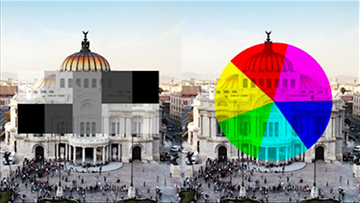
Darken: Preserves the darkest of the colors and luminance values from the layers being blended. 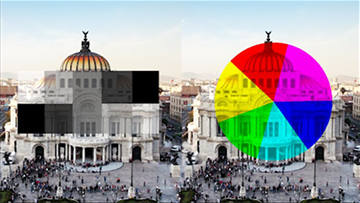
Multiply: Combines the contrast and lightness between the two layers, often resulting in greater range in darker areas. 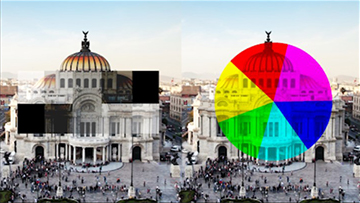
Color Burn: Adds contrast between layers before multiplying the lightness values between the two. 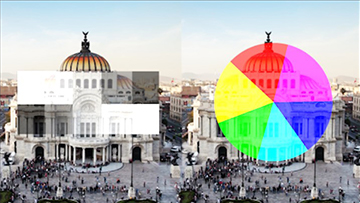
Add: Brightens the base layer's RGB channels to blend the image's color information. 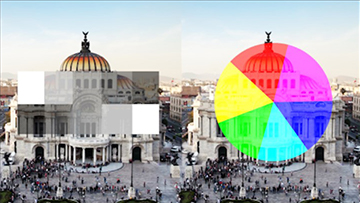
Lighten: Makes layers' darker areas less visible while keeping lighter areas more visible. 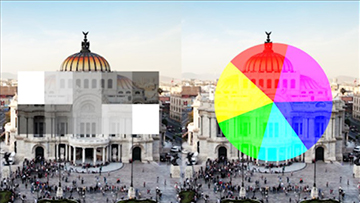
Screen: Multiplies light pixels in each layer, creating greater variance in the image's brighter areas. 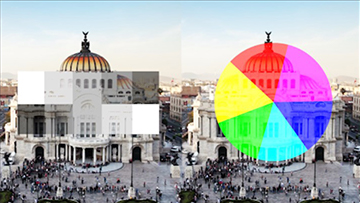
Color Dodge: Brightens and adds color to the layer. Produces more subtle effects at lower opacities. 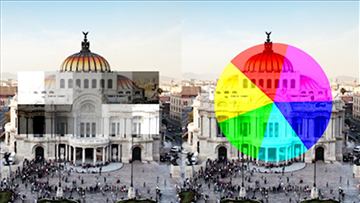
Overlay: Darker tones darken the image and add contrast. Lighter tones lighten the image and add contrast. 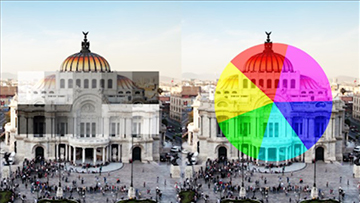
Soft Light: Darker tones darken the image and add a subtle contrast. Lighter tones lighten the image and add subtle contrast. 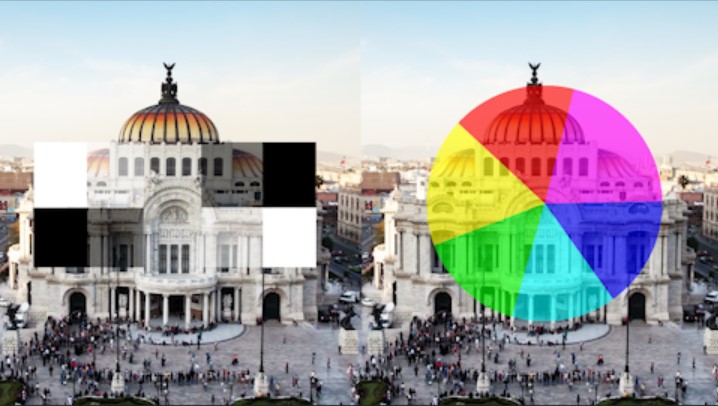
Hard Light: Combines the Multiply and Screen modes, keeping the whites and blacks unchanged. Typically used with lower opacities. 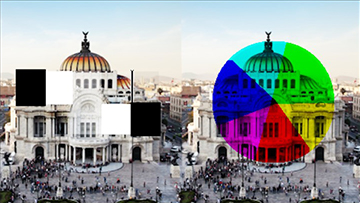
Vivid Light: Lightens anything greater than 50% gray and darkens anything lower than 50% gray. Typically used with lower opacities. 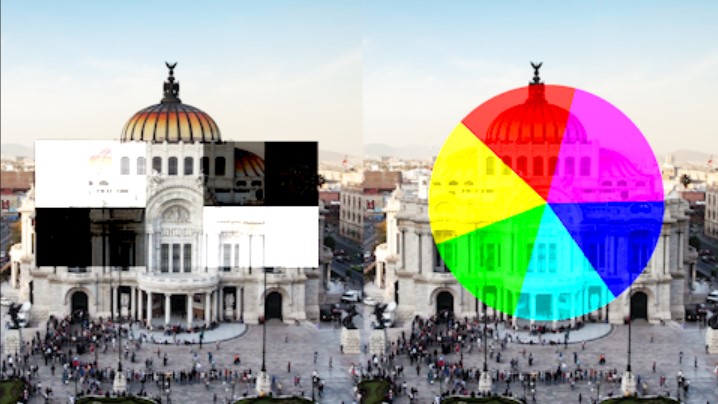
Linear Light: Turns the blend source into a light source. If the source is lighter than 50% gray, it uses the Color Dodge effect. If the source is darker than 50% gray, it uses the Color Burn effect. 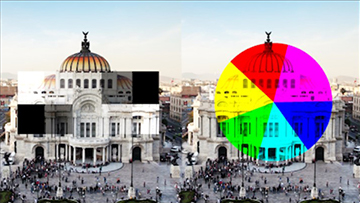
Pin Light: Uses both Lighten and Darken blend modes at the same time, which removes midtones. 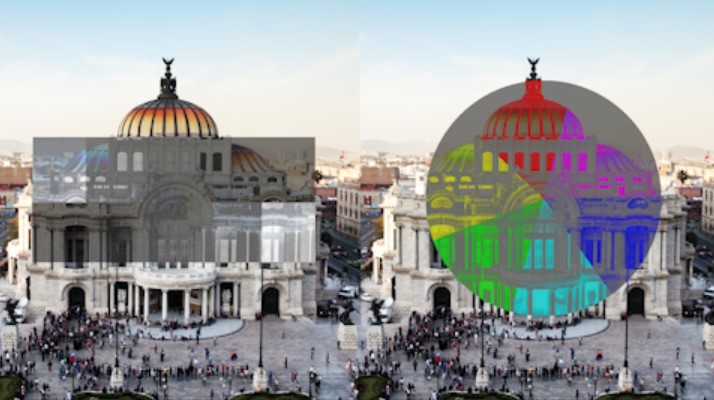
Difference: Subtracts lighter values from darker values, with white inverting the base entirely and black producing no change to the colors. 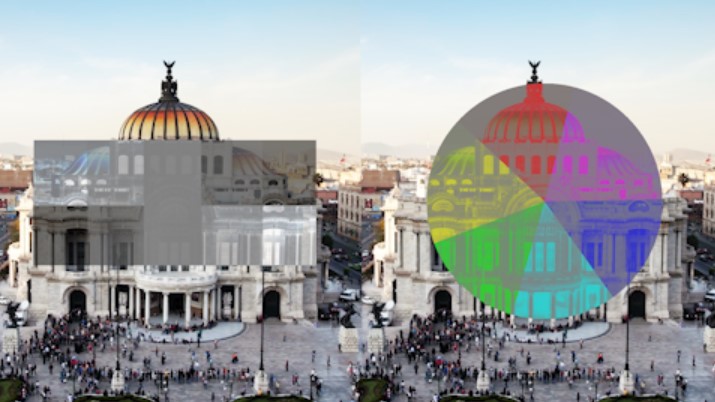
Exclusion: Subtracts lighter values from darker values, with white inverting the base entirely, black producing no change to the colors, and gray producing gray. 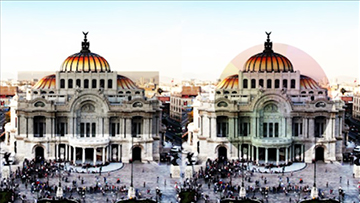
Subtract: Subtracts pixel values between layers, resulting in a darker output in darker areas of the lightness values, and vice versa. 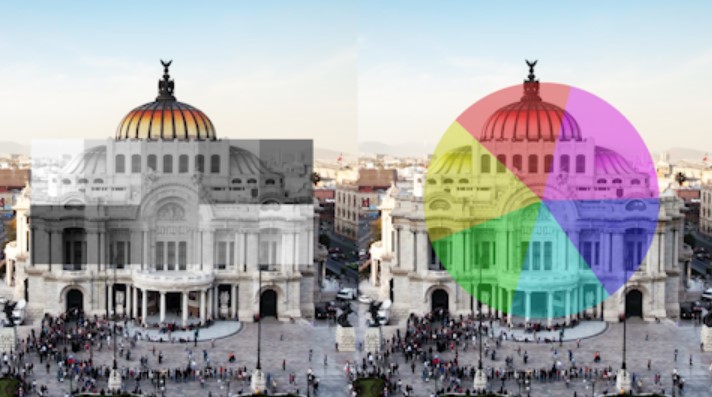
Hue: Leaves saturation and brightness intact while mixing the layers' hue values. 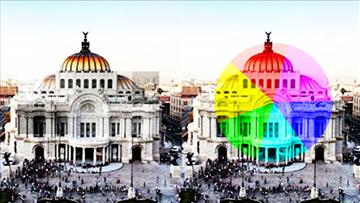
Saturation: Leaves brightness and hue intact while mixing the layers' saturation values. 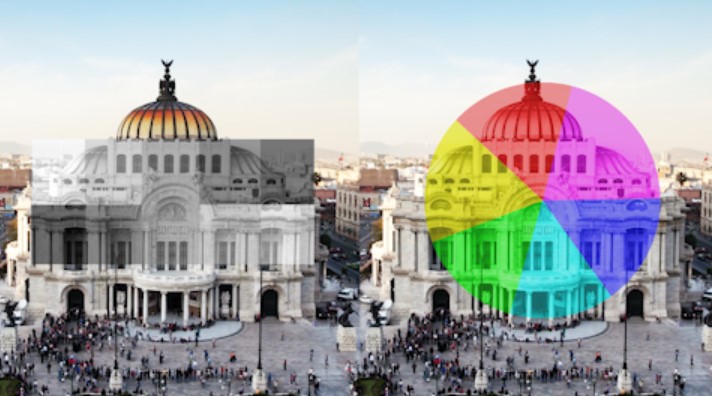
Color: Leaves layer brightness intact while mixing both saturation and hue. Typically used with black and white images. 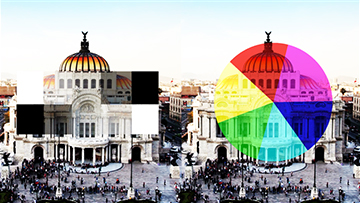
Luminosity: Leaves hue and saturation intact while mixing the layers' brightness values. - A <-> B Mix sets the amount of blending between the two layers.
- Foreground Intensity and Background Intensity adjust the layers' brightness to be higher or lower than their original values.
- Swap FG/BG toggles whether the background and foreground layer orders are reversed.
- Stretch Background to Fit toggles whether the background layer stretches to fit the composition.
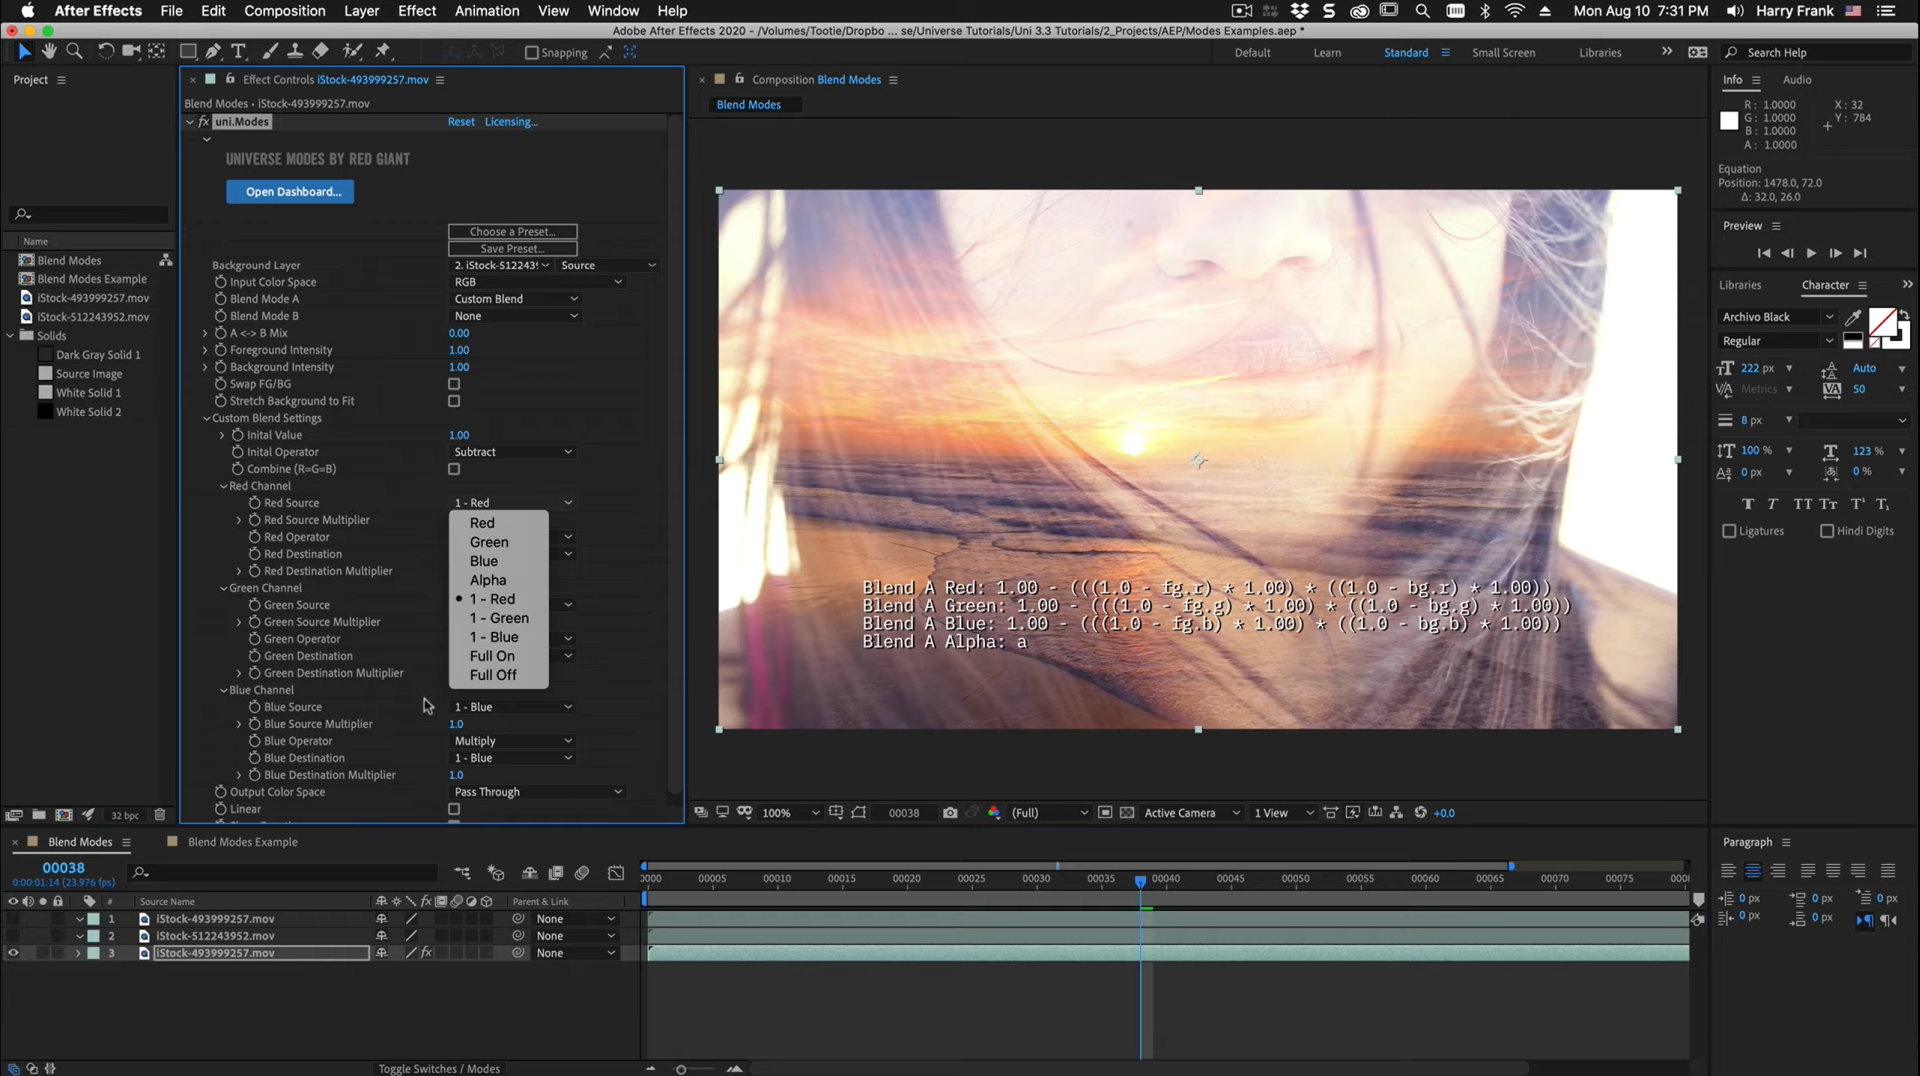
- Custom Blend Settings offers parameters that adjust each of the RGB channels through equations
targeting their various pixel values.
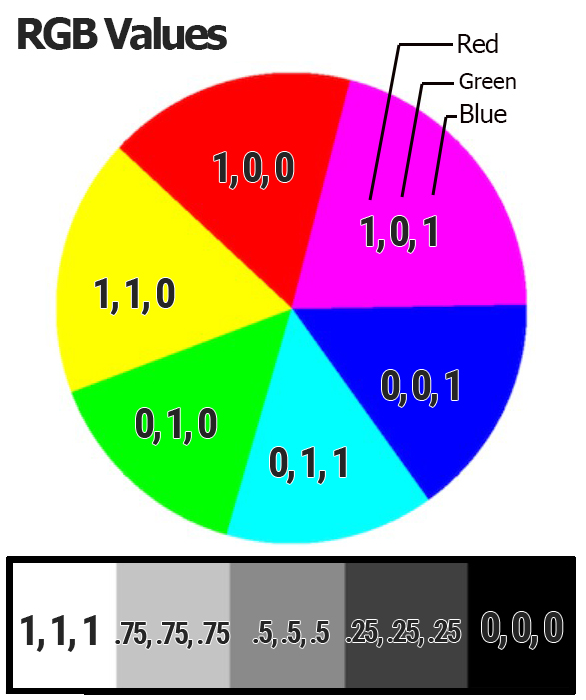
- As shown above, each image pixel has a value between 0 and 1 in the red, green, and blue channels. The higher the
value, the more that channel is represented in the pixel.
- Example 1: A pixel with 1 in the red channel, 0 in green, and 0 in blue would be red.
- Example 2: A pixel with 0 in all channels would be black.
- The lower your values, the darker your image.
- The settings in this area control the equations that affect these pixel values to create the blending effect's output.
Tip: Use the Show Equations toggle below to see parameters' input values. - Initial Value sets the starting value for each channel. A value of 1 in a channel treats that pixel as an absolute value of that channel.
- Initial Operatorsets what function (None, Add, Subtract, Multiply, Divide, Less Than, or Greater Than) applies to the equation.
- Combine (R=G=B) toggles whether each channel shares the same formula (set by the red channel parameters).
- Red/Green/Blue Channel
Each subgroup carries the same set of controls, so the settings below for the red channel also apply to green and blue.- Red Source sets what channel of the image source is used for the channel's input.
- Red sets the source to the red channel.
- Green sets the source to the green channel.
- Blue sets the source to the blue channel.
- Alpha sets the source to the alpha channel.
- 1 - Red sets the source to the inverted red channel.
- 1 - Green sets the source to the inverted green channel.
- 1 - Blue sets the source to the inverted blue channel.
- Full On sets the source to 100% white in the alpha channel.
- Full Off sets the source to 0% black in the alpha channel.
- Red Source Multiplier sets what number the source input is multiplied by.
- Red Operator sets what function applies between the source and its output.
- Add: source + destination
- Subtract: source - destination
- Multiply: source * destination
- Divide: source / destination
- Less Than: Source < destination; only returns a value if the foreground layer is less than the background layer.
- Greater Than: Source > destination; only returns a value if the foreground layer is greater than the background layer.
- min(src, dest): Returns the smaller value between the source and the destination.
- max(src, dest): Returns the larger value between the source and the destination.
- Red Destination sets the target channel for the image source output.
- Red sets the output to the red channel.
- Green sets the output to the green channel.
- Blue sets the output to the blue channel.
- Alpha sets the output to the alpha channel.
- 1 - Red sets the output to the inverted red channel.
- 1 - Green sets the output to the inverted green channel.
- 1 - Blue sets the output to the inverted blue channel.
- Full On sets the output to 100% white in the alpha channel.
- Full Off sets the output to 0% black in the alpha channel.
- Red Destination Multiplier sets what number the output is multiplied by.
- Red Source sets what channel of the image source is used for the channel's input.
- As shown above, each image pixel has a value between 0 and 1 in the red, green, and blue channels. The higher the
value, the more that channel is represented in the pixel.
- Output Color Space sets the color space into which the output translates. This can be used to convert
the color space back to RGB if you set the input to HSL or YUV. Note that there is an Input Color
Space parameter at the beginning of the effect controls which sets how these integrations translate into
the effect.
- Pass Through leaves all output values unchanged.
- RGB to HSL converts red to Hue, green to Saturation, and blue to Lightness.
- RGB to YUV converts red to Luma, green to Chroma Blue, and blue to Chroma Red.
- HSL to RGB converts Hue to red, Saturation to green, and Lightness to blue.
- YUV to RGB converts Luma to red, Chroma Blue to green, and Chroma Red to blue.
- RGB to Lightness merges all RGB channels into their lightness equivalents.
- RGB to Luminance merges all RGB channels into weighted luminance equivalents.
- Linear toggles whether the color space converts from sRGB to Linear before any image processing, then converts back from Linear to sRGB after image processing.
- Show Equations toggles an overlay showing all of the equations set by the blend mode effect
between the background (bg) and foreground (fg) layers.