
SLIDE
A 3D transition that slides the layer right, left, upward, or downward to reveal the second footage layer.
Presets
Use the Slide presets to make your sliding A-B transitions single-click simple. Just keyframe the Mix duration (see below) and tune to taste! Find these presets via the blue Open Dashboard... button or the Choose a Preset... button below it.
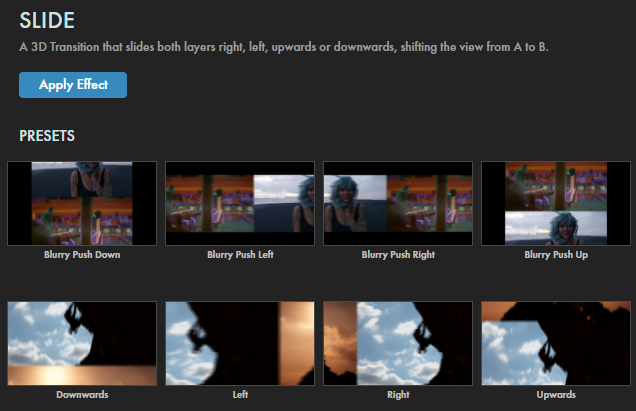
As with all other Universe tools, you can modify or create a Shape Wipe look and then save it under its own name by pressing the Save Preset... button.
Getting Started in a Timeline



- Drag the transition over your edit in the timeline, placing it at the end or beginning. Alternatively, you can place it between two successive clips.
- Modify the Duration of the transition either by entering a length in the field or dragging directly in the timeline.
- You can choose the Alignment (Center at Cut, Start at Cut, End at Cut, or Custom Start) either by positioning the transition in the timeline or by choosing from the Alignment drop-down in some host applications.
Getting Started in a Compositor


- Apply the transition to the layer from which you want to transition.
- Choose the footage layer you would like to transition to in the Transition B drop-down menu. (Note for Motion users: Drag the footage layer up to the Transition B box.)
- Animate your transition using the Mix slider from 0% to 100 percent. Set a keyframe for 0% where the transition should start, then set another at 100% for the end.
Modify the Transition
- The Direction drop-down menu can change the direction from which the transition slides into frame: Right, Left, Upwards, or Downwards.
- The Animation drop-down menu gives multiple interpolation style choices for your transition's animation. The default is Ease In Out QuadFor more detail on these animation patterns, see our Animation Tween Examples page.
-
The
Dolly
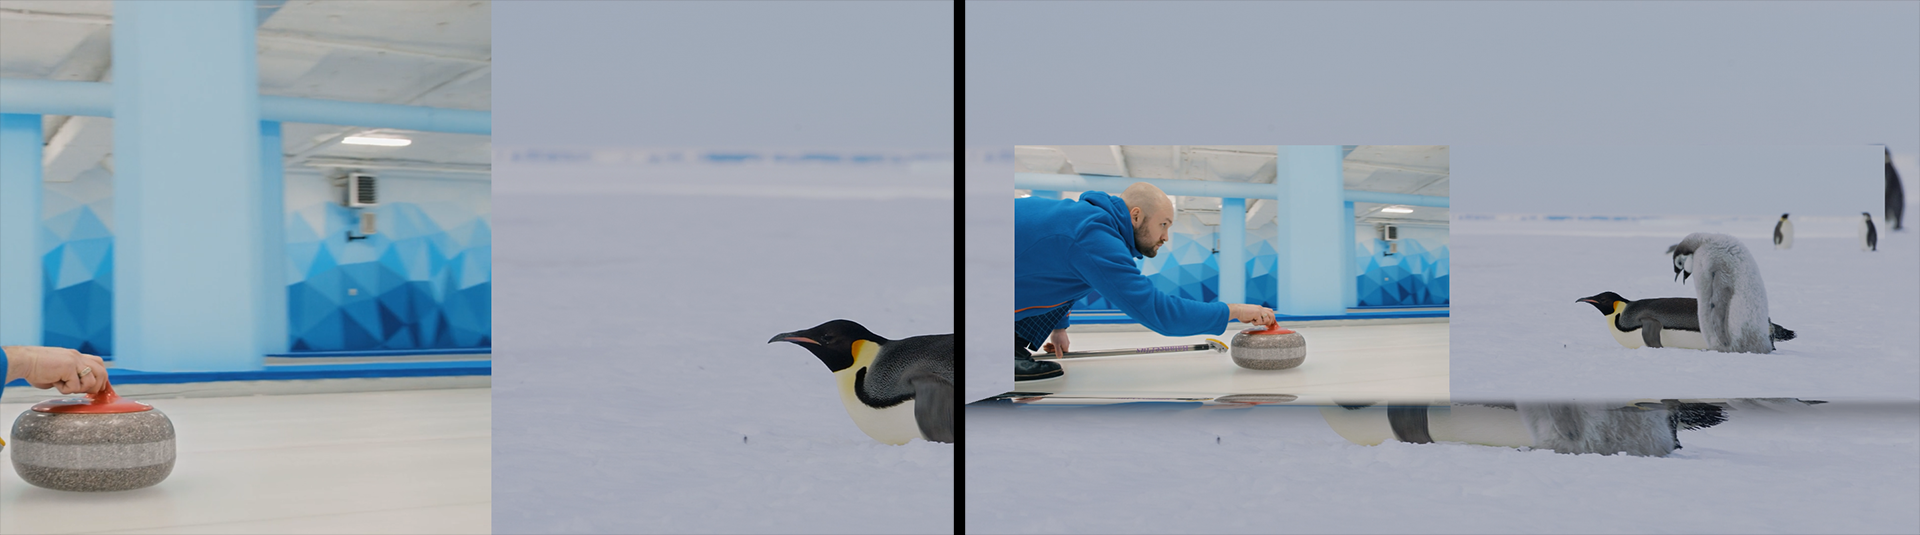
slider gives you control to move the camera closer in or farther away from the transitioning layers along the z axis. Bringing the control down to 0 (left, below) will move the layer directly to the camera while pushing the slider up to 1.2 (right) will move the camera farther away.
-
Reflect
creates a reflection effect on this transition's layers.
- Check the Reflection box to make this reflection appear.
-
Blurriness
and
Falloff
controls help fade the reflection's crispness to give it a more subtle, “realistic” look.
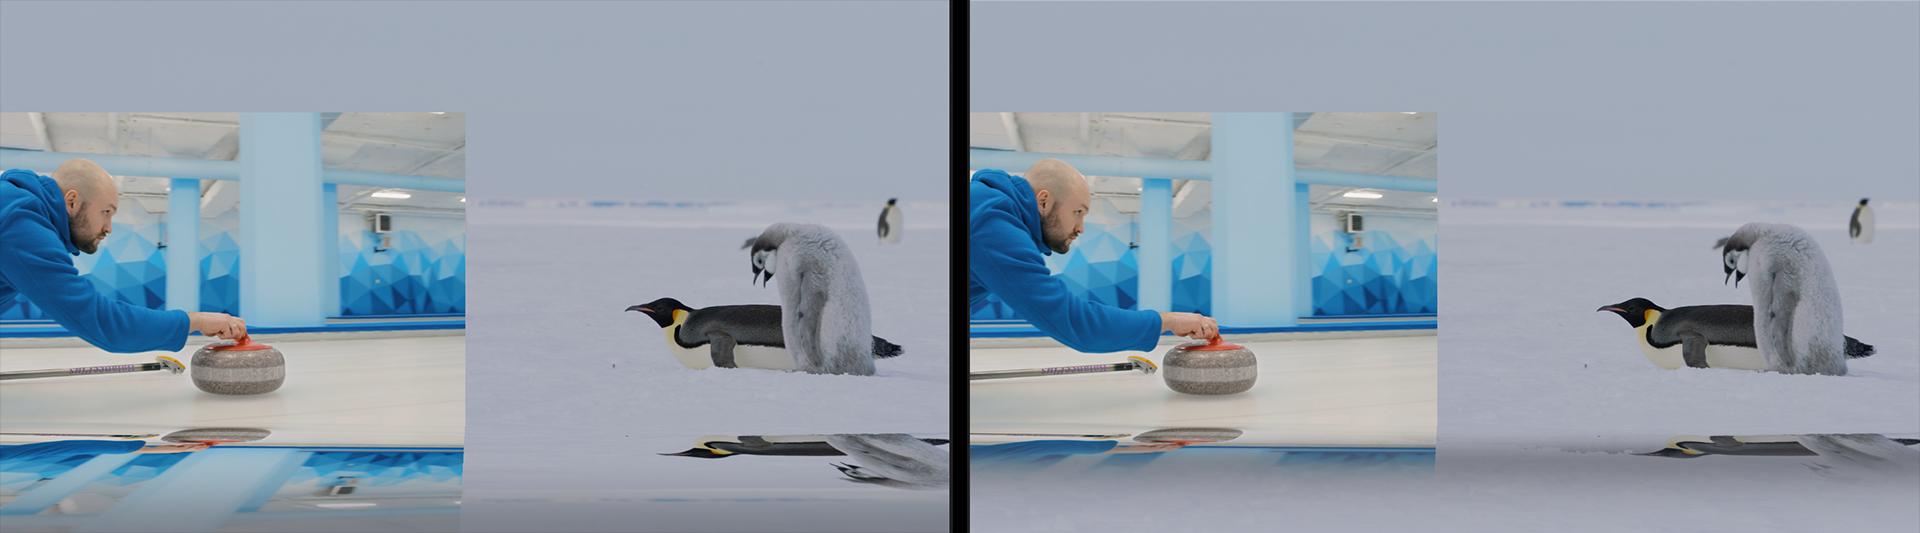
Below, you can see the Reflection below our two clips, which compare Falloff: 0.0 (left) against Falloff: 0.6 (right). Note that we kept Blurriness low (5.0) to keep the reflection clear.
- The Aspect control lets you stretch the reflection horizontally or vertically to help blend or distort it further into the composition.
-
Motion Blur:
-
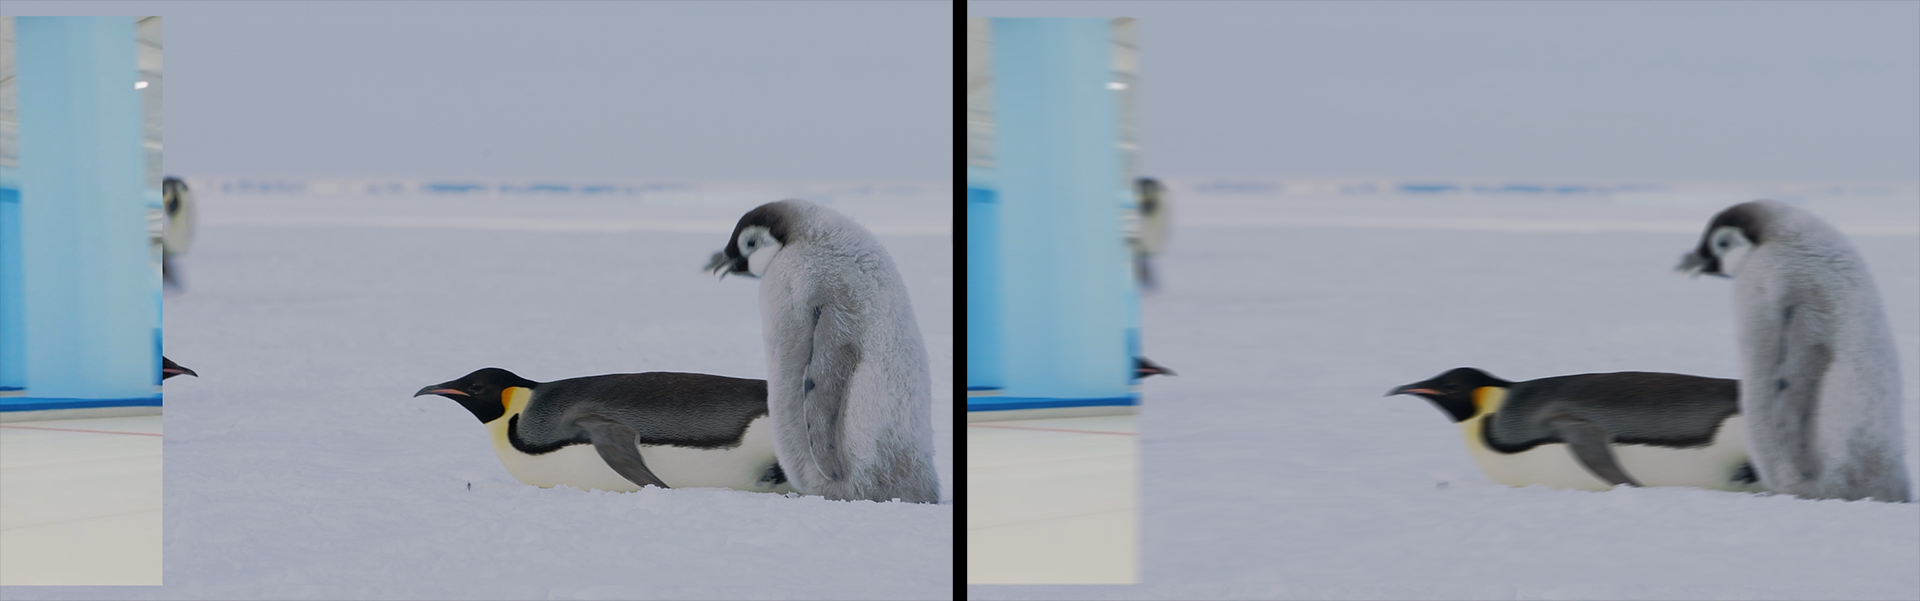
Add realistic motion blur by choosing a setting from the drop-down menu: Off (shown left, below), Low, Medium, or High (right). The higher the Motion Blur setting, the more instances of the layer will appear between frames.
-
The
Motion Blur Shutter
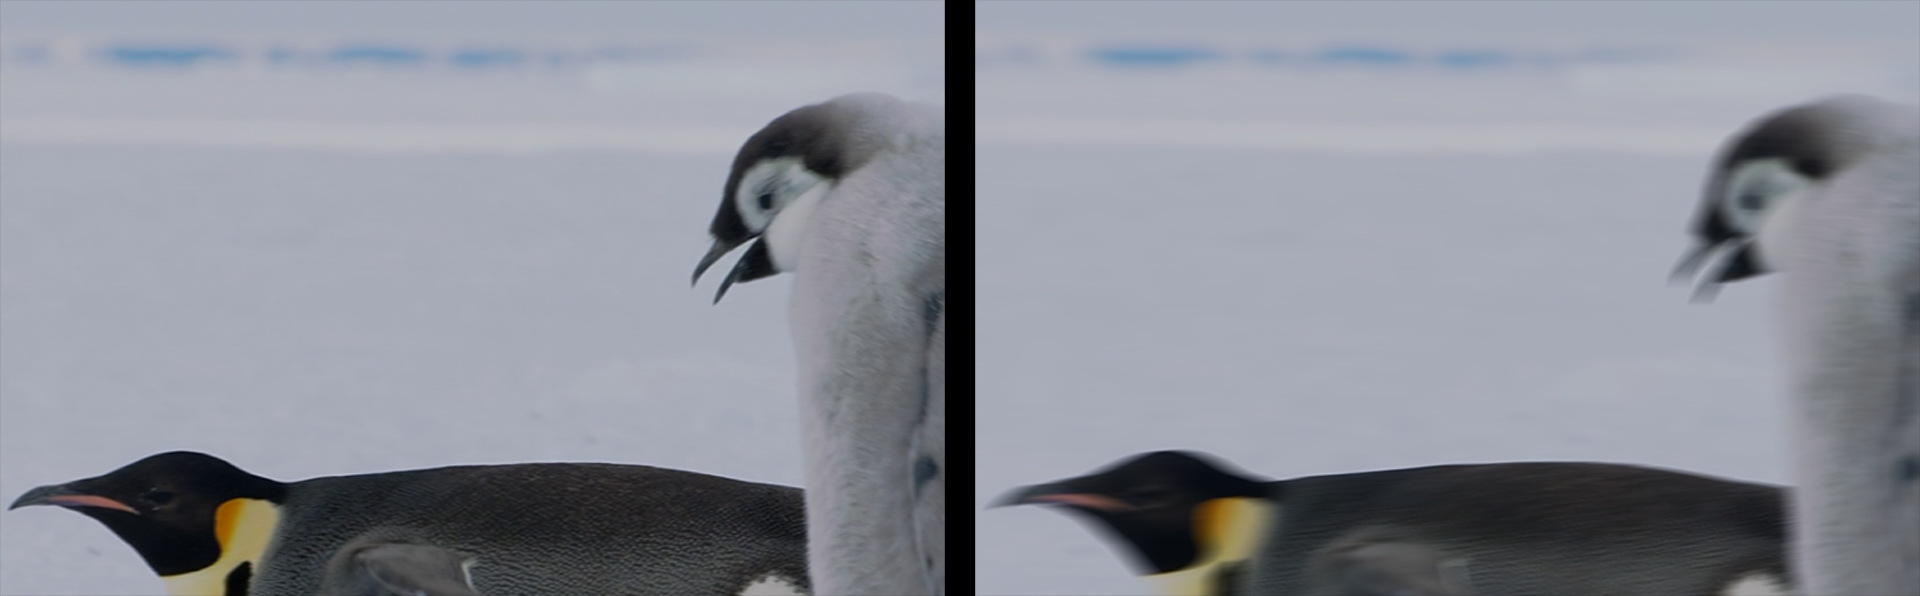
angle default is set to 180 degrees. Increasing it spreads the motion blur iterations evenly with a high number of blur levels.
Shown below at 200% zoom with Motion Blur: Medium are minimum values of 90 (left) and 720 (right).
-
The
Edge Smoothing
drop-down menu provides levels of edge anti-aliasing, making them less jagged. Options for smoothing strength are
None, Low, Medium, or High. Setting this to High may increase playback and render time.
-
Add realistic motion blur by choosing a setting from the drop-down menu: Off (shown left, below), Low, Medium, or High (right). The higher the Motion Blur setting, the more instances of the layer will appear between frames.