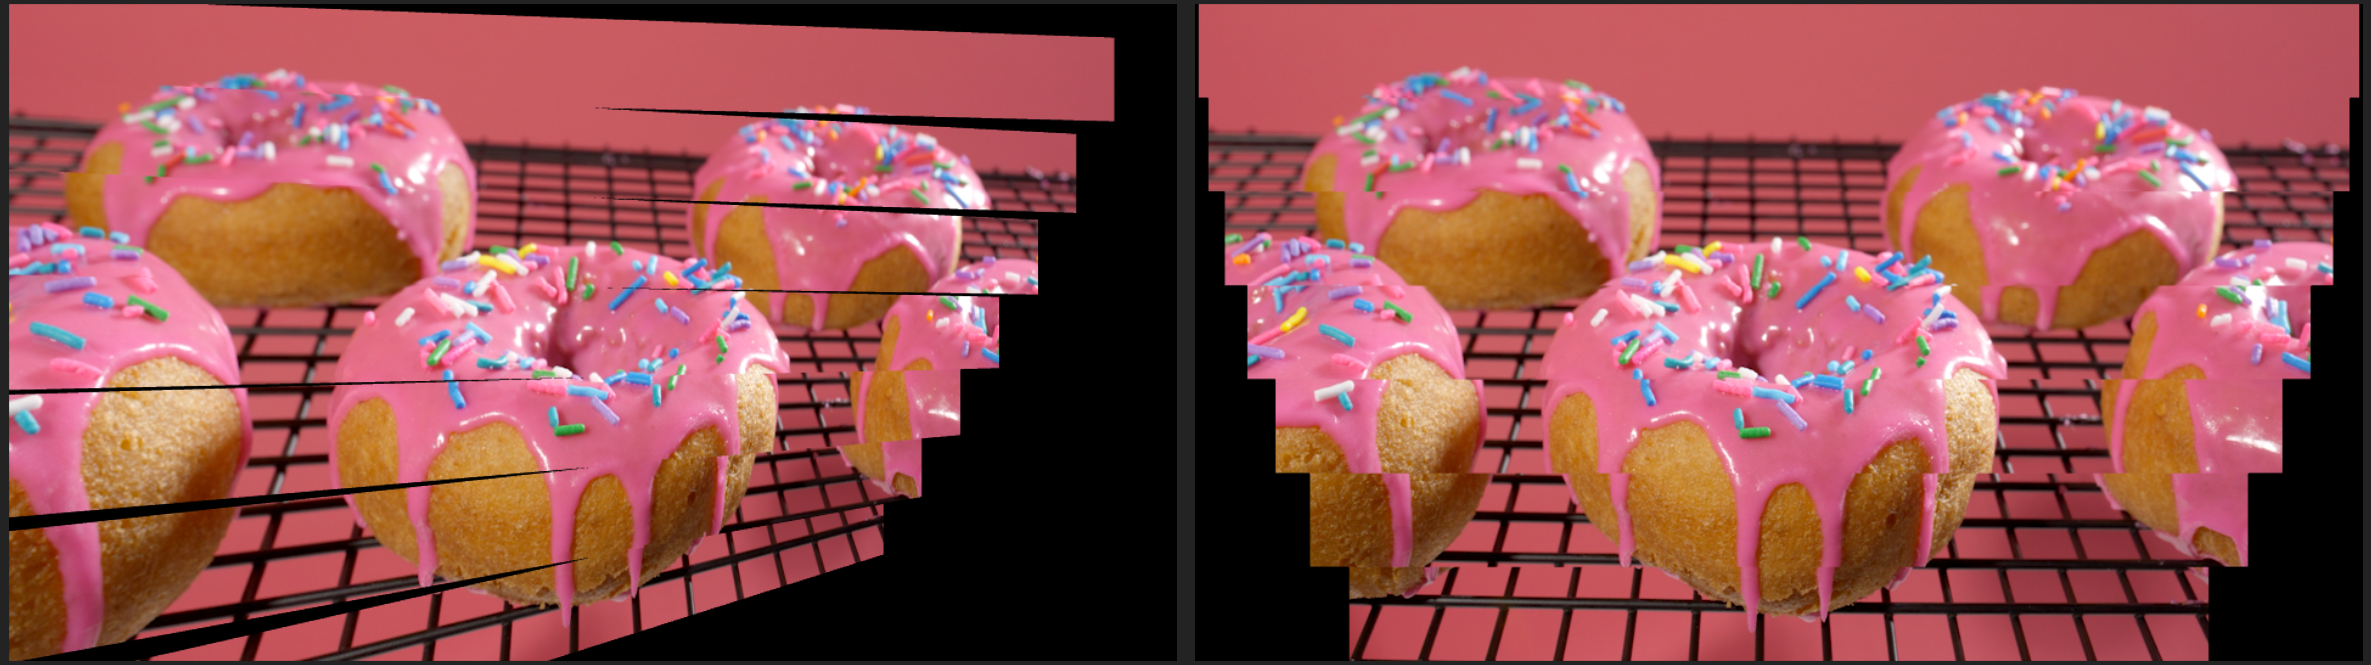
BLINDS
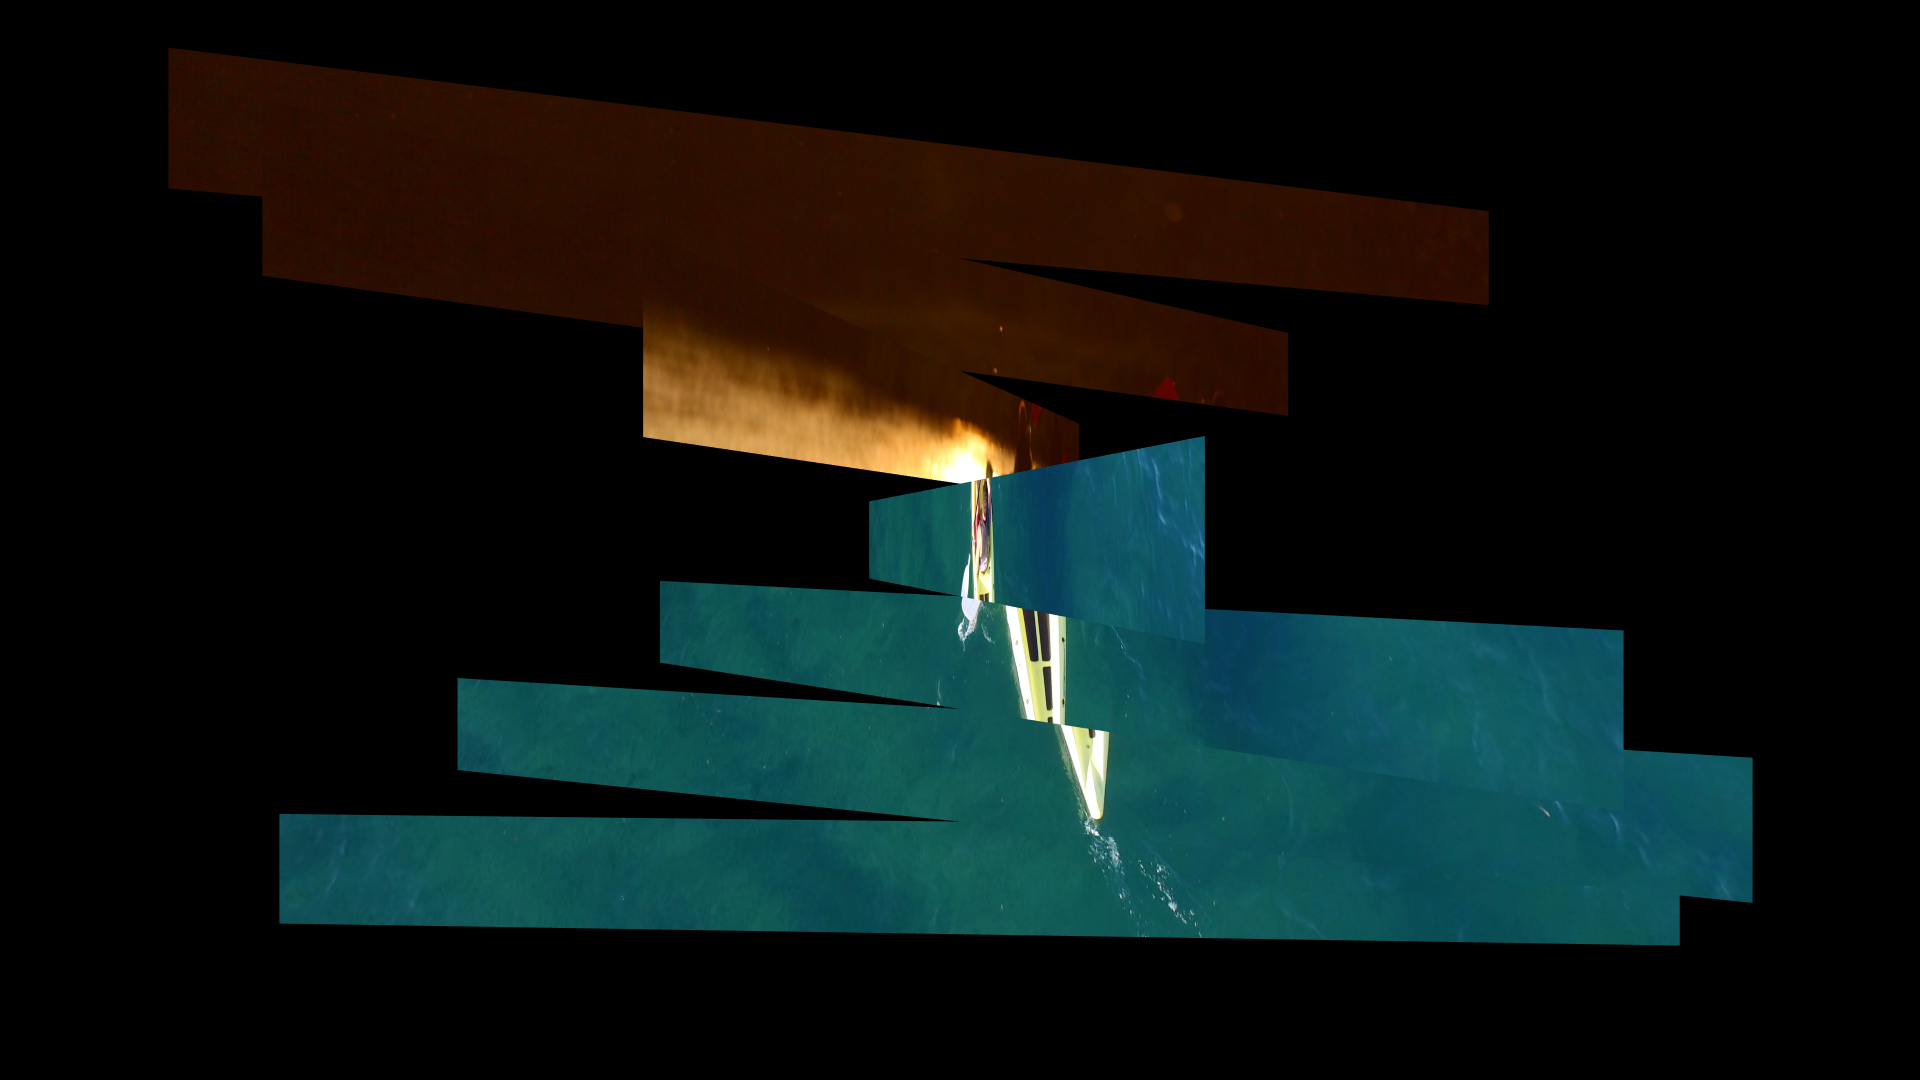
A 3D transition that divides the layer into sections that rotate in an offset fashion vertically or horizontally, revealing the second layer of footage.
Presets
Blinds arrives with four presets. Find them via the blue Open Dashboard... button or the Choose a Preset... button below it.
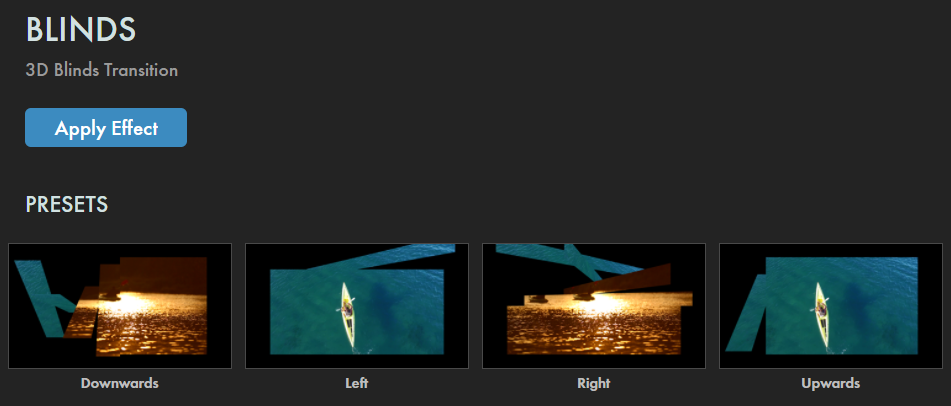
As with all other Universe tools, you can modify or create a Blinds look and then save it under its own name by pressing the Save Preset... button.
Getting Started in a Timeline




- Dragging the transition over your edit in the timeline, drop it at the beginning of a clip, the end of a clip, or in between two clips.
- Modify the Duration either by entering a length in the field or dragging directly in the timeline.
- You can choose the Alignment (Center at Cut, Start at Cut, End at Cut, Custom Start) either by positioning the transition in the timeline or by choosing from the Alignment drop-down in some host applications.
Getting Started in a Compositor


- Apply the transition to the layer you want to transition from.
- Choose the footage layer you would like to transition to in the Transition B drop-down menu. (Note for Motion users : Drag the footage layer up to the Transition B box.)
-
Animate your transition using the
Mix
slider from 0% to 100%. Set a keyframe for 0% where the transition should start, then set another at 100% for the end.
Neglecting to set these keyframes will result in no Blinds effect taking place.
Modify the Transition
- The Animation drop-down menu gives multiple interpolation style choices for your transition's animation. The default is Ease In Out Quad. See our Animation Tween Examples page for more in-depth descriptions of how these animation options function.
-
Tiles
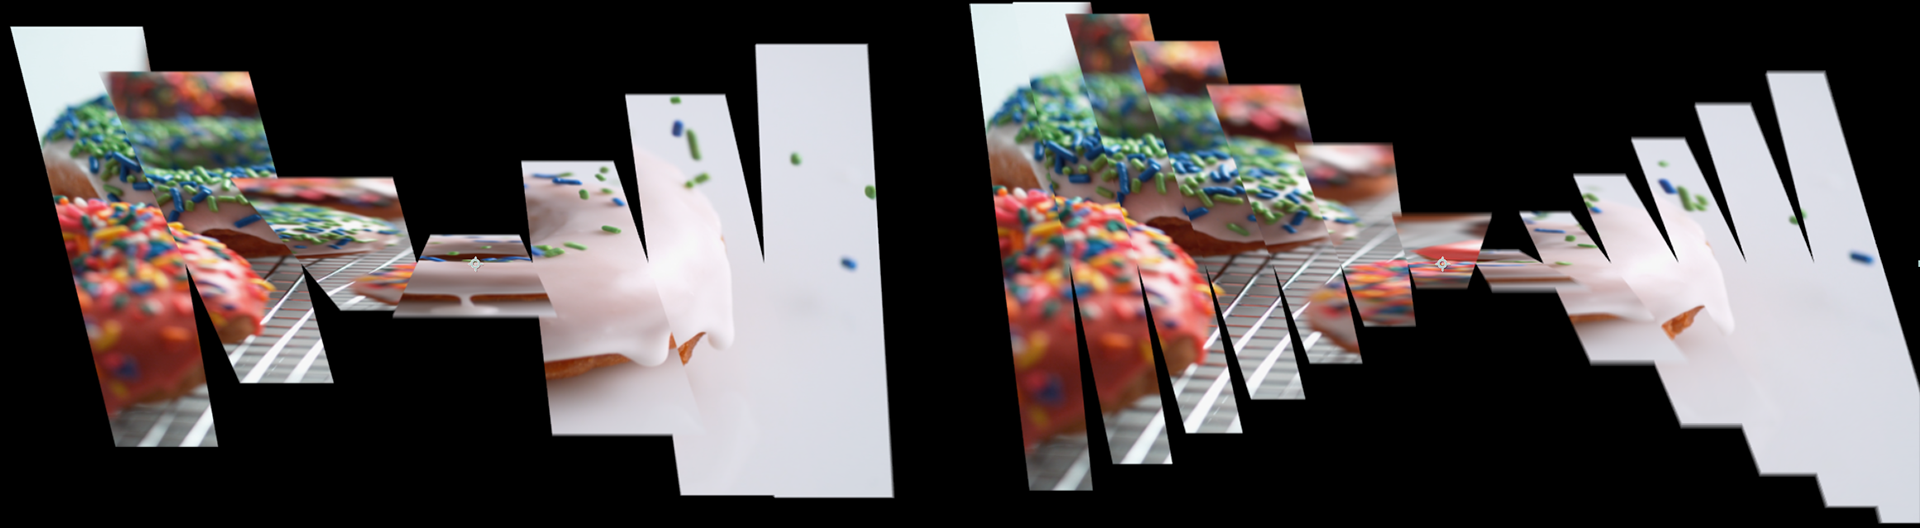
allows you to set how many sections the transitioning Layers are broken into. Note: The more sections, the longer your render time might be.
Shown below are the default value of 7 (left) and the maximum of 13 (right).
-
The
Dolly
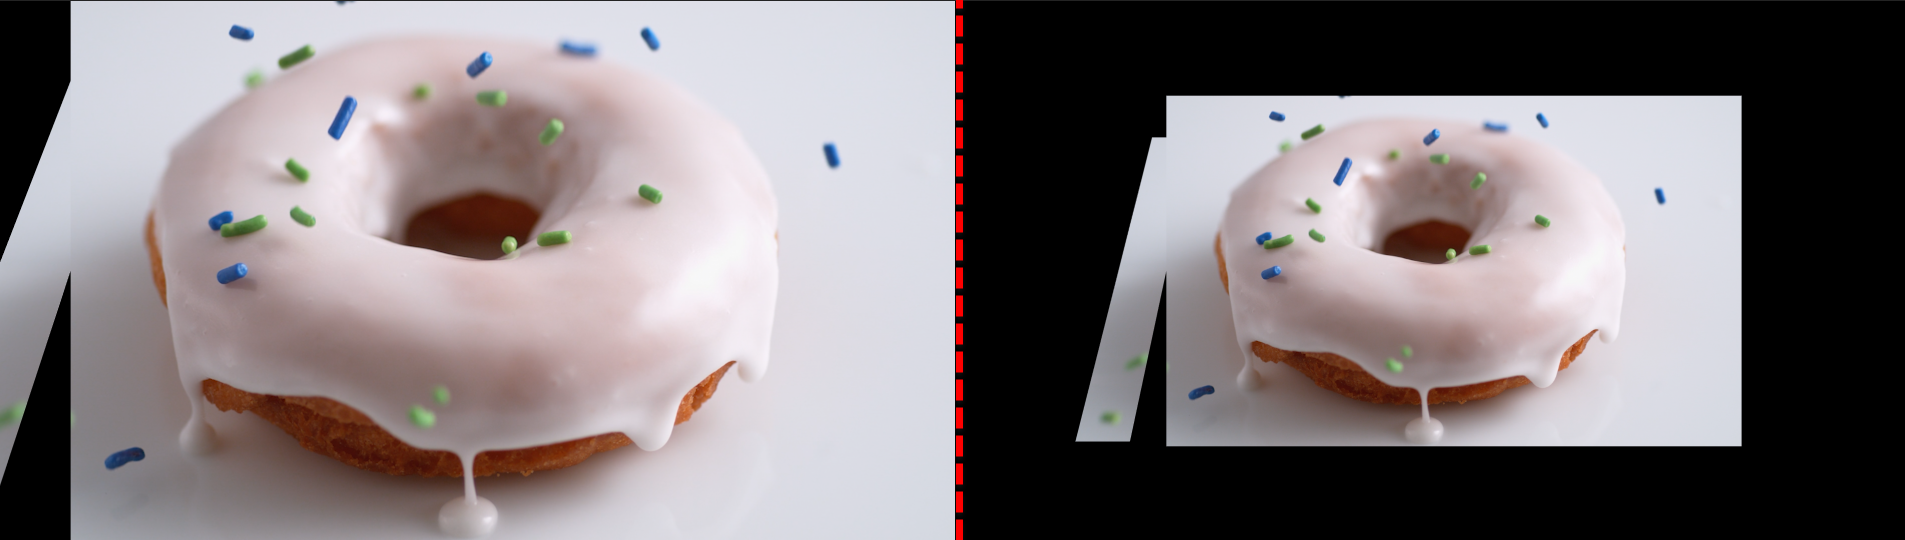
slider lets you move the camera closer or farther away along the z axis from the transitioning layers. Bringing the control down to 0 (shown below, left) moves the layer to the camera while shifting the slider up to 1.2 (right) pushes the layer into the distance.
-
The
Direction
drop-down menu changes the direction of animated tile movement: Right, Left, Downwards, or Upwards.
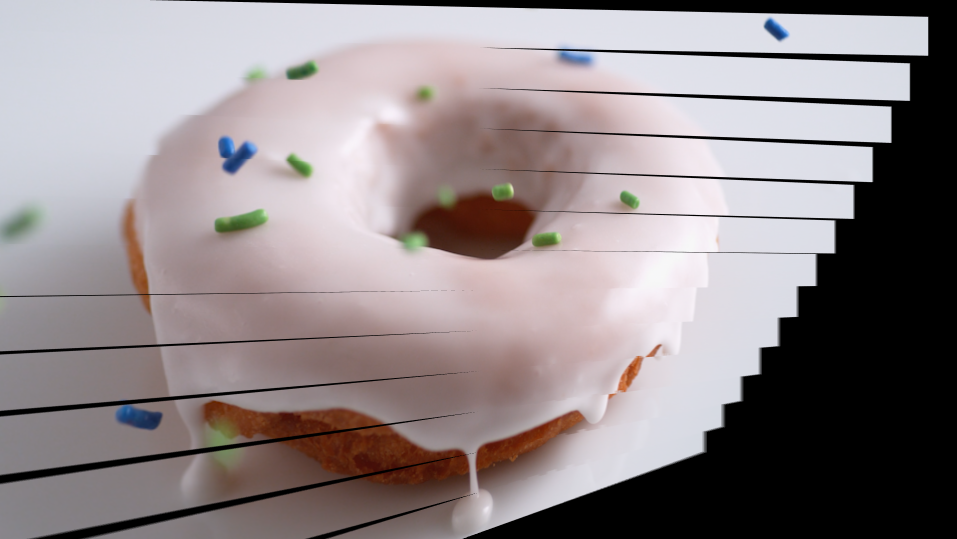
Right starts twisting away from the camera in the layer's bottom-right corner (see below, left). Compare the Right movement shown below with the Upwards movement in our Dolly example.
-
Motion Blur:
-
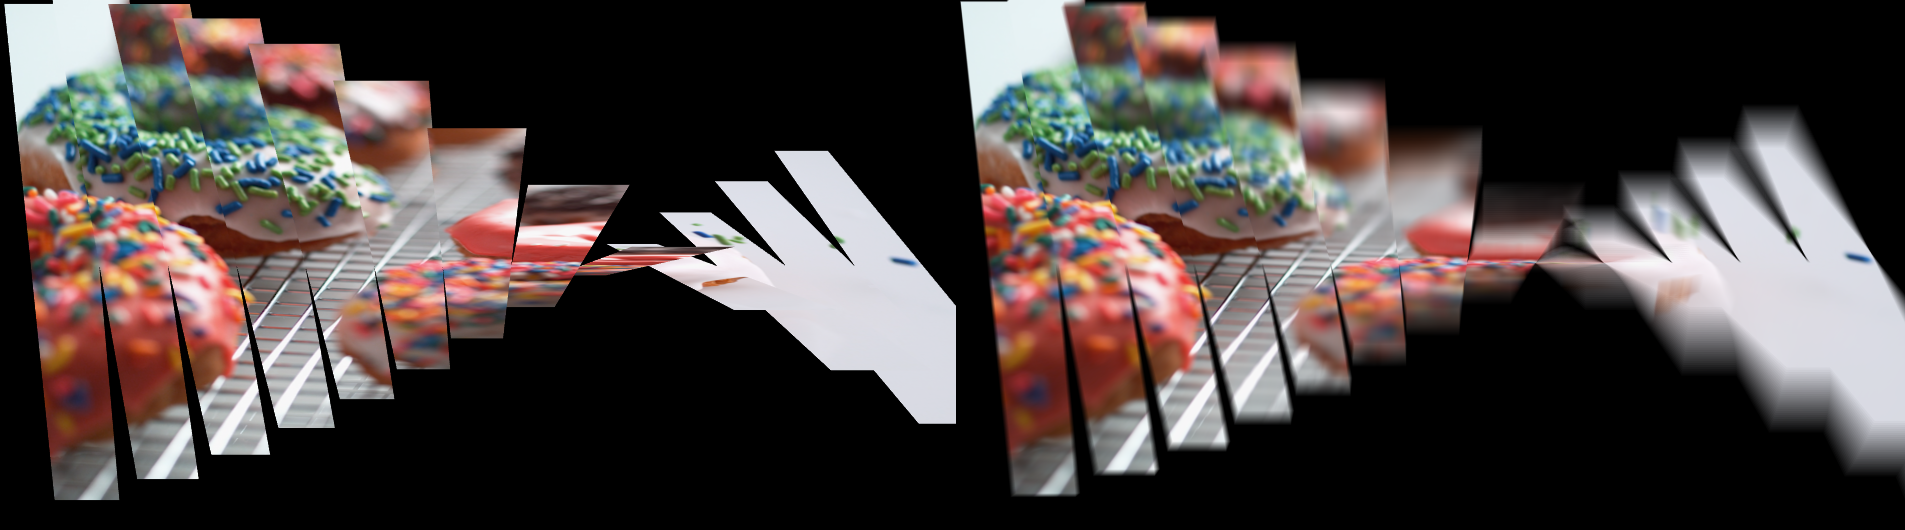
Add realistic motion blur by choosing a setting from the drop-down menu: Off (shown below, left), Low, Medium, or High (below, right). The higher the Motion Blur setting, the more instances of the layer will appear in between frames.
-
The
Motion Blur Shutter
angle defaults to 180 degrees. Increasing it
will spread the motion blur iterations, even with a high number of blur levels.
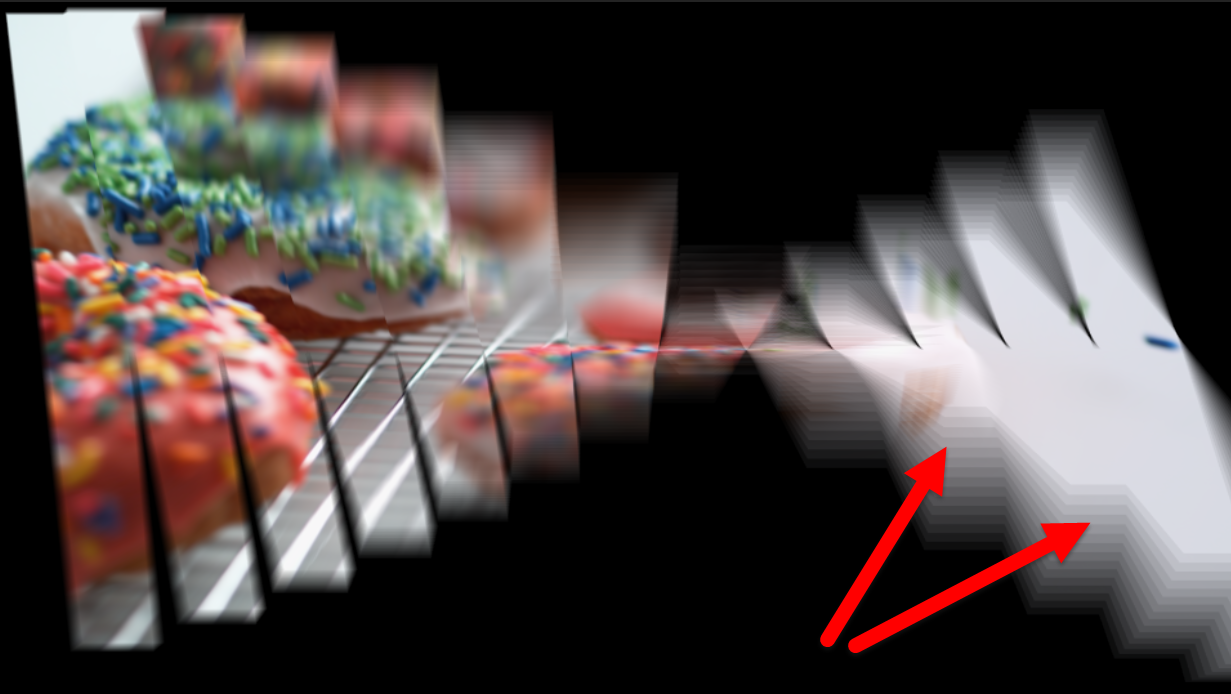
Below, we show a Medium motion blur with Motion Blur Shutter set to the maximum of 720. Note how the effect appears almost like stacked sheets.
-
Add realistic motion blur by choosing a setting from the drop-down menu: Off (shown below, left), Low, Medium, or High (below, right). The higher the Motion Blur setting, the more instances of the layer will appear in between frames.
- The Edge Smoothing drop-down menu provides levels of anti-aliasing to your edges, making them less jagged. Options for smoothing strength are None, Low, Medium, or High. Selecting High may increase playback and render time.
-
Lights
adds lighting to your transitions.
- Turn on the Lights from the drop-down by selecting Local or Global.
-
Choose the
Light Type:
-
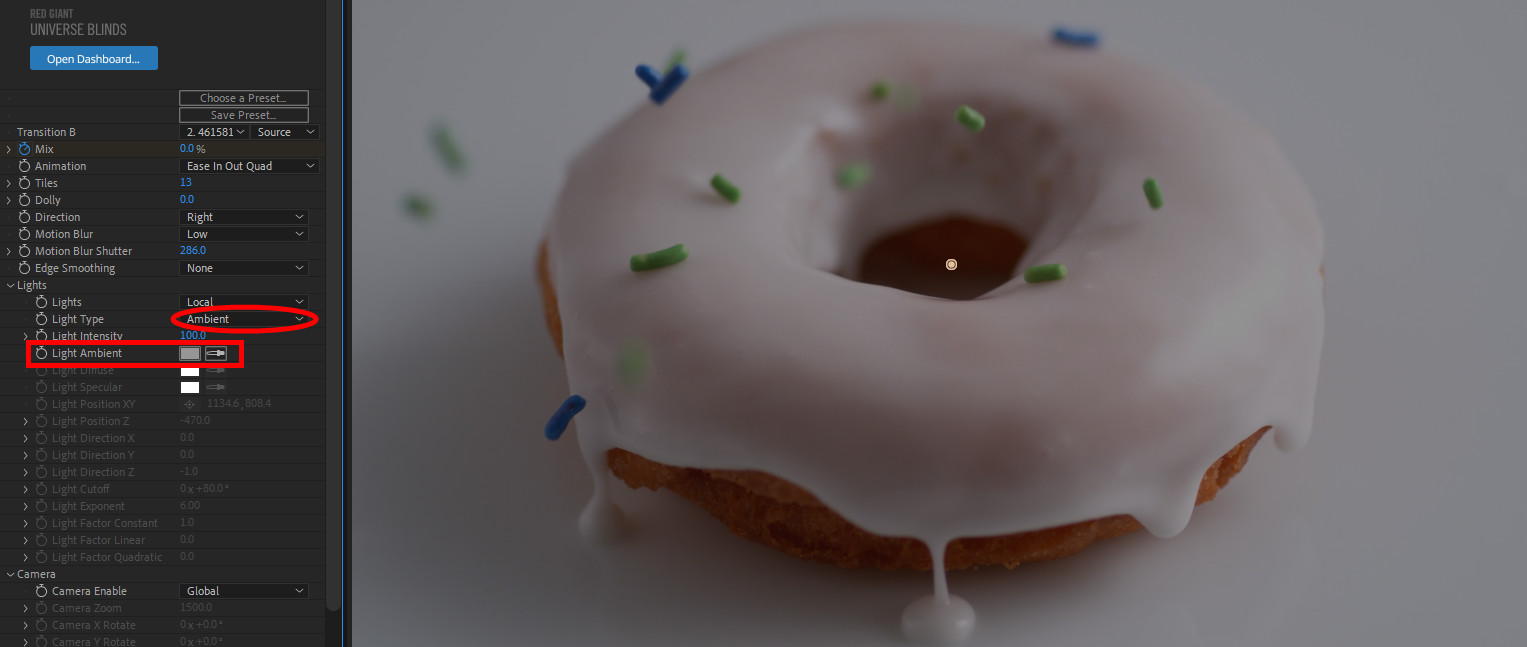
Ambient
activates the Light Ambient color picker and affects the overall composition.
-
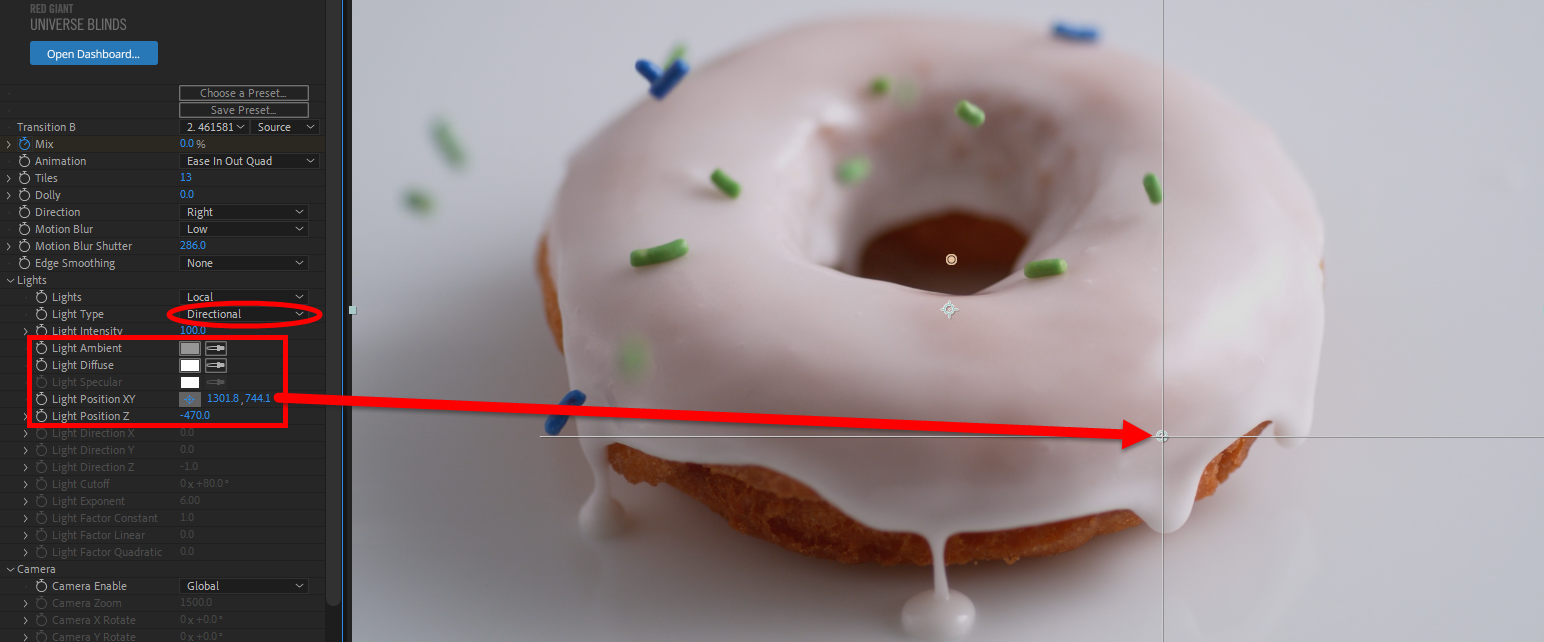
Directional
allows you to use the
Light Diffuse
color and
Light Position X/Y/Z
controls.
-
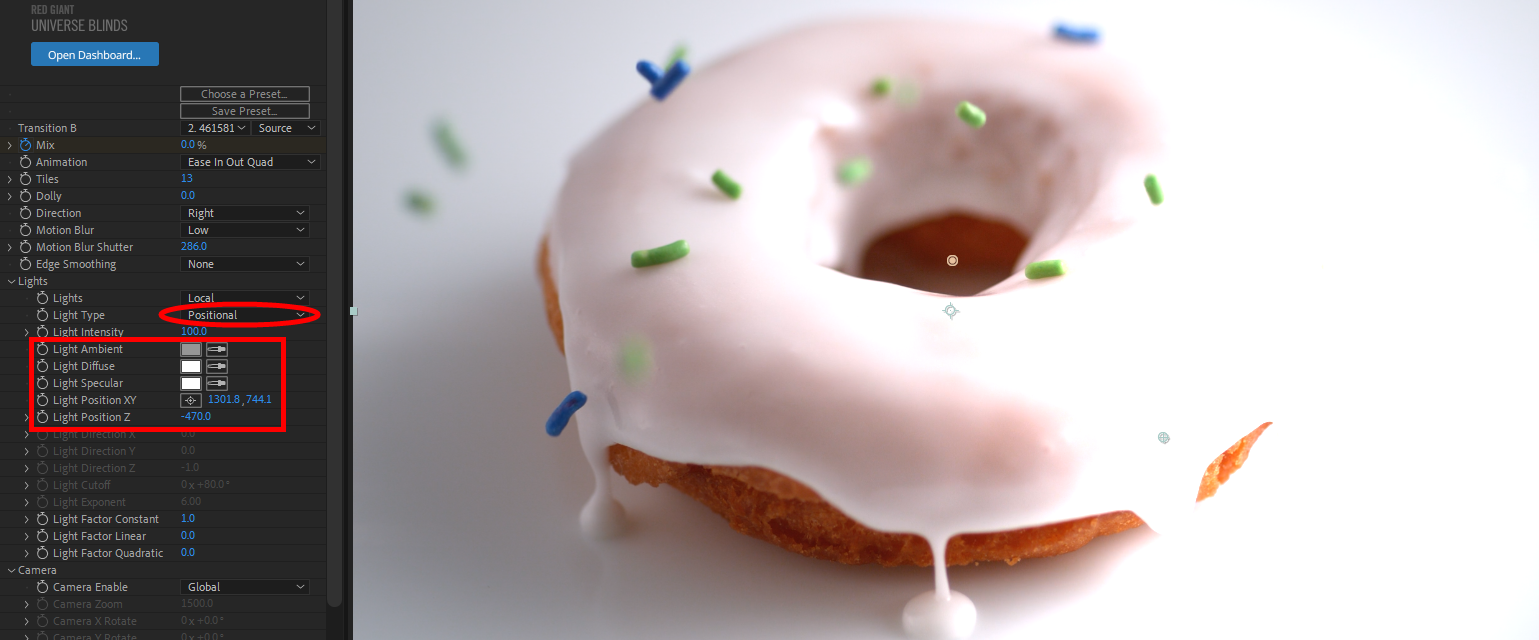
Positional
activates the
Light Specular
color and
Light Factor Constant, Linear,
and
Quadratic controls.
-
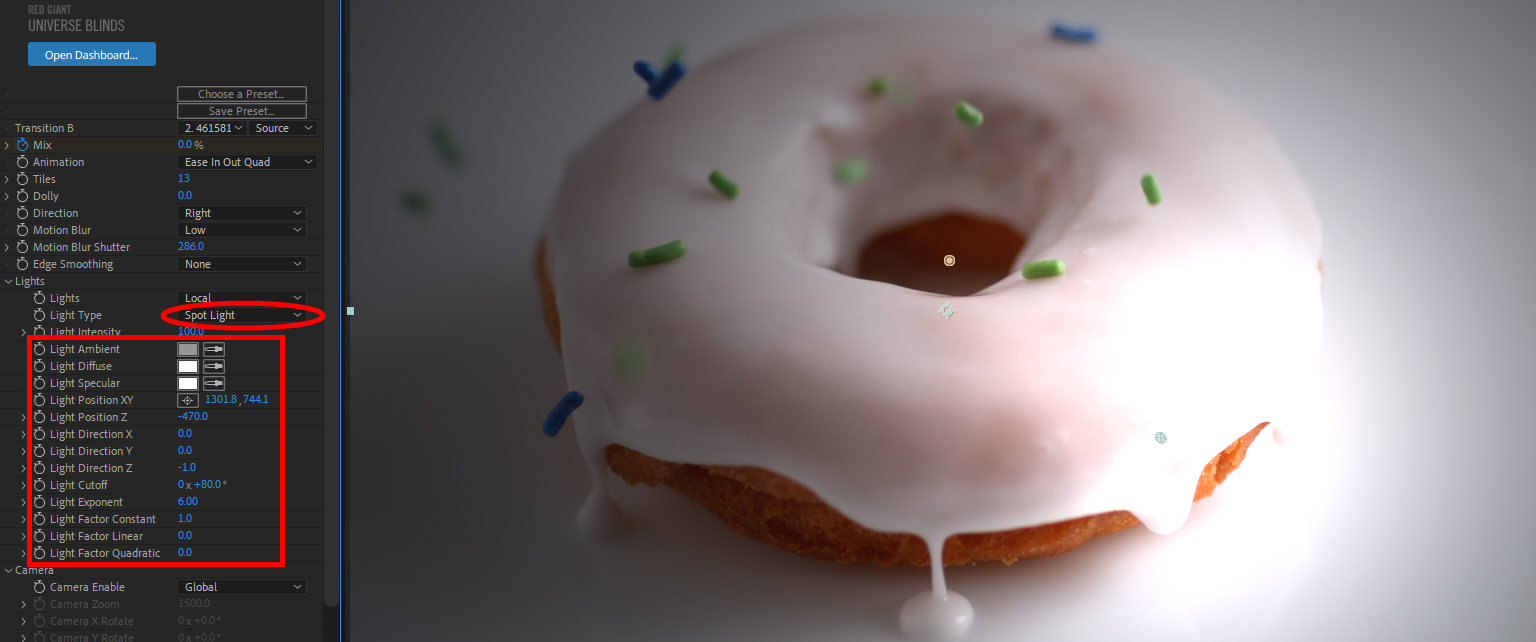
Spotlight
gives you access to the greatest number of parameters, and thus the most control, activating the
Light Direction X/Y/Z
sliders as well as
Light Cutoff
and
Light Exponent.
-
Ambient
activates the Light Ambient color picker and affects the overall composition.
- The Light Intensity slider controls the brightness. Note that positive values close to 0 may yield an effectively black layer. Negative values may seem to have no impact relative to Lights being off.
- Light Ambient, Light Diffuse, and Light Specular color pickers allow you to control the color tones that appear within the light.
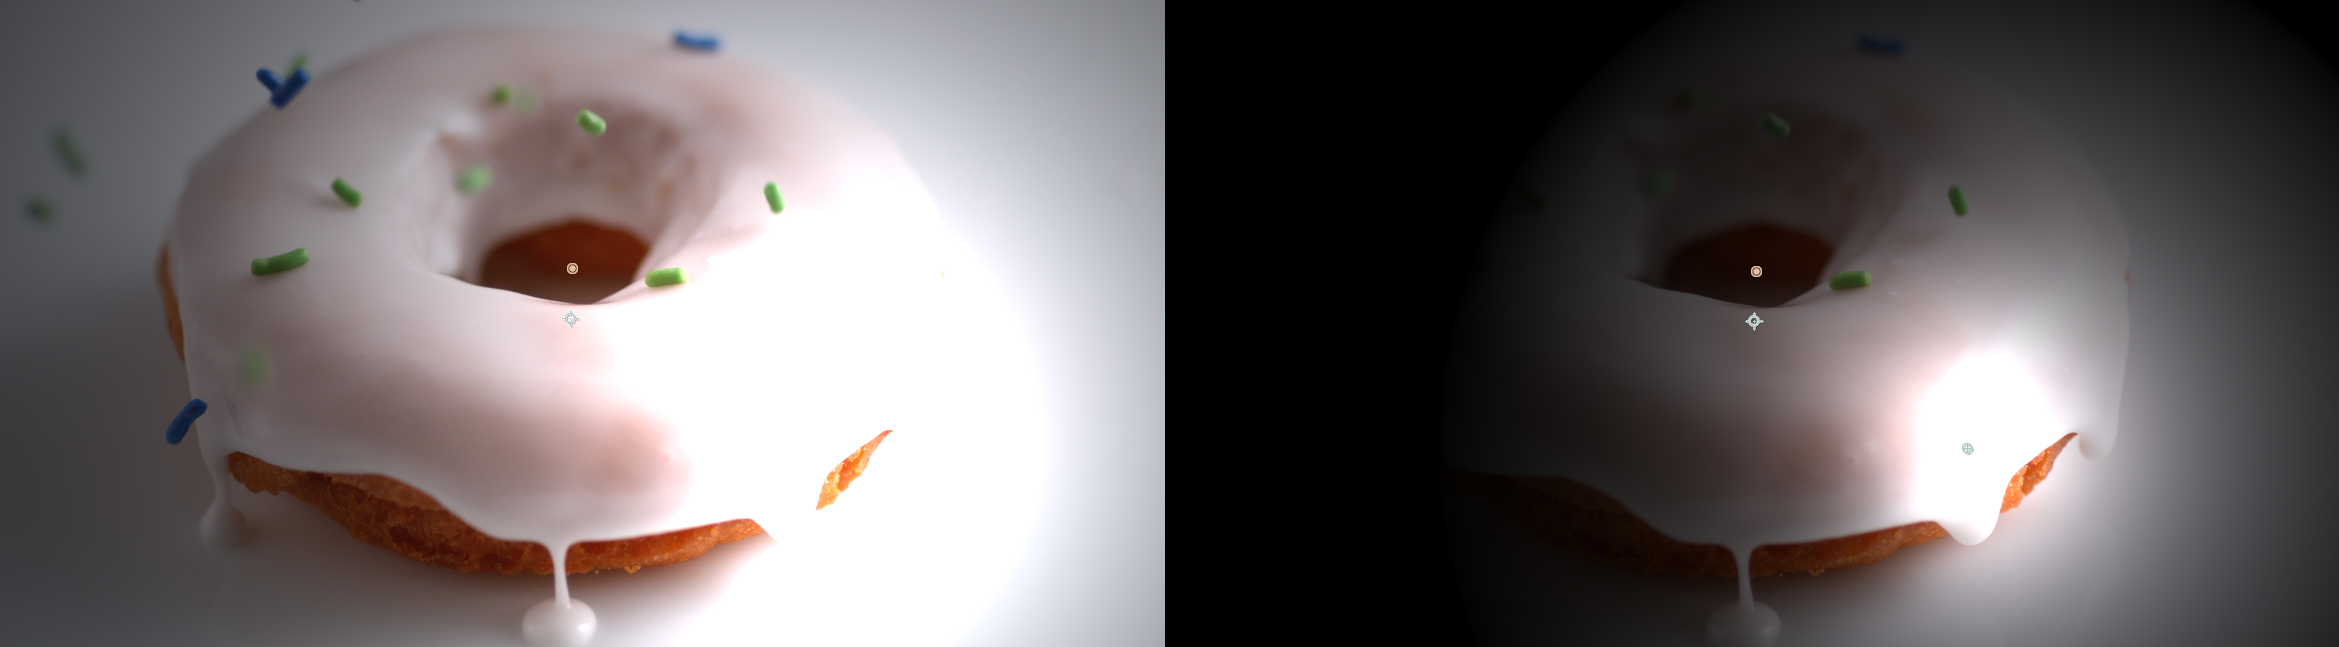
- Light Position XY and Light Position Z let you control the light's center location in 3D space. Keep in mind that a "distant" light, conveyed with higher values (approaching or above 0), may leave much of your scene in darkness. Shown below are Light Position Z values of -350 (left) and -150 (right).
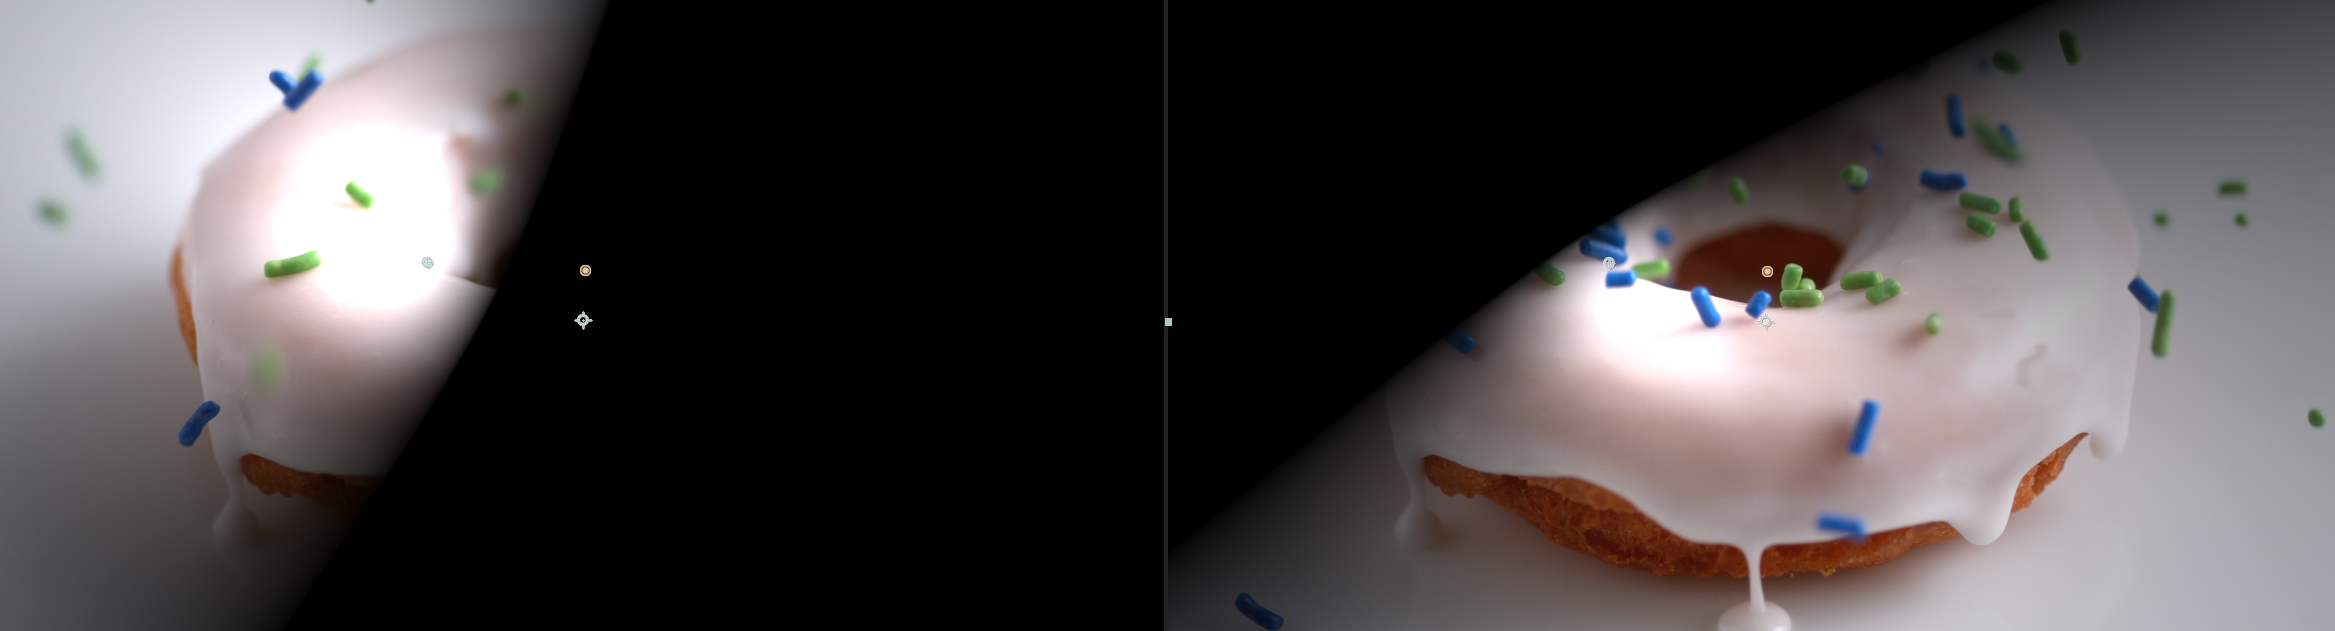
- Light Direction X/Y/Z alter the directionality of your light in 3D space. Shown below are values of X: -1, Y: -0.5, Z: -1.0 (left) and X: 0.5, Y: 0.8, and Z: -0.4 (right).
- Light Cutoff dictates the spotlight's range. Shown here are values of 40 (left), 80 (the default, center), and 120 (right).

- Light Exponent controls the illumination falloff from the light's center. Higher values increase falloff, thus shrinking the illuminated area. A bit of falloff provides subtle vignetting.
- Light Factor Constant/Linear/Quardratic are all falloff fade types and determine how your spotlight illumination diminishes from center to edge. To learn more about these falloff patterns, see our Animation Tween Examples page.
-
Camera
allows you to enable the
Local
camera (as opposed to the Global default), then
Zoom, Rotate,
and
Trans(late)
its position in 3D space. For example, the following image shows Camera X Rotate values of -55 (left), 0 (center), and 55 (right) degrees.

Alternatively, here are Camera X Trans values of -1000 (left) and 1000 (right). Note how this parameter uses pixel distance values rather than percentages.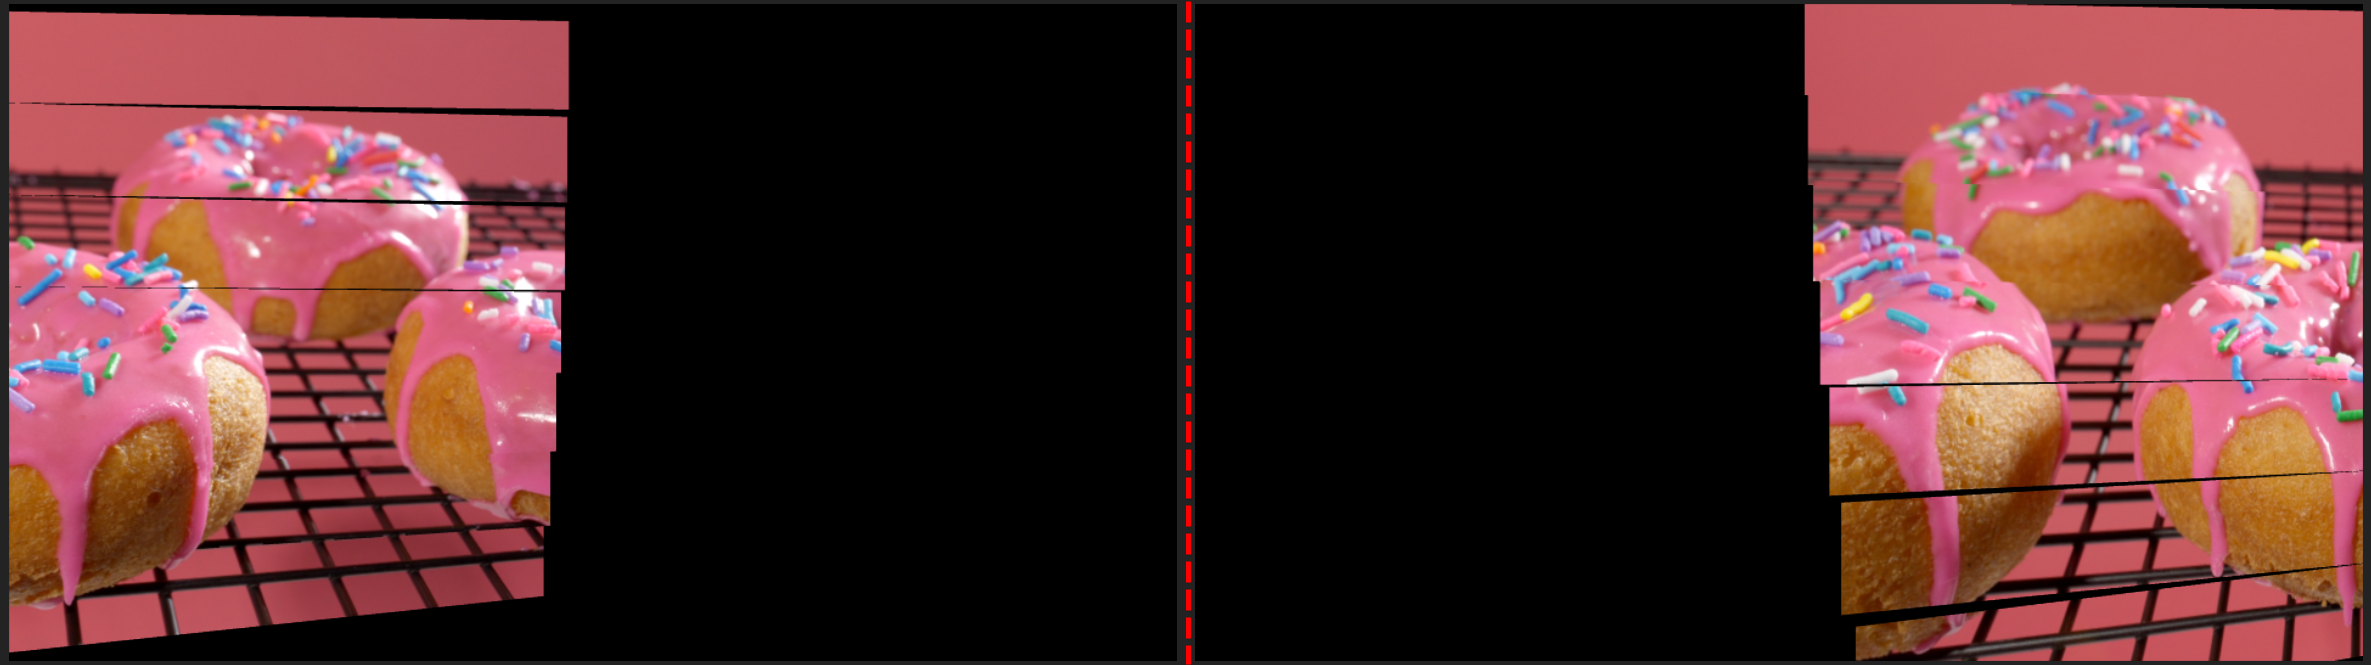
The Camera Ortho checkbox allows you to see the transition in an orthographically projected view that has no depth, which means you can view the layer with more accuracy without the distortion of parallax. Below, you see the checkbox disabled (left) and enabled (right).