
Shadow
SHADOW IMAGES FROM ANY SOURCE
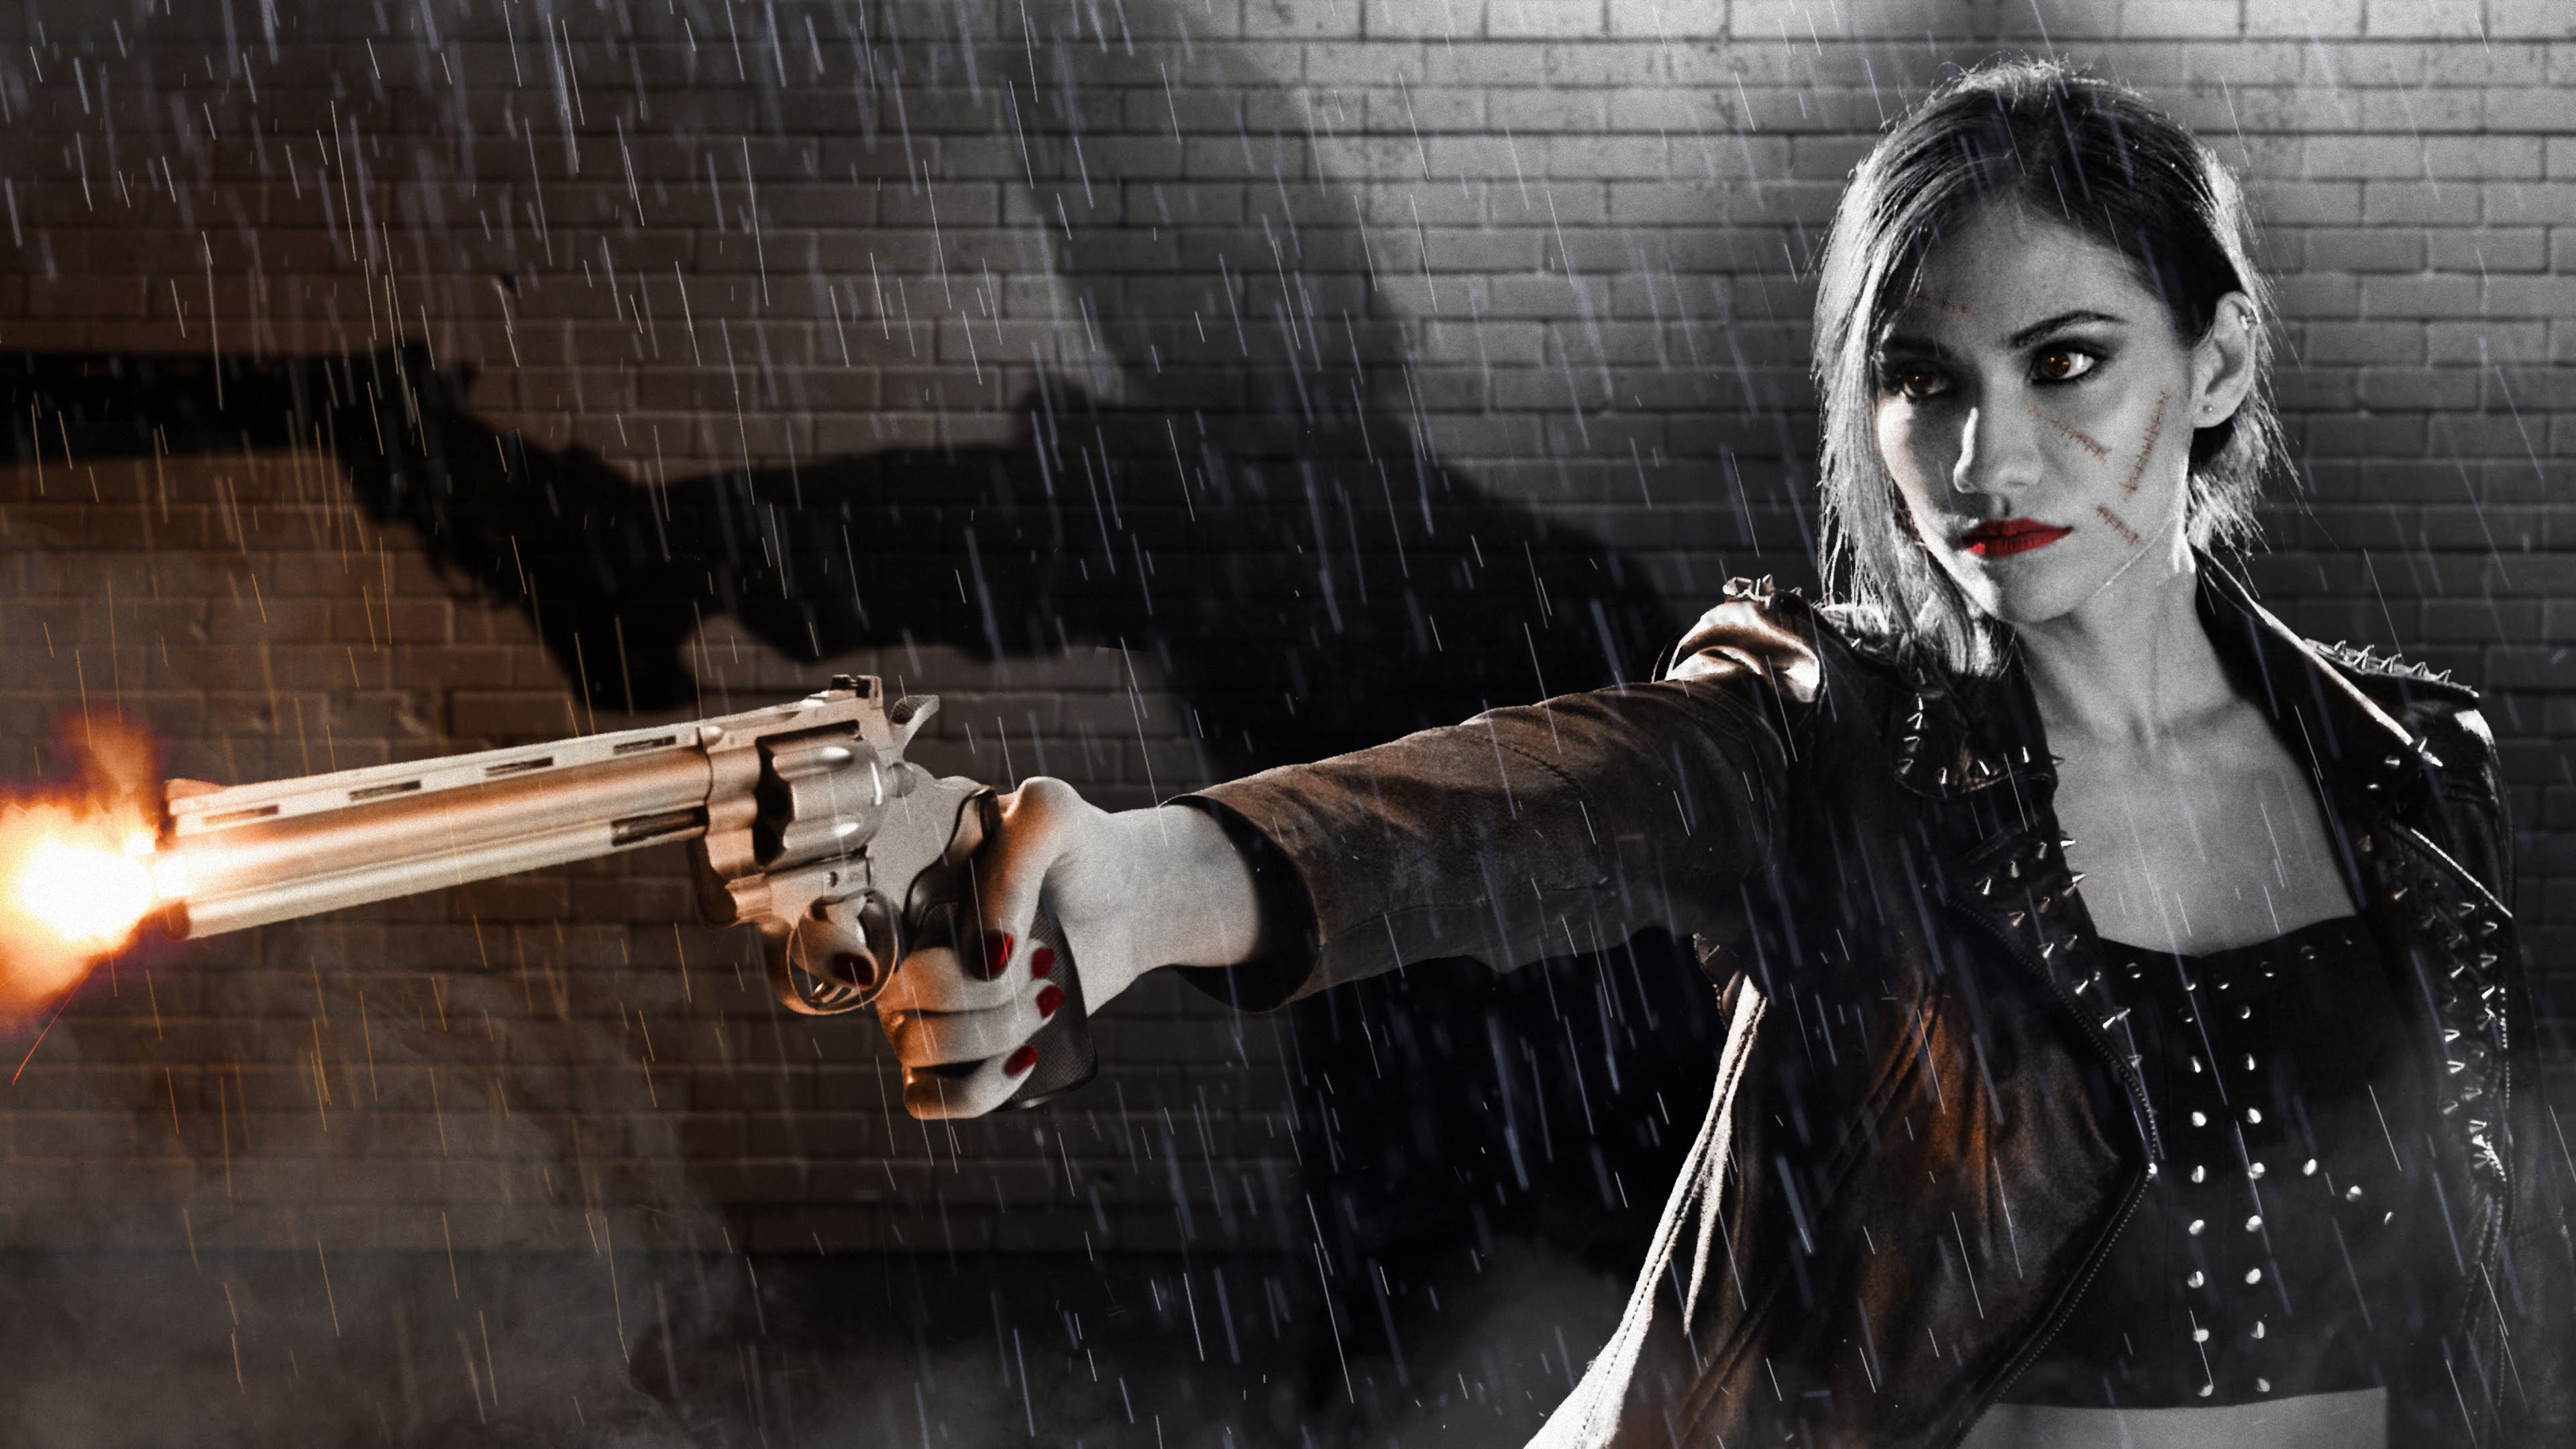
Getting Started
- Drag the Shadow effect onto your clip.
- Move the T-bar control to the baseline of the subject creating a shadow.
- Drag the vertical angle control to give the shadow the right slant for the shot.
Modify the Effect
-
Shadow Plane
contains controls that stipulate where and how the shadow is positioned.
Drag the T-bar interface in the composition window to set values visually, or use the controls below to enter specific values.
- Clip to Bounding Box toggles whether the shadow restricts itself to stay within the area of the source it's applied to. Deactivate this to allow the shadow to expand anywhere within the frame. However, note that doing so will drastically increase render times.
- Axis Setup contains basic preset options that control where the base of the shadow's axis sits (Bottom, Top, Left, or Right). The shadow will extend from the position selected. The shadow's axis handles can be manually moved to any position via the Custom option.
- Axis Start defines the coordinates of the shadow's leftmost reference point.
- Axis End defines the coordinates of the shadow's rightmost reference point.
- Slant & Height sets the direction of the shadow and where the shadow ends. This option defines the coordinates of the point extending from the center of the shadow's base, which affects its slant direction and height.
- Axis Color adjusts the color of the axis overlay controls.
-
Shadow Style
adjusts the appearance of the shadow.
-
Shadow Source
determines which parts of the source create shadows.
- Alpha creates a shadow based on the source's alpha matte. The more opaque the area, the stronger the shadow.
- Lightness creates a shadow based on the source's brightness. The brighter the area, the stronger the shadow. Lightness is based on a histogram of the true brightness values of all three color channels.
- Luminance creates a shadow based on the source's luminance. The more luminant the area, the stronger the shadow. Luminance is a histogram based on the human perception of the brightness of RGB values. Humans are most sensitive to green and least sensitive to blue.
- Red, Green, and Blue all create shadows based on the color channel selected. The closer the color is to the color channel, the stronger the shadow.
- Shadow Color sets the color for the created shadow.
- Add 2nd Color allows you to map two colors to the alpha's grayscale values. The lighter (or more transparent) shadow parts take on the Shadow Color. The more opaque shadow areas take on the Second Color.
-
2nd Color
sets the color for darker areas of the shadow.
- Note that the second color is applied after the first color. If an area's Shadow Source is of equal value, the second color will overwrite the first.
- Opacity controls the transparency of the shadow.
- Softness adjusts the amount of blur applied throughout the shadow. Note that the Softness value can override the Fade if set high enough.
- Softness Aspect controls whether the shadow is softer in the horizontal or vertical direction. The default value is 1, which means the shadow edge is blurred in both directions and its height/width aspect ratio is 1:1. The greater this value is above 1, the more stretched the Softness becomes vertically. If the value is less than 1, then the Softness becomes stretched horizontally.
-
Softness Type
contains four blur types that increase their distortions based on the one selected
- Simple creates a simple triangular blur across the whole shadow. It does not depend on the shadow’s direction.
- Mipmap builds a shadow blur by putting together small and large premade bitmap images that cause the shadow to look blurrier with increased distance from the baseline. There is a finer blend and softness as the shadow gets farther from the source object.
- Progressive Linear is the default setting. It creates a blur based on the direction of the shadow. By using a linear ramp falloff, the function produces a more gradual-looking blur meant to mimic being a far distance from the source.
- Progressive Square also bases its blur on the direction of the shadow, but it uses a square function falloff, so the blur falls off more slowly and doubles in its amount of softness over a given distance.
- Fade Start adjusts how far the shadow's base point and edge remain opaque before transitioning into transparency. The length is a percentage of the shadow’s total length. A 50% value means the fade will be done by halfway up the shadow if the Fade Start is set to 0.
- Fade Length adjusts the distance between the Fade point (set above) and full transparency.
-
Fade Type
has three options that define the gradient used between the Fade Length's start and end points.
- Square gives you the most fade and therefore the most drop-off.
- Inverse Square is the opposite of Square, giving the least amount of fade and drop-off. The drop-off will happen more suddenly at the end.
- Linear uses a linear ramp. The farther away from the baseline, the more faded the shadow will be.
- Scale shadow controls the size of the shadow in relation to its source.
- Offset shadow defines the coordinates for the shadow's image in relation to its axis.
-
Shadow Source
determines which parts of the source create shadows.
-
Shadow Bend
puts a linear angle in the shadow to simulate another plane onto which the shadow falls in the distance.
- Enable Bend toggles whether an optional bend is applied midway through the shadow. Once enabled, the Bend Axis overlay control will become visible at the end of your height control. You can use this overlay to position the bend visually, or set specific values in the parameters below.
- Bend Axis Center defines the coordinates from which the center of the bend skews.
- Bend Slant & Height defines the coordinates of the point extending from the center of the bend. This affects its slant direction and height.
- Bend Axis Color adjusts the color of the Bend Axis overlay controls.
-
Seam Style
contains four options that adjust the gradient between the seam and the shadow.
- Constant gives the seam a sharp edge.
- Linear (the default) uses a linear ramp for the drop-off.
- Square gives a lot of fade or drop-off to the seam edge.
- Inverse Square gives the seam less fade and the least amount of drop-off.
- Seam Size adjusts the width of the bend's seam.
- Seam Intensity controls the screening of the seam color over its background. Extreme values result in higher opaqueness, with negative values inverting its color.
- Seam Color defines which color is depicted in the bend's seam.
-
Shadow Blend
controls how the shadow gets blended into the background.
-
Gamma
compresses the brightness values in the shadow, giving you control over the midpoint, or gray level. It allows you to compress or expand/stretch the values in the mid ranges. Values range from 0.1 to 10, and the default is 1.
Since the shadow is a single color, Gamma will have the visual effect of slightly lightening or darkening the shadow. Values below 1 will lighten the shadow. Values above 1 will make the shadow darker. If the shadow has some RGB value to it, you will see a color shift along with the brightness and darkness. If the shadow color is true black (R/0, G/0, B/0) then you will only see a light/dark shift. -
Brightness
affects the shadow color. This control is actually a "gain" control and does not generate contrast or brightness/dullness. It will compress or expand/stretch the RGB values in the shadow. Values range from 0 to 10, and the default is 1.
If the shadow color is true black (R/0, G/0, B/0) then Brightness will have no effect on the shadow. You will not see a tonal shift by changing the Brightness value. This is because there isn't a color value to use as an input. Once an RGB value is added to the Shadow Color, you will see Brightness affect the shadow.
For example, if the Shadow Color selected is a deep red, below a Brightness of 1, the shadow color stays dark because the values are compressed. As the Brightness value goes above 1, the shadow expands the value range and takes on more of the red hue. This is because gain tends to multiply the highlights of an image — in this case, a single-color shadow — giving it a saturated, intensified look. - Random Seed controls the kernel used for the fractal noise that renders the shadow. The noise pattern helps to eliminate banding in the shadow. This can occur, for instance, if the shadow has an exaggerated Height/Slant angle or a lot of Softness blur. If you change Random Seed, you will change the noise pattern.
- Fade Noise adds an optional noise effect specifically to the fadeout areas of the shadow. This hides any contouring or banding in the image and helps you to control what the shadow's fadeout appearance. The value range is from 0 to 10, and the default is 1.
- Post Softness softens or blurs the noise, so it doesn't look as pronounced. This control does not blur or soften the shadow. Instead, it affects how the noise applies to that alpha. The value range is from 0 to 10, and the default is 1. If Post Softness is set to 0, there will be a tiny bit of pixel-based noise. Turn Post Softness all the way up and the noise will be completely blurred out. A low value like 2 results in little pixel “dimples.” This can help the Fade Noise seem more film-like or natural.
- Shadow Only toggles whether the source is rendered (disabled) or not (enabled).
- Source Opacity controls the transparency of the source.
- Blend Mode provides basic blending options between the shadow and its source.
-
Gamma
compresses the brightness values in the shadow, giving you control over the midpoint, or gray level. It allows you to compress or expand/stretch the values in the mid ranges. Values range from 0.1 to 10, and the default is 1.
-
Displacement
has options for displacing the shadow effect.
- Displacement Map selects which layer will guide the shadow’s displacement.
- Use for Displacement sets which channel (Luminance, Red, Green, Blue, or Alpha) is targeted as the source for displacing the shadow.
- Horizontal and Vertical Displacement controls how far along the horizontal and vertical axes the shadow displaces from its original position.
- Displacement Falloff adjusts the range of the original shadow as it contrasts with the displacement effect. A value of 0 means the entire shadow is displaced. Higher values revert the shadow toward its original position.
- Contour Detail controls how closely the displacement follows the contours of its displacement map. Lower values result in simpler contours. Higher values result in finer-detailed contours.
- Smooth reduces any jagged edges or contours of the displacement map. Higher values result in smoother lines closer to the source. Lower values result in more edges.
-
Displacement Map Behavior
contains two options for positioning the displacement source:
- Center Map positions the source directly in the center of the frame.
- Stretch Map to Fit pulls or squeezes the boundaries of the source to fill the frame.
- Show Displacement Map toggles an overlay showing the area of displacement.
-
Motion Blur
generates a blur effect for the shadow's movement.
- Motion Blur has options to turn the motion blur On (using Shadow’s own Motion Blur), Off, or the current Comp Settings.
- Shutter Angle adjusts the amount of blurring, creating a result akin to using a longer frame exposure.
- Shutter Phase helps synchronize or desynchronize the timing of the shutter opening and closing with the frame rate of the footage.
- Samples adjusts the amount of sampling done prior to the motion blur. Higher values result in a sharper blur.
- Render Method switches between utilizing GPU or CPU resources for rendering output. GPU tends to be faster but less stable on less robust systems. CPU is more stable but with longer rendering times.