
CAMERA SHAKE TRANSITION
Add simulated camera motion to your footage to emulate a simple wiggle or a violent earthquake with motion blur while switching from one shot to the next.
Presets
Explore these 15 Camera Shake Transition presets that hit with nearly literal impact. Find them via the blue Open Dashboard... button or the Choose a Preset... button below it.
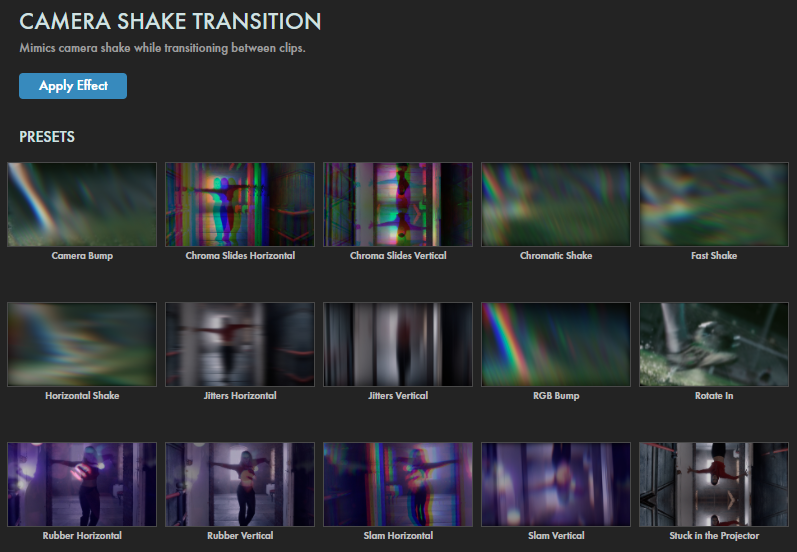
As with all other Universe tools, you can modify or create a Camera Shake Transition look and then save it under its own name by pressing the Save Preset... button.
Getting Started in a Timeline




- Drag the transition over your edit in the timeline, placing it at the end or beginning. Alternatively, place it between two successive clips.
- Modify the Duration of the transition either by entering a length in the field or dragging directly in the timeline.
- You can choose the Alignment (Center at Cut, Start at Cut, End at Cut, Custom Start) either by positioning the transition in the timeline, or by choosing from the Alignment drop-down in some host applications.
Getting Started in a Compositor


- Apply the transition to the layer from which you want to transition.
- Choose the footage layer you would like to transition to in the Transition B drop-down menu. (Note for Motion users: Drag the footage layer up to the Transition B box.)
-
Animate your transition using the
Mix
slider from 0% to 100 percent. Set a keyframe for 0% where the transition should start, then set another at 100% for the end.
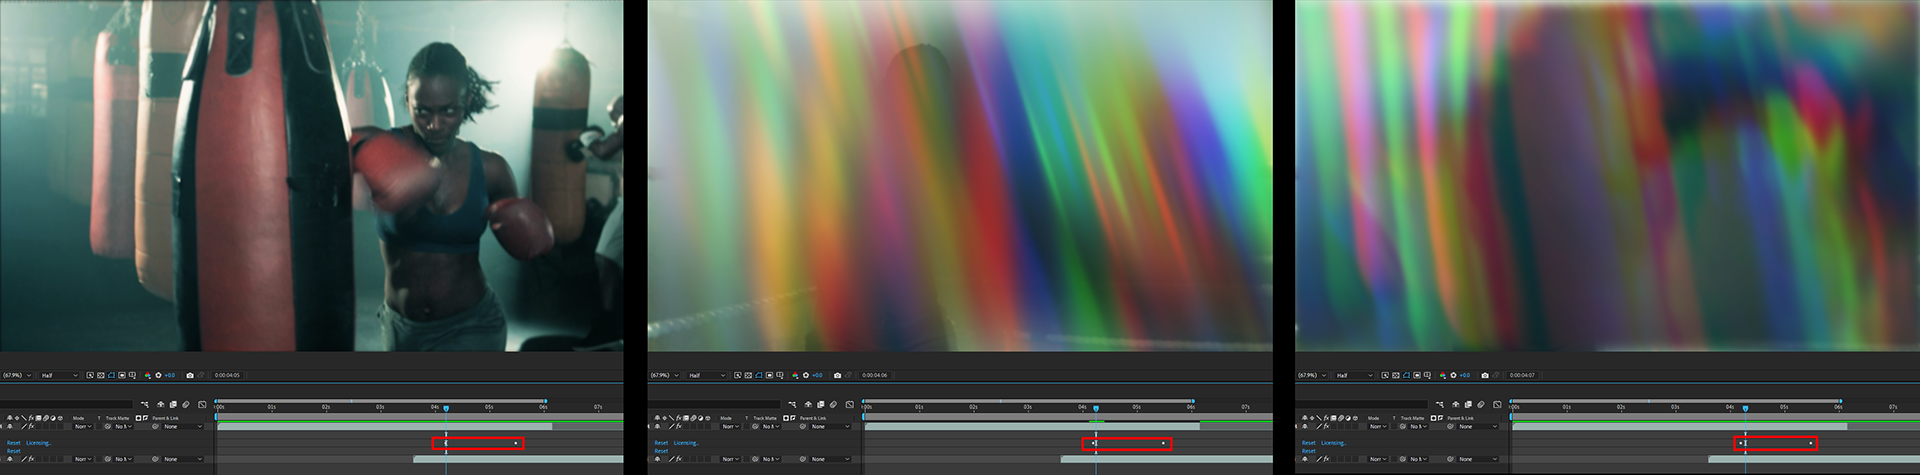
Note that presets will tend to throw all their firepower, so to speak, into the opening frame of the mix. There may not be a gradual progression into the transition without further keyframing. For example, consider the following three consecutive frames (using the RGB Bump preset), which land at the opening of the Mix control.
Modify the Transition
-
Amplitude X/Y
adjusts the maximum offset of the shake effect along the x or y axis.
Under the right conditions, Amplitude controls can resemble other controls, such as blur and RGB Separation. See a good example of this below. We start with the Chromatic Shake preset, which defaults to an Amplitude Y value of 20 (left). Then we increase this to 120 (center) and 320 (right).

- Frequency changes the frequency of the shake. Higher values deliver more pronounced shaking.
- Scale Footage allows you to increase the size of your footage to accommodate movement. The default value of 100 shows the comp at regular size. Higher values will zoom into the clip and give room for shaking and help avoid blank space at the comp's edges.
-
Dampening
controls how blurred and distorted your footage becomes as a result of the shake.
Compare the values of 1 (left, below) and the maximum of 10 (right). You'll see that this can be a relatively subtle effect, especially in scenes with low light or existing movement.

- Position Random adjusts how controlled or uncontrolled the shake appears to affect the footage.
- Rotation determines how rotated the sources appear during the shake.
-
RGB Separation
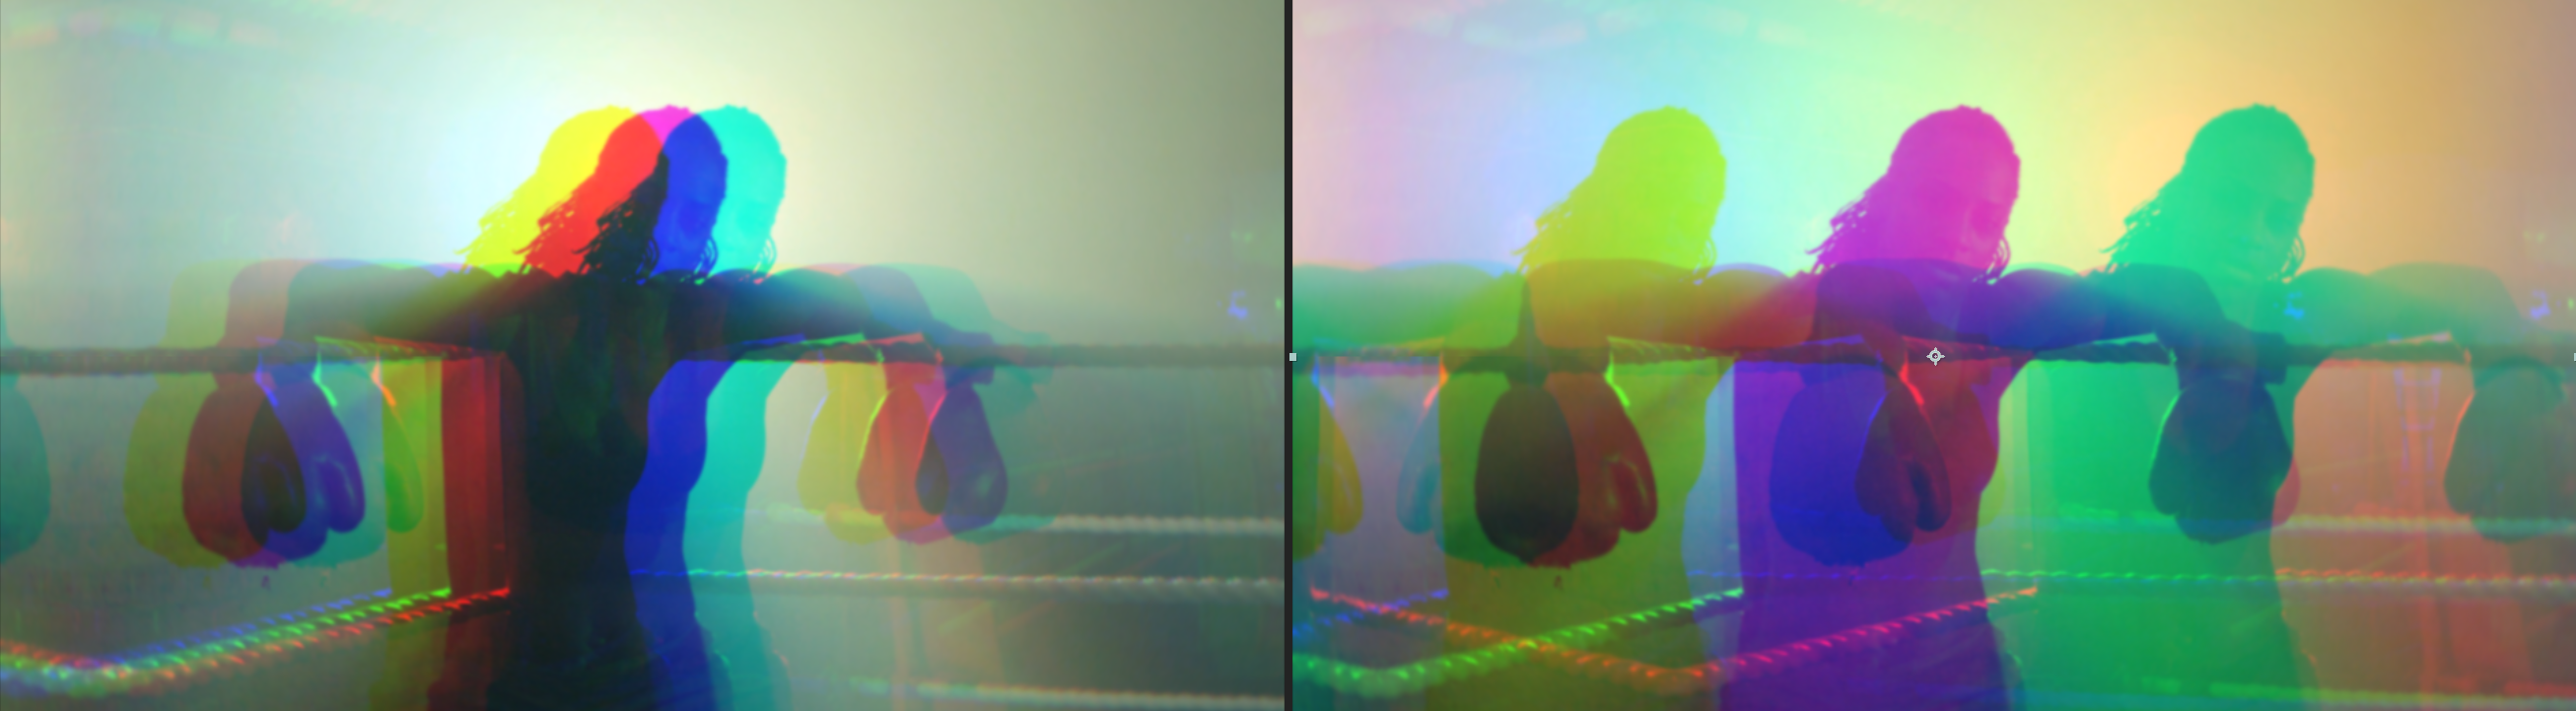
scales how much the RGB channels separate from one another during the shake.
Shown below are values of 5 (left) and 25 (right).
-
Motion Blur Shutter
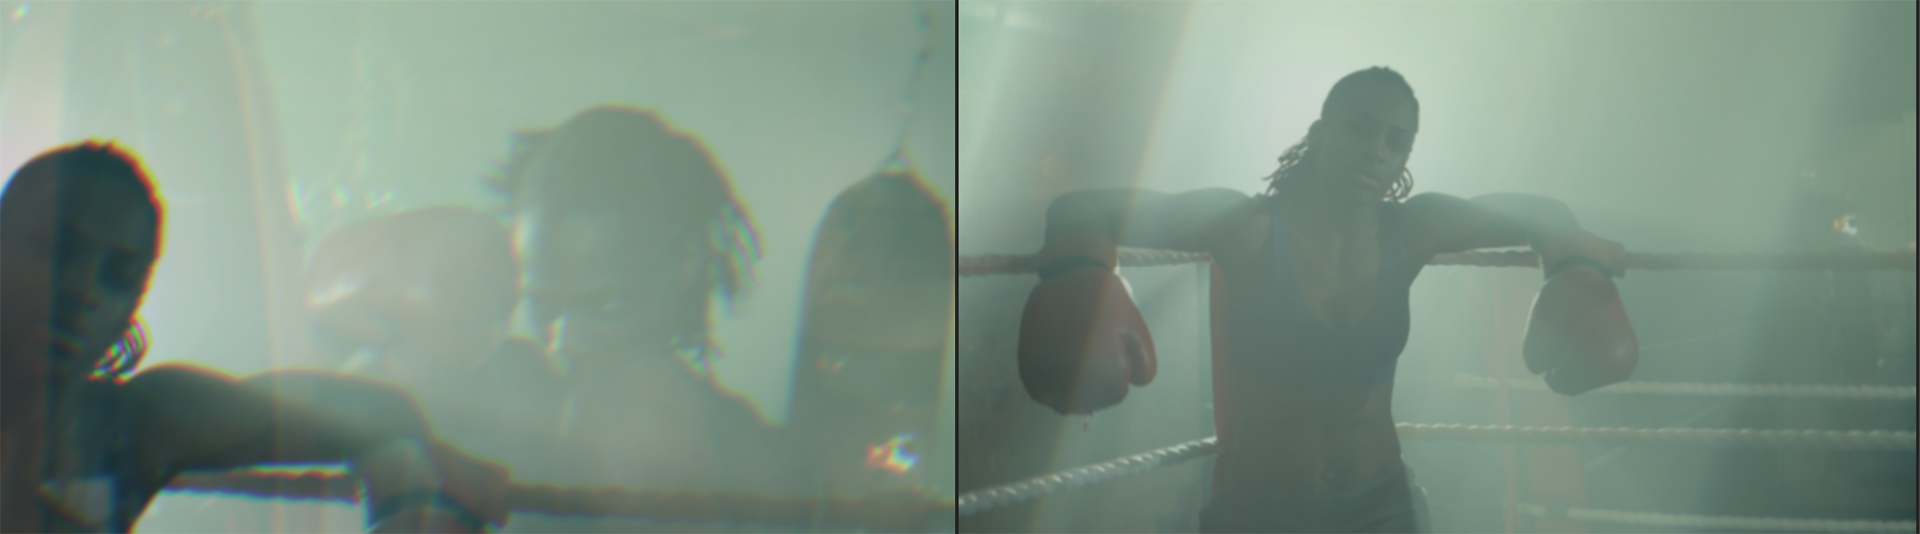
adjusts an artificial shutter that creates a more realistic film look to the shake effect. Turn this down or up to adjust how vividly it appears during the transition.
The impact of this effect typically mimics motion blur, but it can also sometimes impact the clip frames displayed in a given moment, as shown in the below comparison of 0 (left) and 400 (right).
- Random Seed controls the number fed into the camera shake equation, which shapes the specific configuration of how the effect manifests. Every different seed value will generate a different output, even if the variances are barely visible. If you use this transition effect a lot, consider adjusting this number with each use to make shakes appear slightly different from the last while keeping the parameters above unchanged.