STRETCH
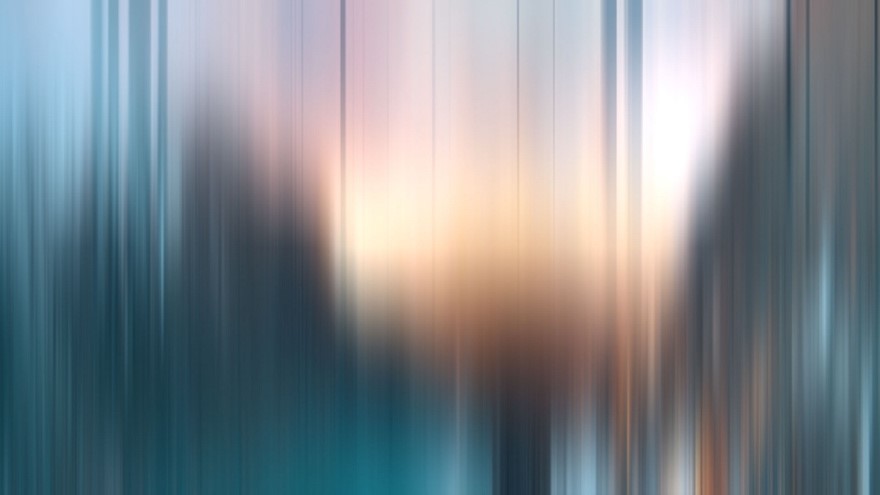
One clip stretches away as the next contracts in to take its place. This can be enhanced with a blast of light or a touch of blur, and it works in multiple directions.
Presets
Stretch features over 20 presets offering a range of direction, speed, and burn variations. Find them via the blue Open Dashboard... button or the Choose a Preset... button below it.
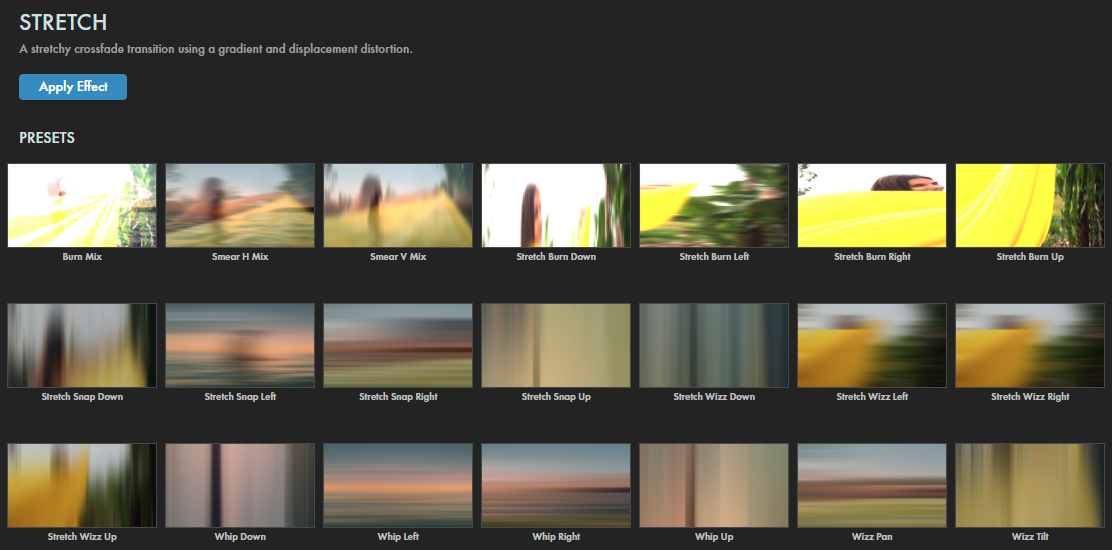
As with all other Universe tools, you can modify or create a Stretch look and then save it under its own name by pressing the Save Preset... button.
Getting Started in a Timeline



- Dragging the transition over your edit in the timeline, drop a Stretch effect either at the end or beginning of a clip or in between two clips.
- Modify the Duration either by entering a length in the field or dragging directly in the timeline.
- You can choose the Alignment (Center at Cut, Start at Cut, End at Cut, or Custom Start) either by positioning the transition in the timeline or by choosing from the Alignment drop-down in some host applications.
Getting Started in a Compositor
- Apply the transition to the layer from which you want to transition.
- Choose the footage layer you would like to transition to in the Transition B drop-down menu. (Note for Motion users: Drag the footage layer up to the Transition B box.)
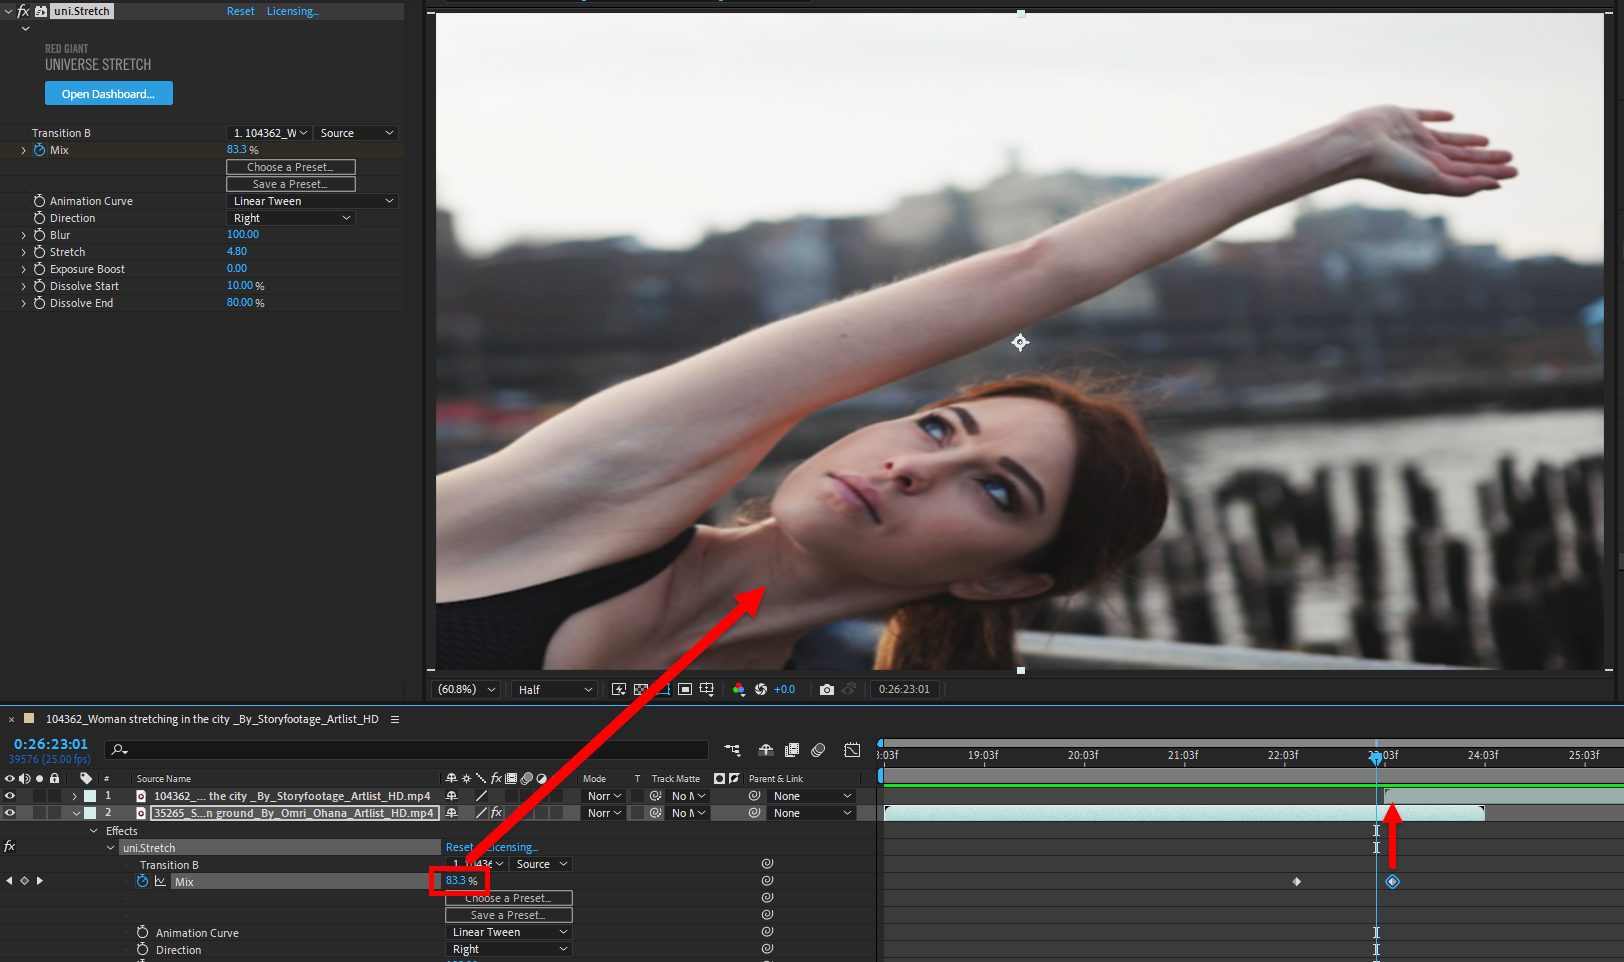
- Animate your transition using the Mix slider from 0% to 100 percent. Set a keyframe for 0% where the transition should start, then set another at 100% for the end. In the following example, we show how, a couple of frames before the target clip starts on the timeline, you can already see the still-stretched target clip contracting into place. You should experiment with where you position your final keyframe, but in this example we liked the look of finishing the effect just after the new clip begins. It gave the most seamless result.
Modify the Transition
- Animation Curve gives multiple choices of interpolation styles for the animation of your transition. The default is Ease In Out Quintic. See our Animation Tween Examples page for more in-depth descriptions of how these animation options function.
- Direction controls the transition direction. Choose from Up, Down (shown center, below), Left (right image), and Right.

- Blur sets the amount of blur applied to each image. The outgoing image blurs into the transition while the incoming comes into focus out of the transition. Blur timing is locked to the Dissolve Start and Dissolve End. The range spans from 0 (no blur) to 100 (maximum blur). The center and right images above show a 100% Blur value for a frame early in the Stretch transition. Here's the same frame with Direction: Down and Blur: 30.
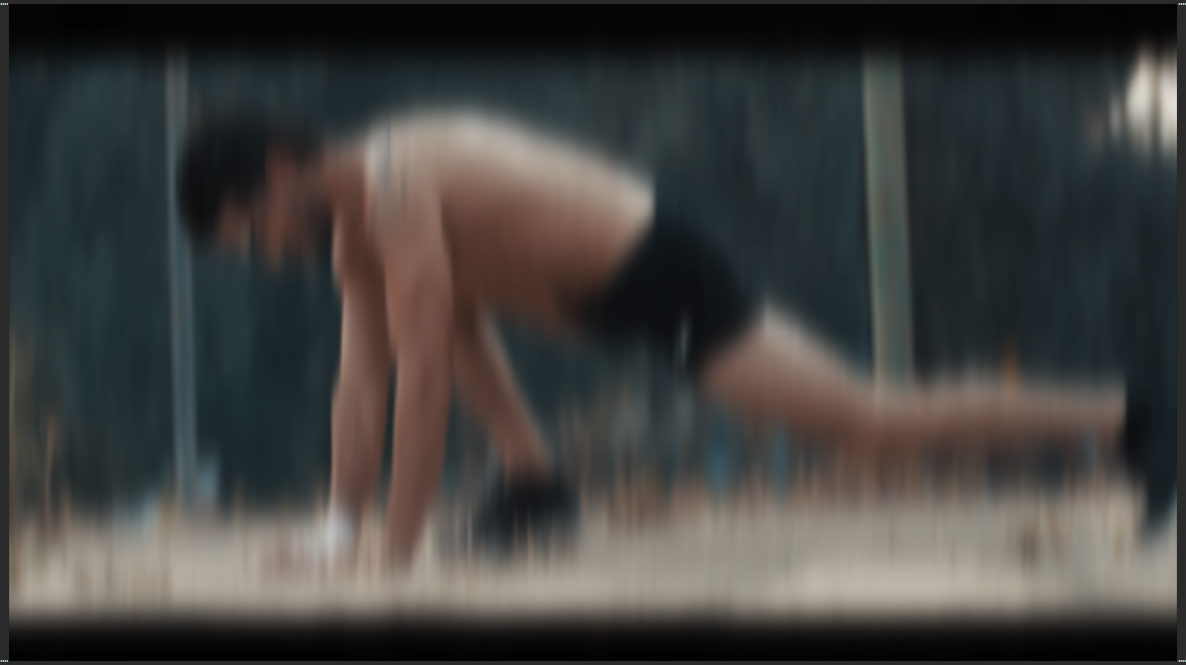
- Stretch controls the amount of stretch applied to each image as the transition progresses, just in case the default amount of stretching (value: 0) isn't enough. The range spans from 0 (no stretch) to 10 (maximum stretch). Shown below are values of 0 (left), 3 (center), and 6 (right).

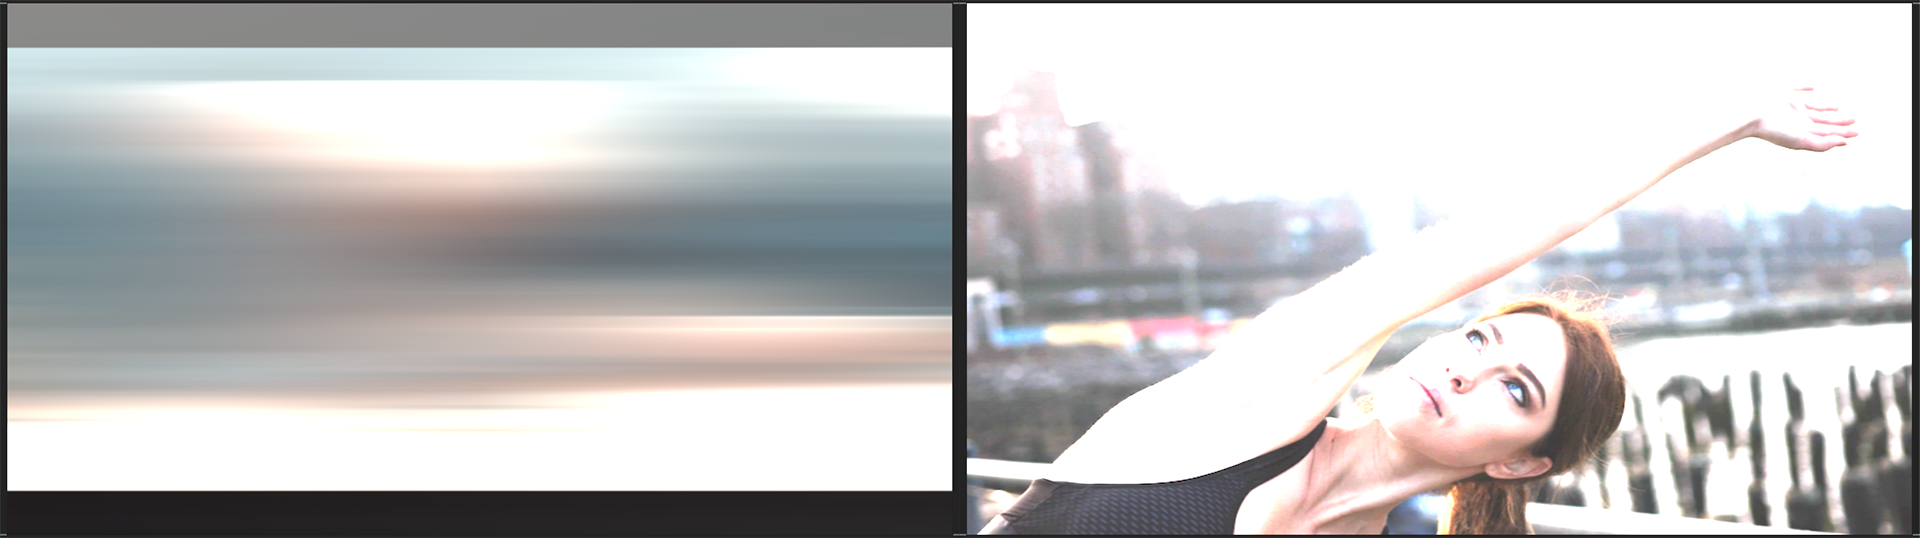
- Exposure Boost controls the image brightness as the transition progresses, with peak brightness at the transition's center. Below, we show the first clip already well into its Exposure Boost progression (value: 11) at left, then (at right) in the exposure fading back to normal near the end of the transition. In the middle of the effect, the scene is completely white.
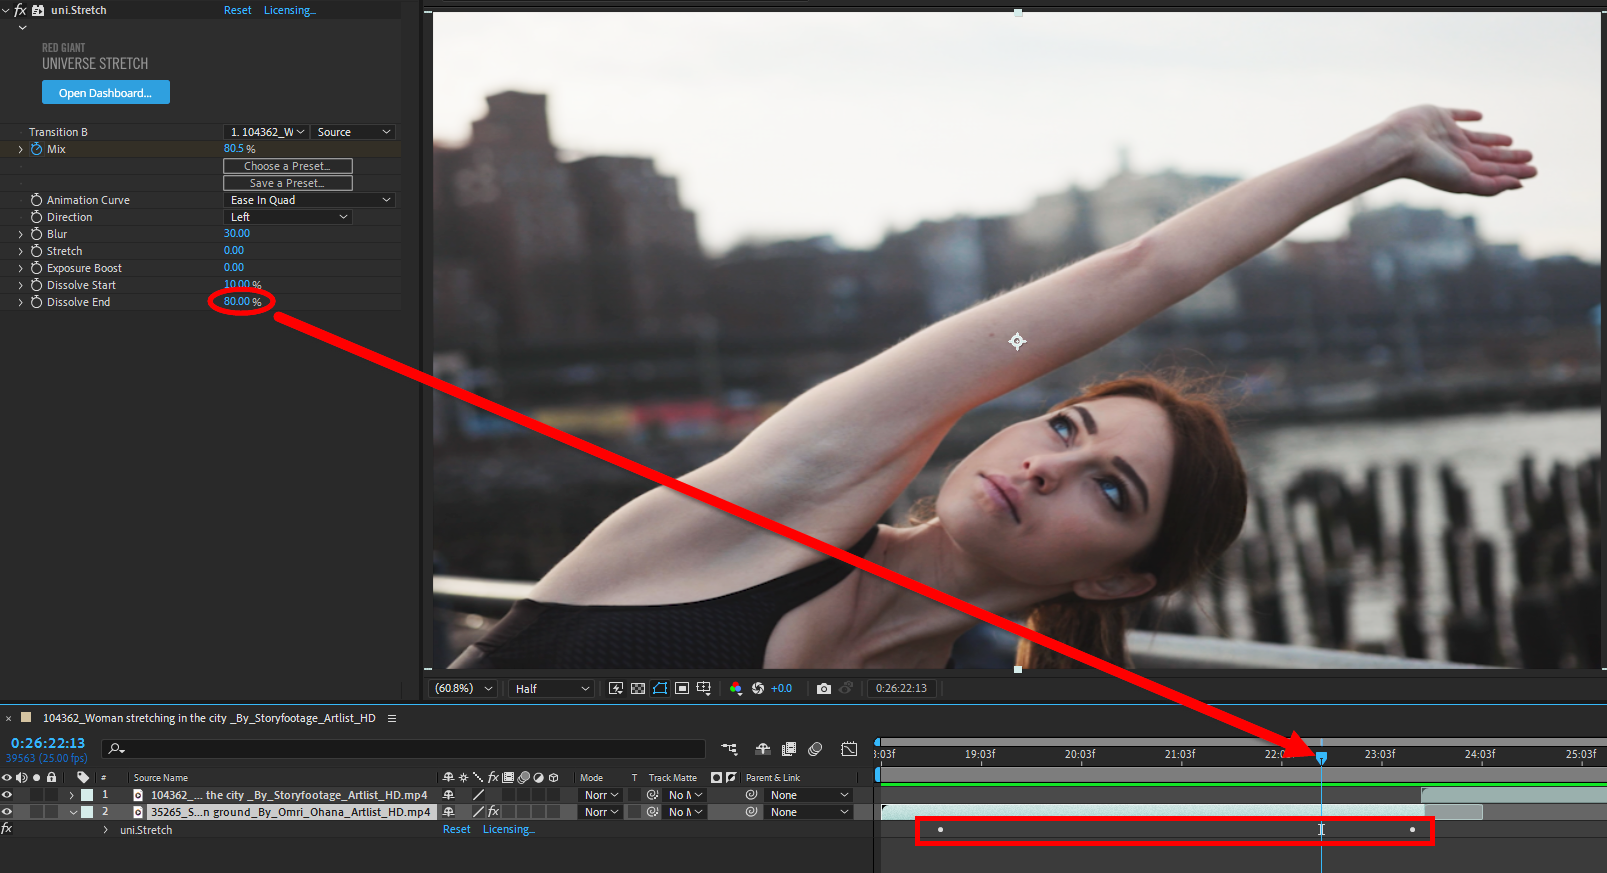
- Dissolve Start/End sets when the dissolve and blur start and end, respectively, noted as a percentage of the transition duration. Note the following image. It shows the first frame that is in focus within the span of our effect. You'll see on the timeline that it's 80% along the progression between our keyframes, which matches the 80% value we set for Dissolve End.