RETROGRADE TRANSITION
A transition mimicking the look of a film reel scrolling into the next shot, with customizations for altering the frame size, color treatment, and other stylizations.
Presets
You know that one particular look you want for transitioning between two strips of the same retro film? You don't have to create it from scratch. Pick one of our presets instead! Simply keyframe the Mix duration (see below) and tune to taste. Find these presets via the blue Open Dashboard... button or the Choose a Preset... button below it.
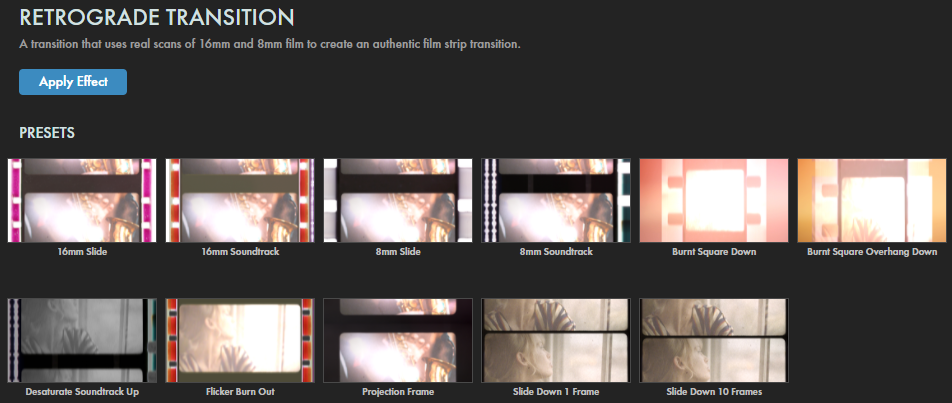
As with all other Universe tools, you can modify or create a Retrograde Transition look and then save it under its own name by pressing the Save Preset... button.
Getting Started in a Timeline




- Drag the transition over your edit in the timeline, placing it at the end or beginning. Alternatively, you can place it between two successive clips.
- Modify the Duration of the transition either by entering a length in the field or dragging directly in the timeline.
- You can choose the Alignment (Center at Cut, Start at Cut, End at Cut, or Custom Start) either by positioning the transition in the timeline or by choosing from the Alignment drop-down in some host applications.
Getting Started in a Compositor


- Apply the transition to the layer from which you want to transition.
- Choose the footage layer you would like to transition to in the Transition B drop-down menu. (Note for Motion users: Drag the footage layer up to the Transition B box.)
- Animate your transition using the Mix slider from 0% to 100 percent. Set a keyframe for 0% where the transition should start, then set another at 100% for the end.
Modify the Transition
-
Animation
twirls down options controlling how the slide and camera move during the shot.
- Direction determines if the slide moves Upward or Downward during the transition. The clip at the top of this page shows the default of Downward.
-
Slide Distance
effectively sets how many times a clip will appear to cycle across the comp in the selected direction. The "hero" animation atop this page uses a Slide Distance of 8. Compare that with a value of 2 here.
Note that higher values, due to variances with the video's frame rate may cause the slide to appear as if moving in the opposite direction from what was selected. - Animation Curve contains a list of speed presets that determine how the transition executes. For more information on what these presets mean, visit the Animation Tweens page.
- Dolly controls how much or little the transition effect is pushed out from the camera .
-
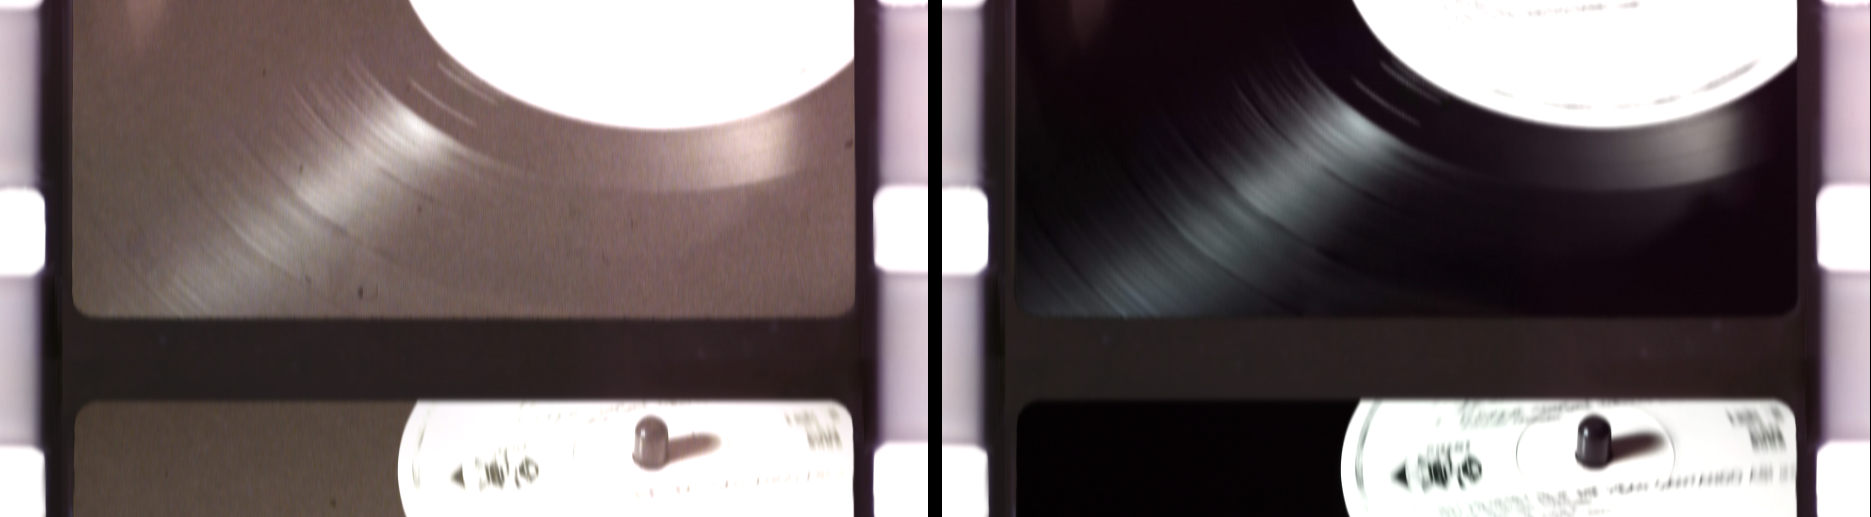
Enable Color Treatment
toggles whether the transition affects the footage color. This comparison shows the default treatment values enabled (left) versus having the checkbox disabled (right).
-
Color Treatment
twirls down how the tool affects color during the transition.
-
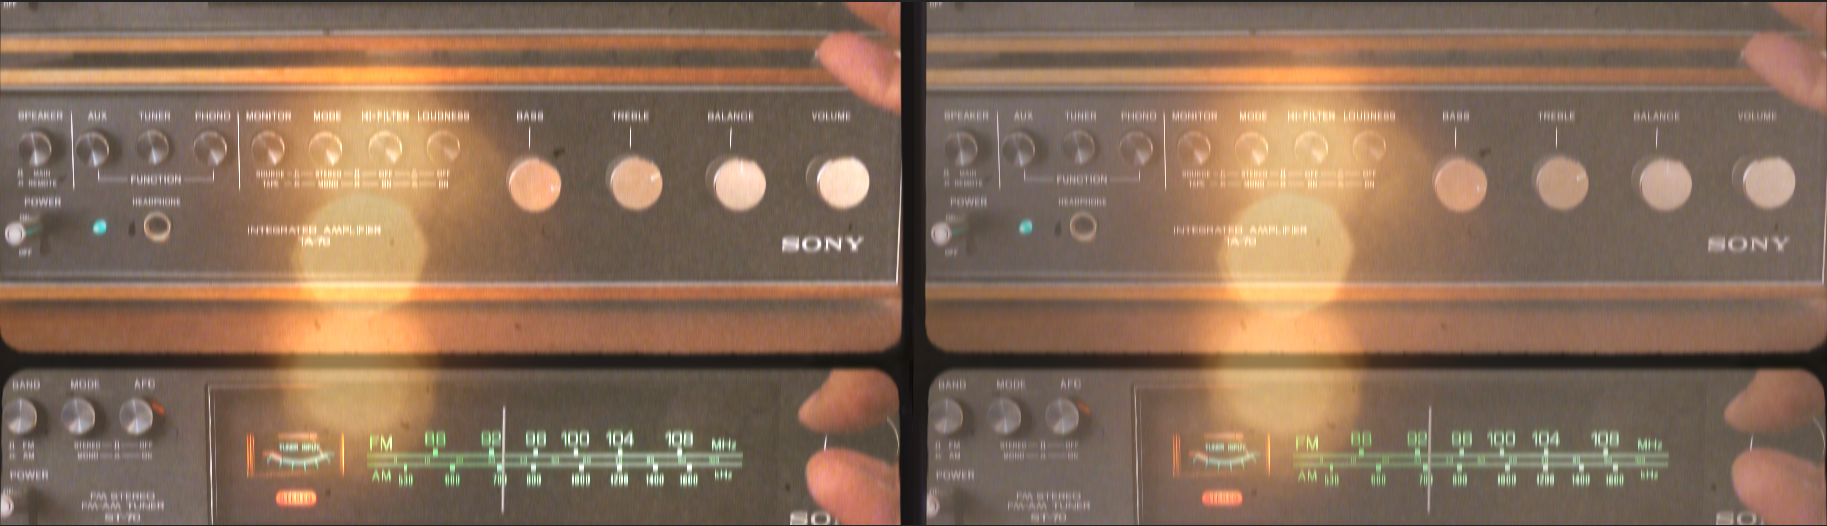
Film Fading
adjusts how muted the footage appears on the film strips.
This is a subtle effect, as shown in the below comparison. We start with the Slide Down 1 Frame preset, which uses a Film Fading value of 6 (left), then compare this with the maximum value of 100 (right).
- Color Process increases or decreases the coloring quantization applied to the footage, yielding an effect somewhat like muted saturation.
- Saturation customizes the vibrancy of the overall color during the transition.
-
Exposure
increases or decreases the brightness or darkness of the overall shot.
Below, we compare the 16mm Soundtrack preset's default value of 1 (left) with 4.5 (right), which delivers a bit more pop and brightness.
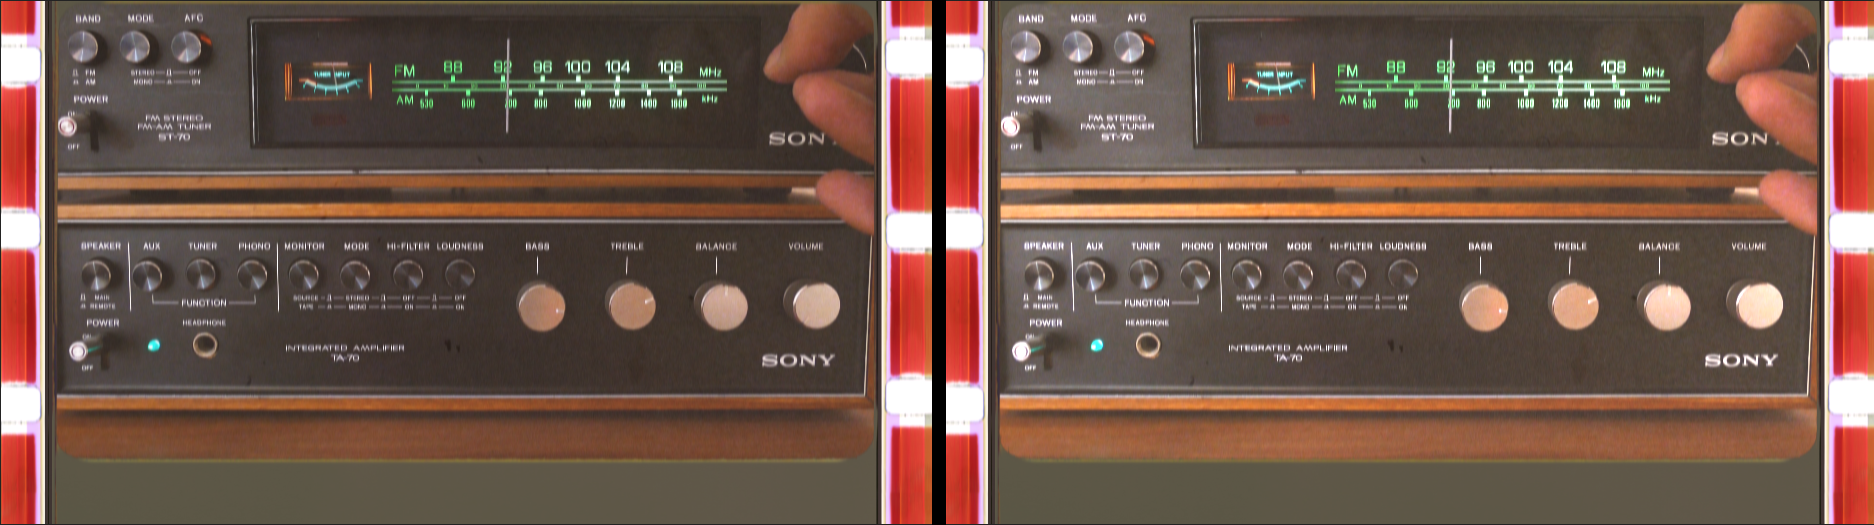
- Blur controls the fuzziness of the footage.
-
Flicker
recreates the animated strobe effect of projected film, essentially cycling the brightness of your footage. The higher the value, the darker frames appear at the bottom of the strobe cycle. This clip shows the appearance of Flicker: 20, the control's maximum value.
-
Film Fading
adjusts how muted the footage appears on the film strips.
This is a subtle effect, as shown in the below comparison. We start with the Slide Down 1 Frame preset, which uses a Film Fading value of 6 (left), then compare this with the maximum value of 100 (right).
-
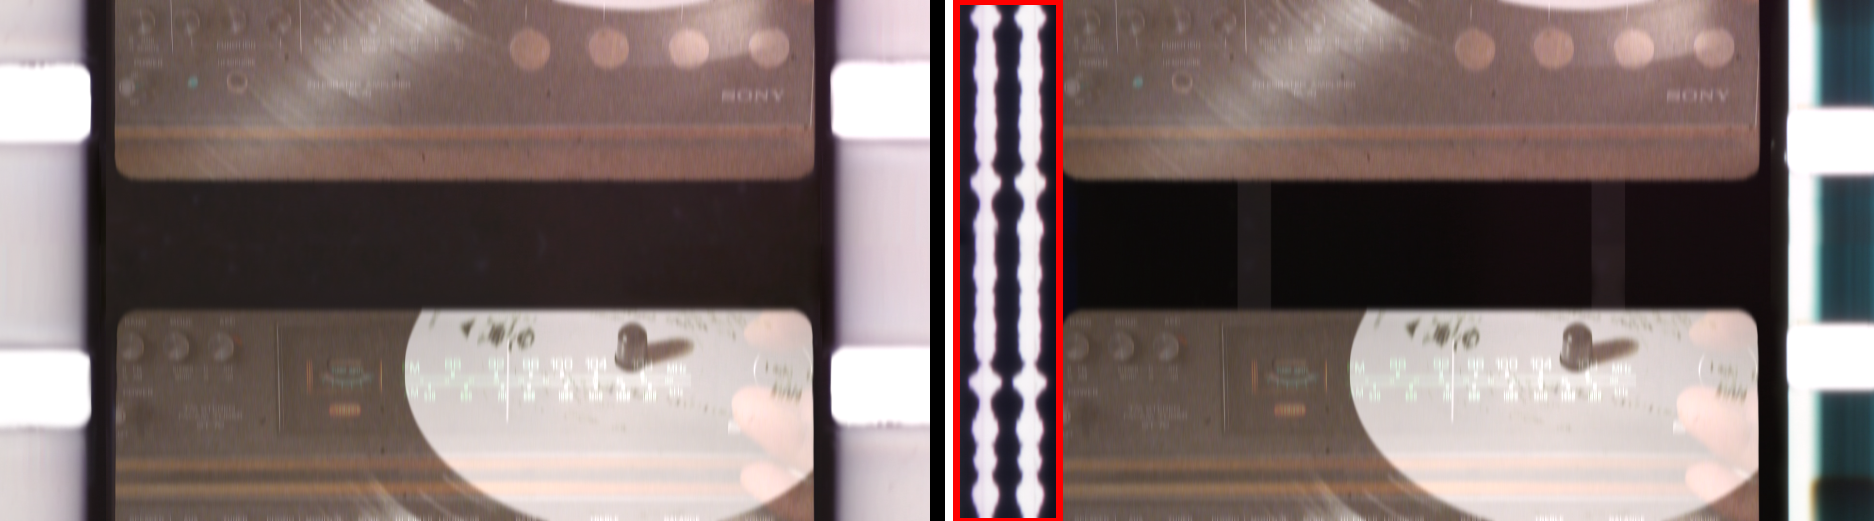
Frame Style
mimics the look of either
8mm or 16mm film, with or without their soundtracks present.
Below, we compare 8mm with 8mm Soundtrack (right). We highlighted the film strip's audio area.
- Frame Size controls whether the frames are the standard dimensions of 16:9 or 4:3. Selecting None removes the frame borders.
- Crop to Frame Size toggles whether the footage limits itself within the film strip's borders.
-
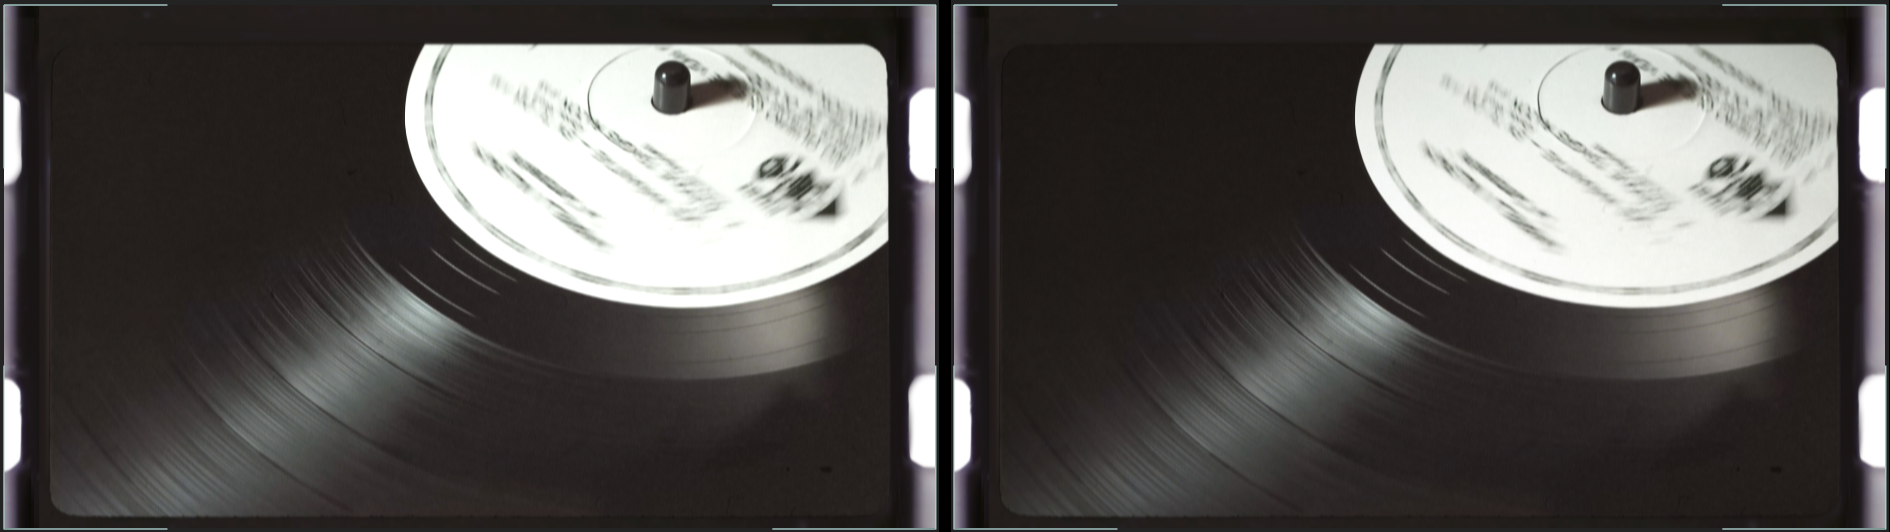
Vignette
adds subtle darkness to the film, particularly around the edges. Turning the control up increases the vignette effect by adding darkness from the edges toward the frame's center.
Look closely and you'll see how high vignetting (value: 100, right) yields more darkness in bright areas near the corners compared to Vignette: 0 (left).
-
Light Leak
contains a list of preset light stylizations affecting the appearance of the artificial light source present during the transition.
Here, we compare, in order from left to right, Crash, Crash Bokeh, Wipe Beam, and Wipe Sparkle.

- Light Leak Intensity adjusts the overall brightness of the light leak(s) over the shot. The above examples use the default value of 50.
-
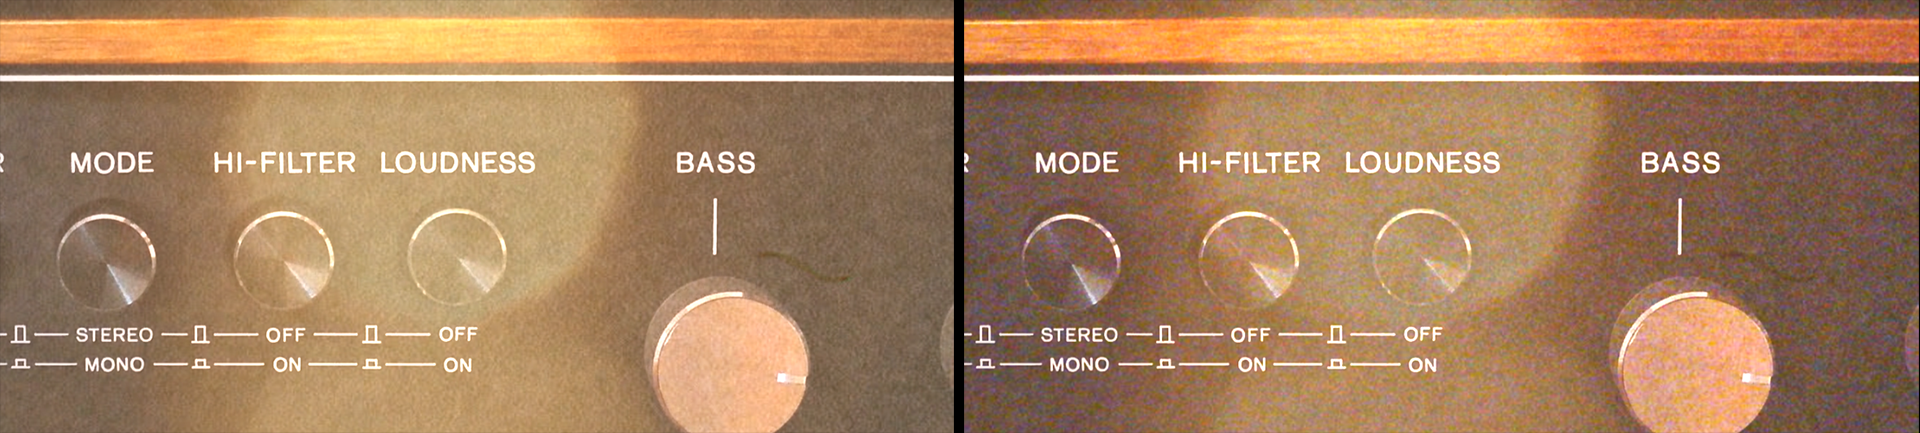
Film Grain
controls how much or little artificial grain (noise) is added.
Again, the effect here is subtle, and you may need to zoom in to observe the impact, as in this comparison of 0 (left) and 100 (right) using Light Leak: Crash Bokeh at Intensity: 35.
-
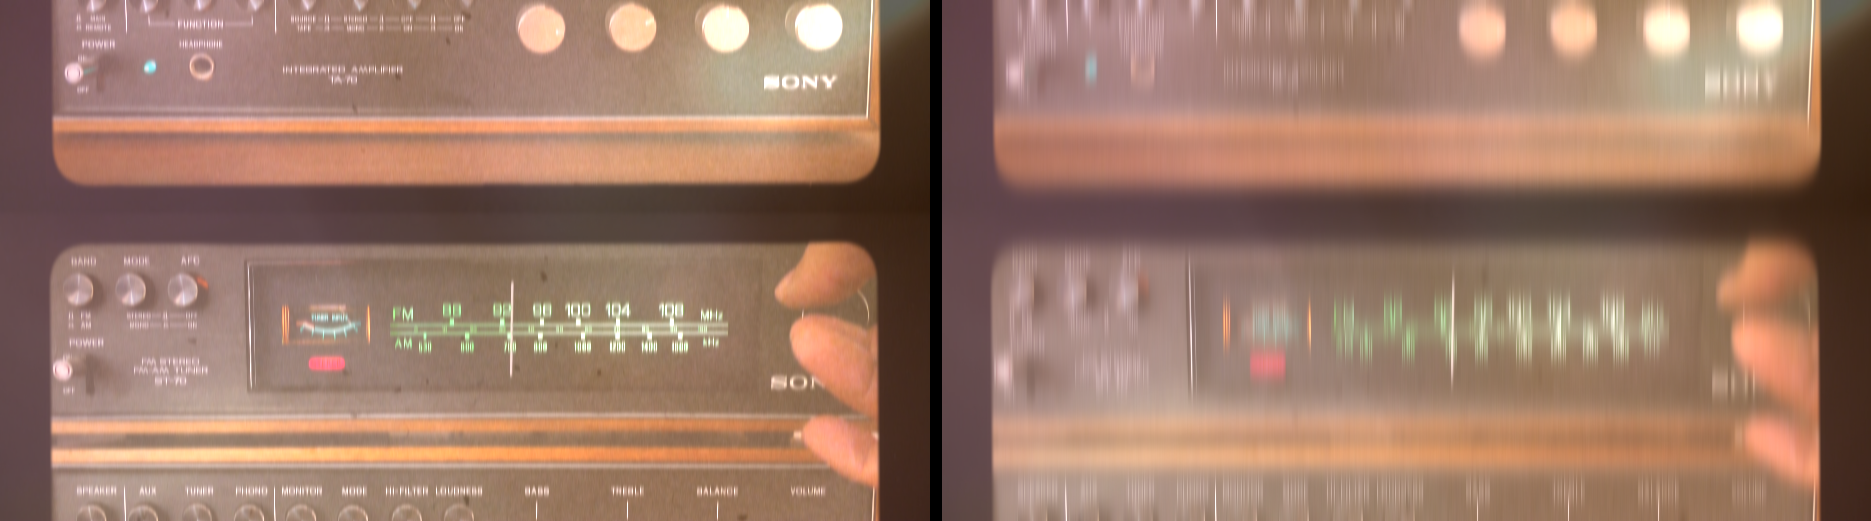
Motion Blur
customizes an added motion blur present during the movement of the strip across the screen.
A value of 2 (below, left) may enhance that analog feel while leaving text legible. The maximum of 10 (right) may induce motion sickness.
-
Background
twirls down a couple of controls that affect the surface the strip is covering.
- Color modifies the color of the light using a swatch or eyedropper tool. In all of the above examples, we used the parameter's default of white.
-
Opacity
controls how blended or apparent the background appears.
Note that a high Dolly value combined with low Opacity may reveal your B clip behind the transition, as shown below.