
Universe
CHANNEL BLUR
This transition blurs together the red, green, and/or blue channels between two footage layers. Additional options include the ability to control the blur's brightness, contrast, or angle.
Presets
These handy Channel Blur presets can accelerate your color- and blur-focused transition down to one click. Find the presets via the blue Open Dashboard... button or the Choose a Preset... button below it.
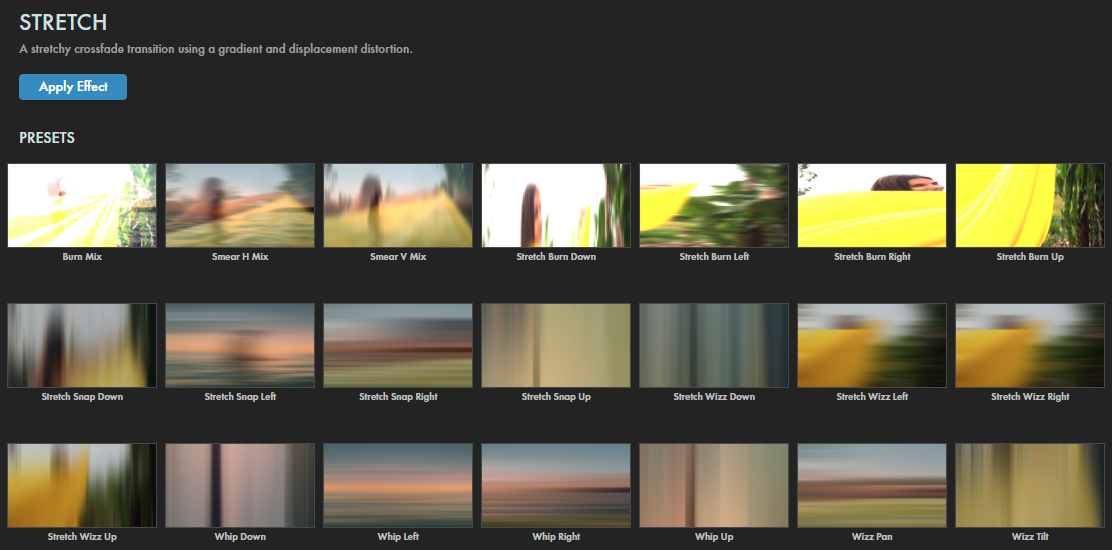
As with all other Universe tools, you can modify or create a Channel Blur look and then save it under its own name by pressing the Save Preset... button.
Getting Started in a Timeline



- Drag the transition over your edit in the timeline, placing it at the end, beginning, or between two successive clips.
- Modify the Duration of the transition either by entering a length in the field, or dragging directly in the timeline.
- You can choose the Alignment (Center at Cut, Start at Cut, End at Cut, or Custom Start) either by positioning the transition in the timeline, or by choosing from the Alignment drop-down in some host applications.
Getting Started in a Compositor


- Apply the transition to the layer you want to transition from.
- Choose the footage layer you would like to transition to in the Transition B drop-down menu. ( Note for Motion users : drag the footage layer up to the Transition B box).
- Animate your transition using the Mix slider from 0% to 100 percent. Set a keyframe for 0% where the transition should start, then set another at 100% for the end, typically near the start of the second layer.
Modify the Transition
-
Blur Main
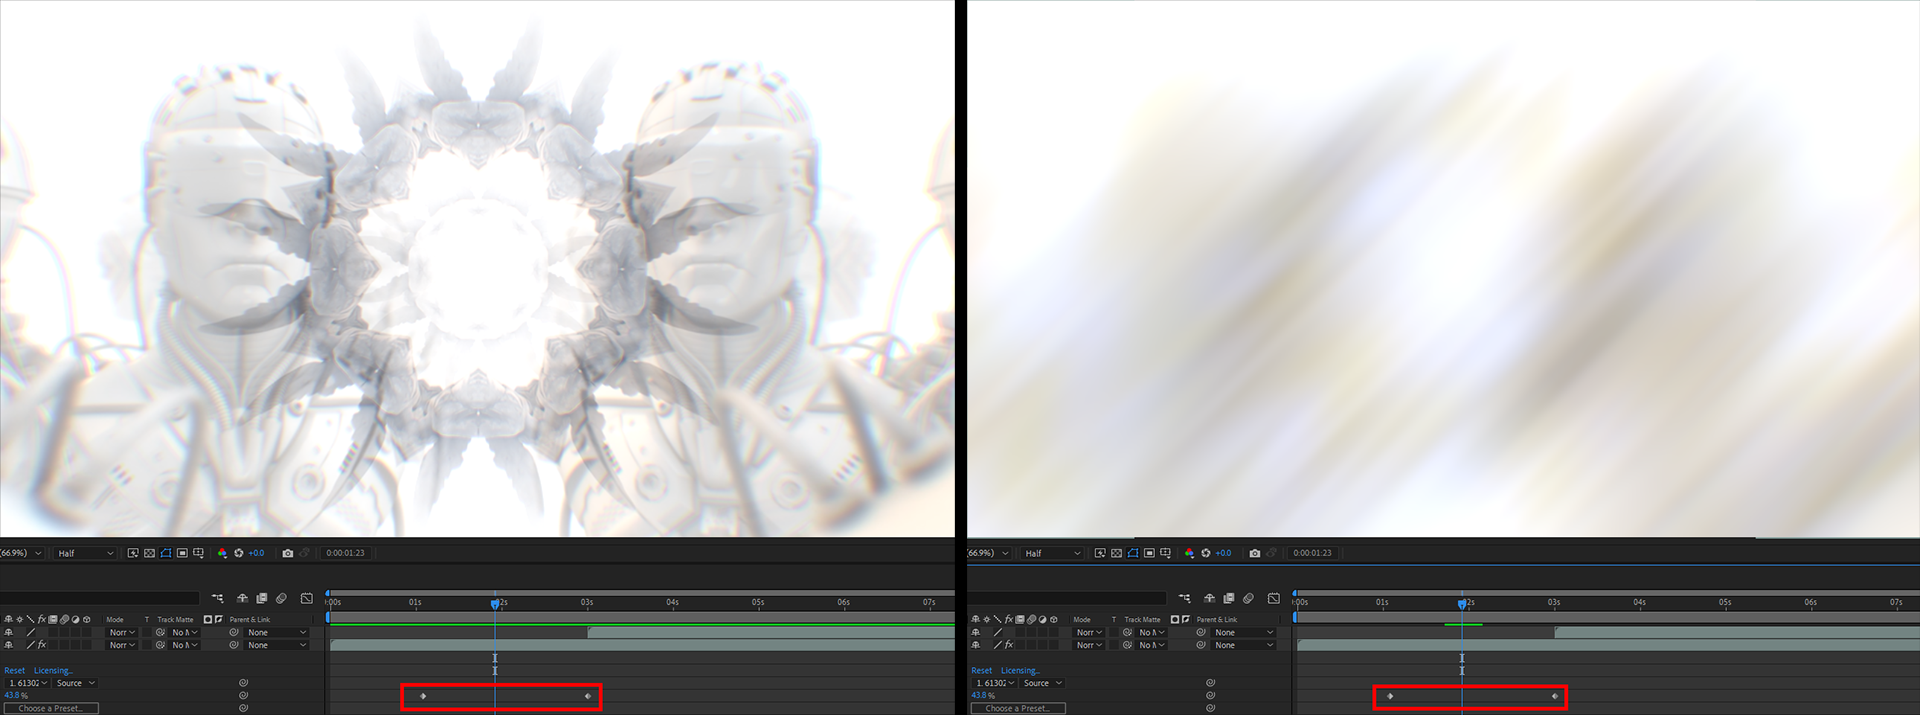
adjusts the blur of the channels with a blur amount set below. Adjustments are made from 0 to 10 on an exponential scale. This is why the difference between values of 0 (left, below) and 0.20 (right) are so pronounced.
-
Blur Angle
allows you to change the direction of the blur streaks and rotate them individually along their own axis.
Compare the below value of 130 degrees against the default of 45 degrees above.

-
Red/Green/Blue Blur controls the blur of these color channels. Below, you see a frame from our comp with all colors zeroed out (left), then Red Blur set to 5 (center), then with Blue Blur set to 10 (right).

- Brightness/Contrast Boost increases the image's brightness or contrast during the transition Mix. It doesn't take much added brightness to completely blot out your scene at the transition's middle.
-
Soften
is an auxiliary blur system meant to adjust any harsh edges leftover from the
Blur Main
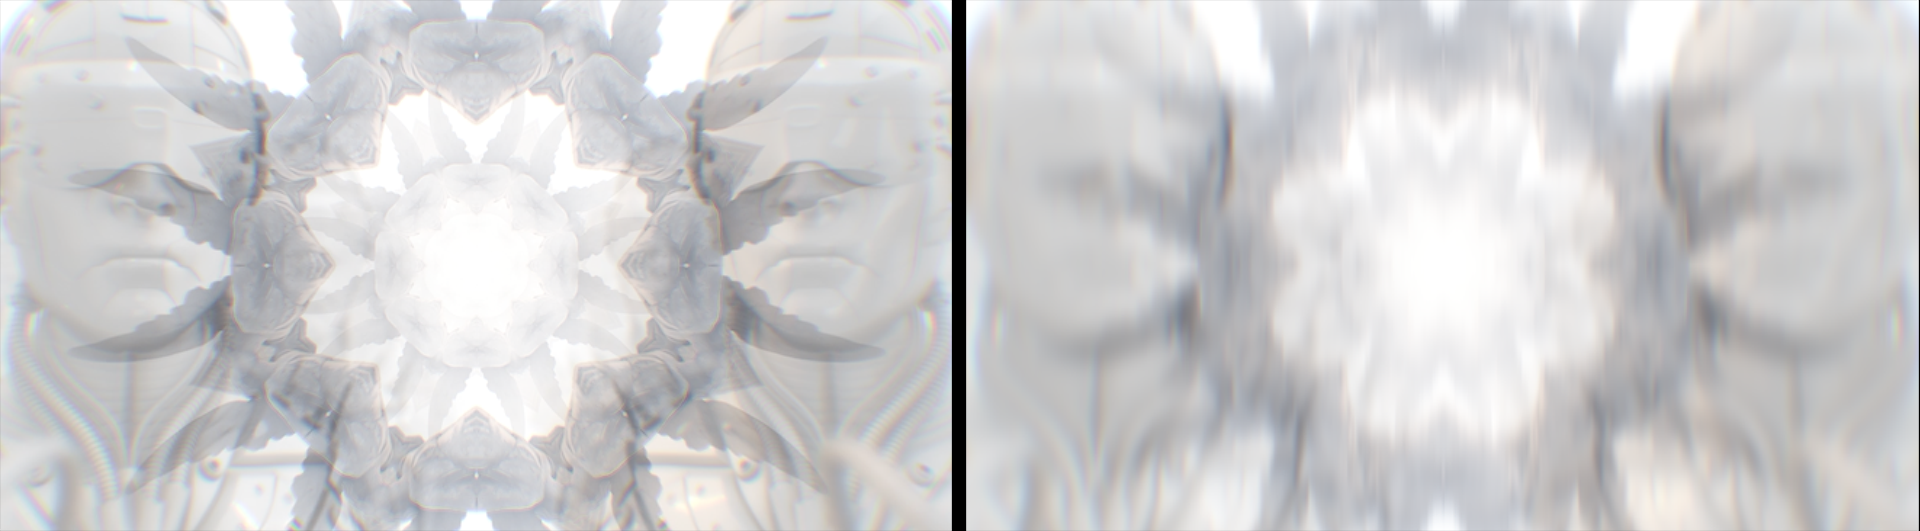
and channel blur properties. The impact of Soften can be hard to see, depending on your other settings. To show it here, we used the Default preset, then slid Blur Main and Brightness Boost to zero. With that done, the difference between Soften values of 0 (left, below) and 4 (right) become obvious.
- Dolly lets you move the camera closer or farther away along the z axis. Higher values appear to bring the first layer closer to the camera while the second layer remains fixed.