
Universe
DOLLY FADE
A 3D transition that moves a layer in z space while fading the other layer's opacity.
Presets
Do you want the camera to move in or out? That's all you need to know when using these two presets to set up your transition. Simply keyframe the Mix duration (see below) and tune to taste! Find these presets via the blue Open Dashboard... button or the Choose a Preset... button below it.
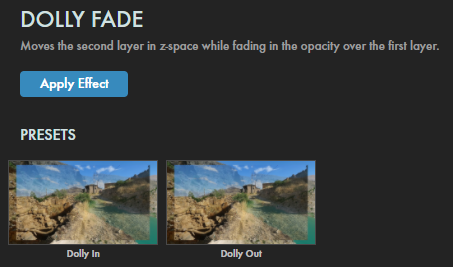
As with all other Universe tools, you can modify or create a Dolly Fade look and then save it under its own name by pressing the Save Preset... button.
Getting Started in a Timeline




- Drag the transition over your edit in the timeline, placing it at the end or beginning. Alternatively, you can place it between two successive clips.
- Modify the Duration of the transition either by entering a length in the field or dragging directly in the timeline.
- You can choose the Alignment (Center at Cut, Start at Cut, End at Cut, or Custom Start) either by positioning the transition in the timeline or by choosing from the Alignment drop-down in some host applications.
Getting Started in a Compositor


- Apply the transition to the layer from which you want to transition.
- Choose the footage layer you would like to transition to in the Transition B drop-down menu. (Note for Motion users: Drag the footage layer up to the Transition B box.)
- Animate your transition using the Mix slider from 0% to 100 percent. Set a keyframe for 0% where the transition should start, then set another at 100% for the end.
Modify the Transition
- As with the two presets, use Direction to choose whether the animation will be a Dolly In or Dolly Out.
- The Animation drop-down menu offers multiple interpolation styles for your transition's animation. Click here for more information about these animation presets.
-
The
Dolly
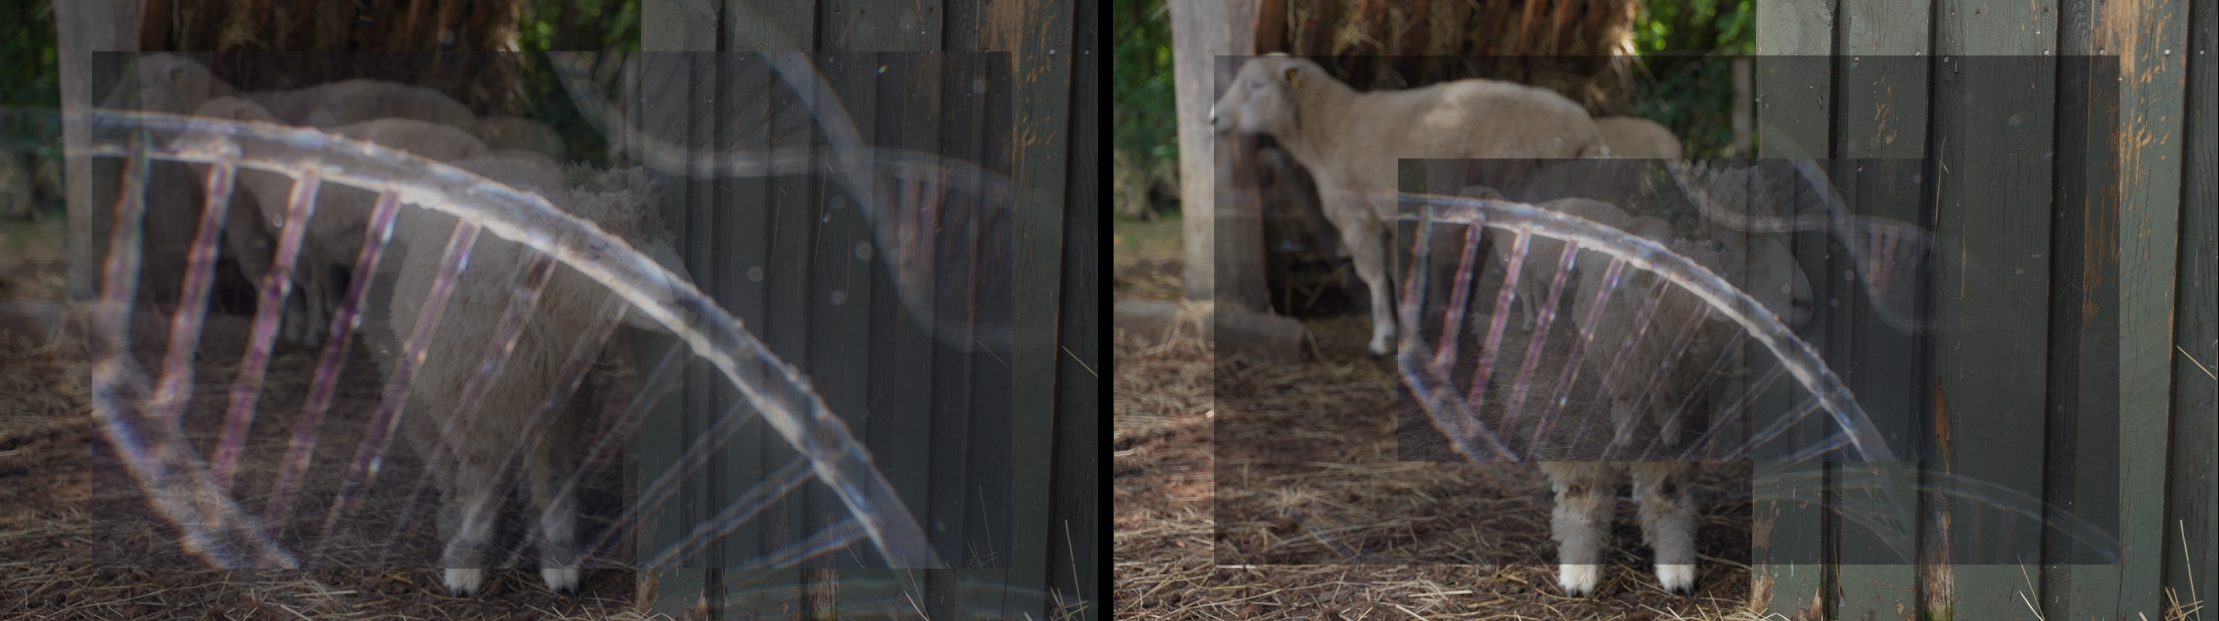
slider lets you move the camera closer in or farther away along the z axis from the transitioning layers. Bringing the control to 0 will move the layer directly to the camera and fill the comp, effectively resulting in a crossfade rather than a dolly fade. Increasing the slider value will move the camera away from the layer.
The clip at the top of this page uses a Dolly value of 0.5. Compare that with these mid-transition captures using 0.2 (left) and the maximum of 1.2 (right).
-
Motion Blur:
- Add realistic Motion Blur by choosing a setting from the drop-down menu: Off, Low, Medium, or High. Note that the nature of the Dolly Fade transition may make "motion" less apparent than in other Universe transitions.
- The Motion Blur Shutter angle default is set to 180 degrees. Increasing it toward 360 will spread the motion blur iterations evenly with a high number of blur levels.
- Edge Smoothing provides levels of anti-aliasing to your edges, making them less jagged. Options for smoothing strength are None, Low, Medium, and High. Selecting High may increase playback and render time.