
Universe
HEATWAVE
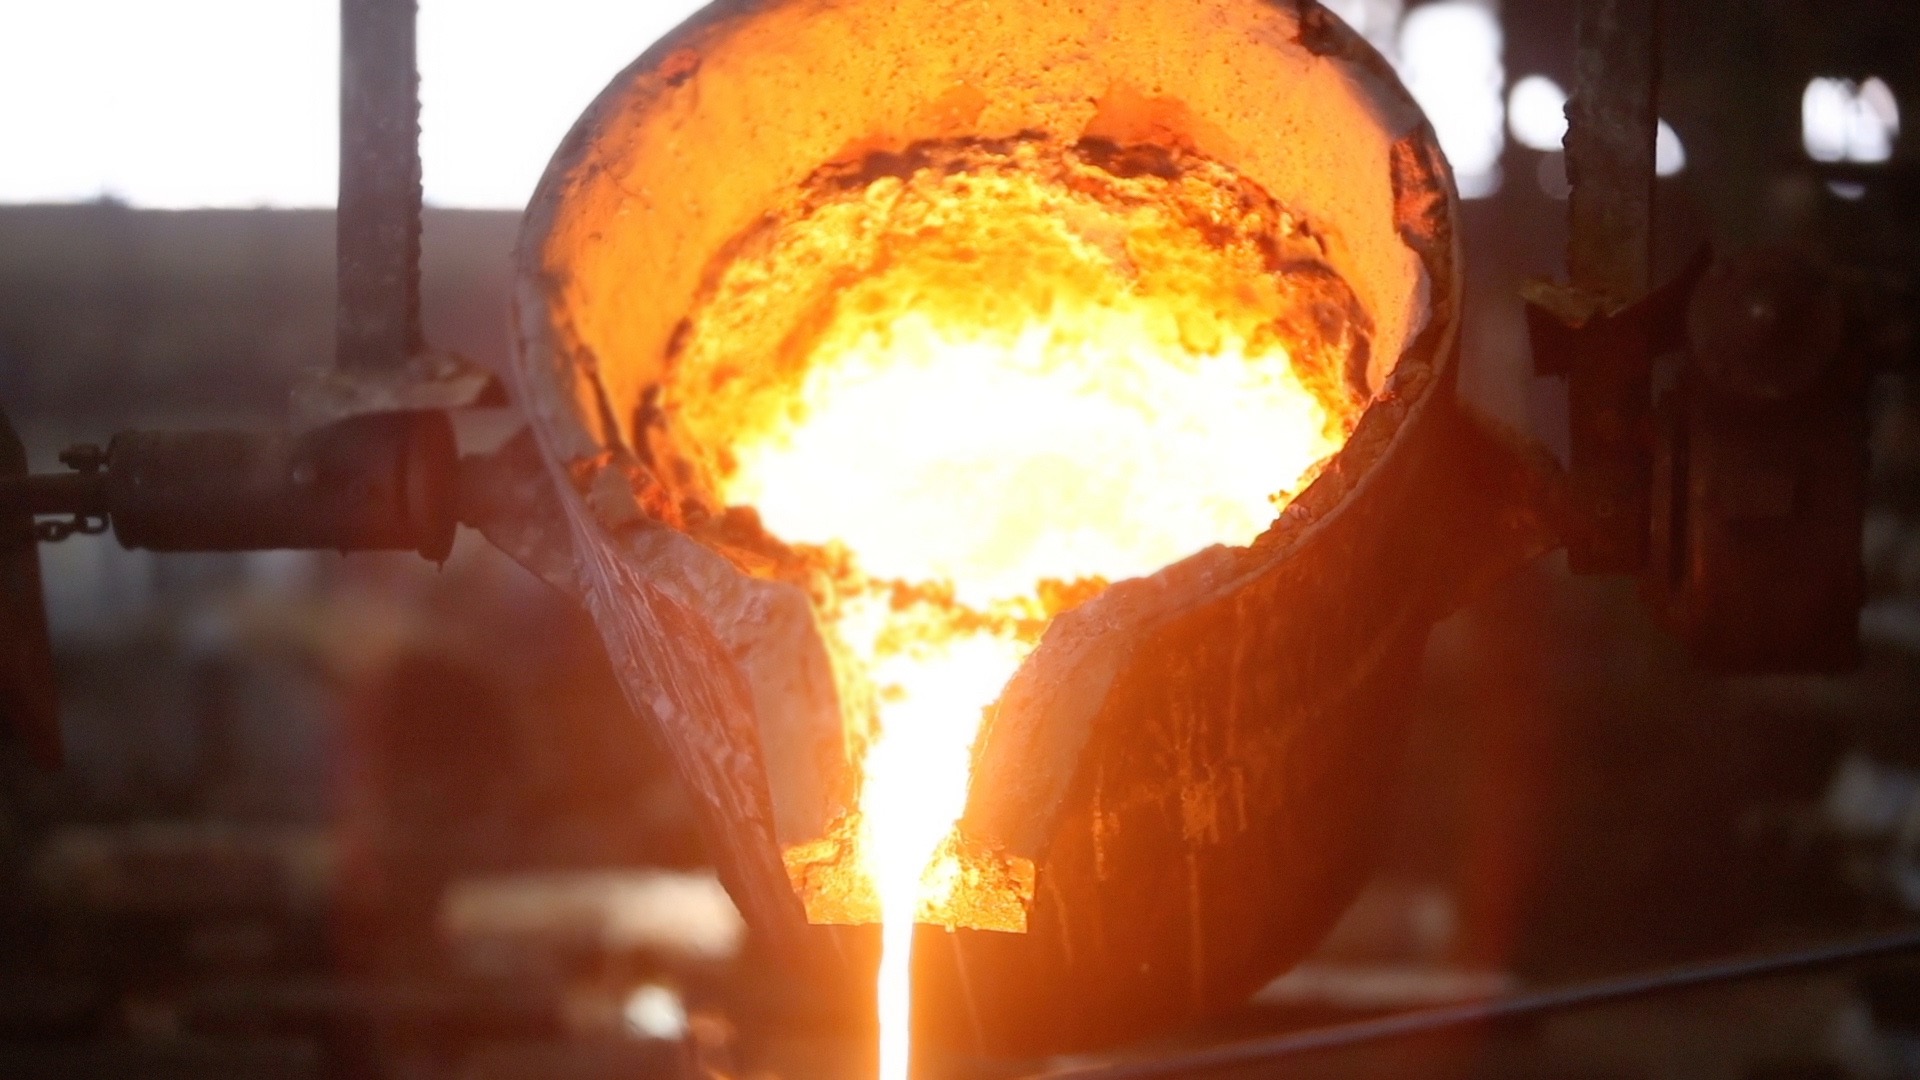
Heatwave is a realistic rippling heat distortion effect with controls for intensity, direction, speed, amount, and more.
Presets
Five fiery presets come ready to help you simulate a variety of simmering looks. Find these via the blue Open Dashboard... button or the Choose a Preset... button below it.
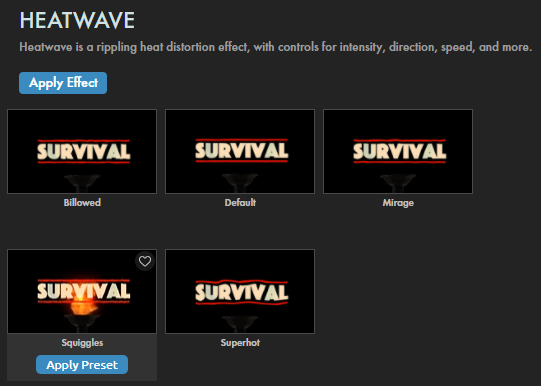
As with all other Universe tools, you can modify or create a Heatwave look and then save it under its own name by pressing the Save Preset... button.
Modify the Effect
- Choose the type of distorted wave applied to your image from the Wave Type drop-down menu. The Default, Billowed, and Ridged options will all give you differently styled noise patterns that distort your footage. (You can more clearly see these differences if you show the wave noise pattern under Output > Distortion.)
-
The
Heat Intensity
slider allows you to increase or decrease the overall strength and depth of the effect on the footage.
Smaller values, such as 10, will likely yield more realistic results. Maxing out the setting at 100 appears as if you're viewing the scene through jiggling water (see below).
- Change the angle of heat wave movement by adjusting the Flow Direction slider.
- As the Heatwave effect is already animating for you without keyframes, Flow Speed controls allow you to adjust how fast heat waves animate across the screen.
-
The
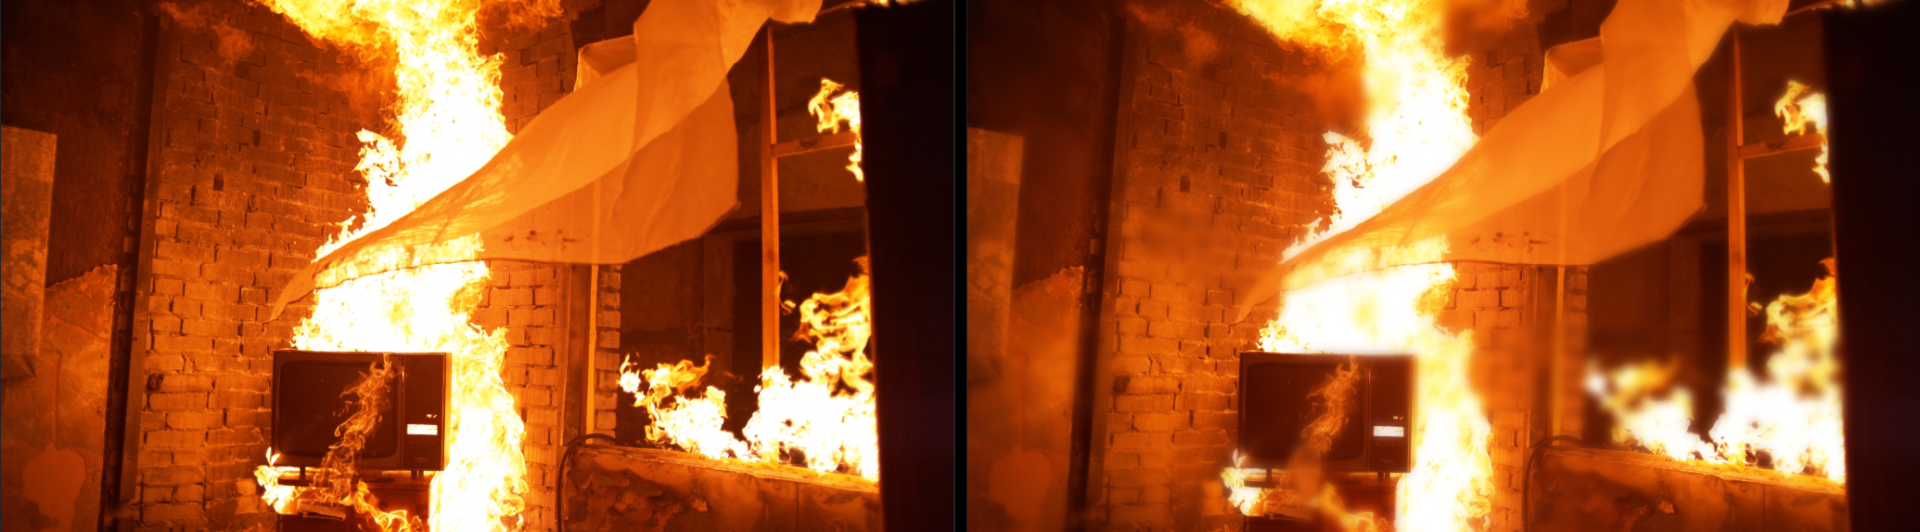
Blur Amount
slider allows you to control how much blur appears in the heat waves.
Compare the values of 1 (left) and 100 below.
-
The
Distortion Settings
group offers three controls:
- Heat manifests in Heatwave via a noise pattern. Heat Size refers to the scale of that pattern within your comp. You can see this pattern when you select Output > Distortion; see below. With Distortion selected, you can shift the Heat Size slider and see the pattern.
- Heat Detail Amount governs the amount of detail within that noise pattern. Don't be surprised if this is hard to detect in your final image. It's just another way Universe lets you tweak how effects are built.
-
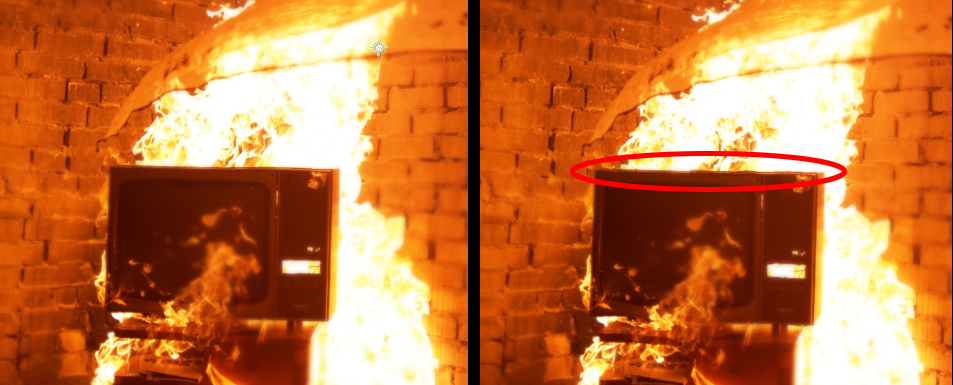
Heat Detail Scale
lets you adjust the scale of the waves' noise pattern. Again, this parameter's impact can be very subtle. In the comparison below, we have values of 0 (left) and 400 (the maximum). Even at the maximum setting, we only pick out a bit more distortion around the high-contrast, straight edge of the TV.
-
The
Heat Blur Settings
group controls the blur applied to heatwaves.
- Blur Size affects the size of the blur's spread across waves.
With Output > Blur selected, you can see the difference between size values of 20 (left) and 70, as shown below.
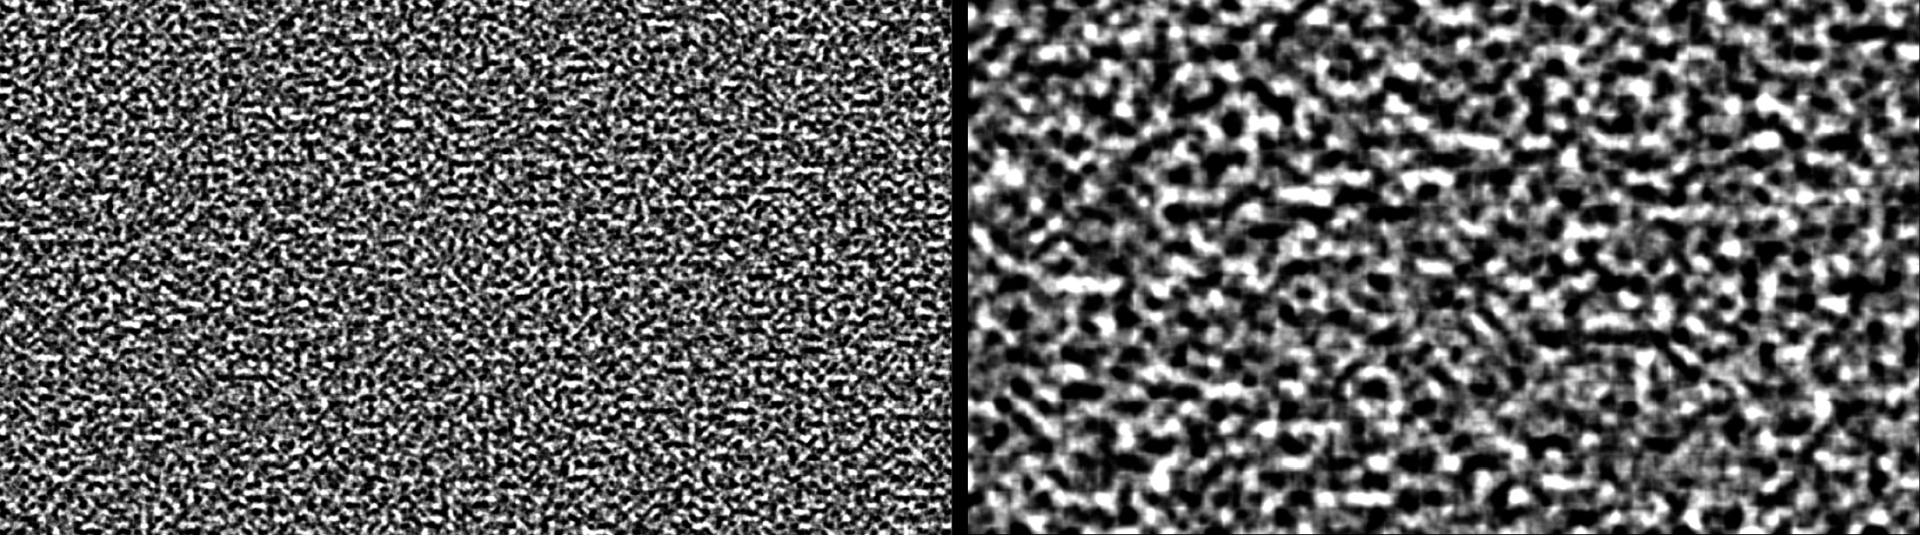
- Blur Feather softens blurred area edges, blending the effect across the frame.
- The Blur Detail Amount and Blur Detail Scale sliders adjust the amount of visible detail within blurred areas. Increase these values to bring out more detail or lower them to smooth detail.
- Blur Quality sets the render quality and how long it will take to render the effect.
- Blur Size affects the size of the blur's spread across waves.
With Output > Blur selected, you can see the difference between size values of 20 (left) and 70, as shown below.
-
The
Mask Options Group
helps to isolate the Heatwave effect within a masked composition area.
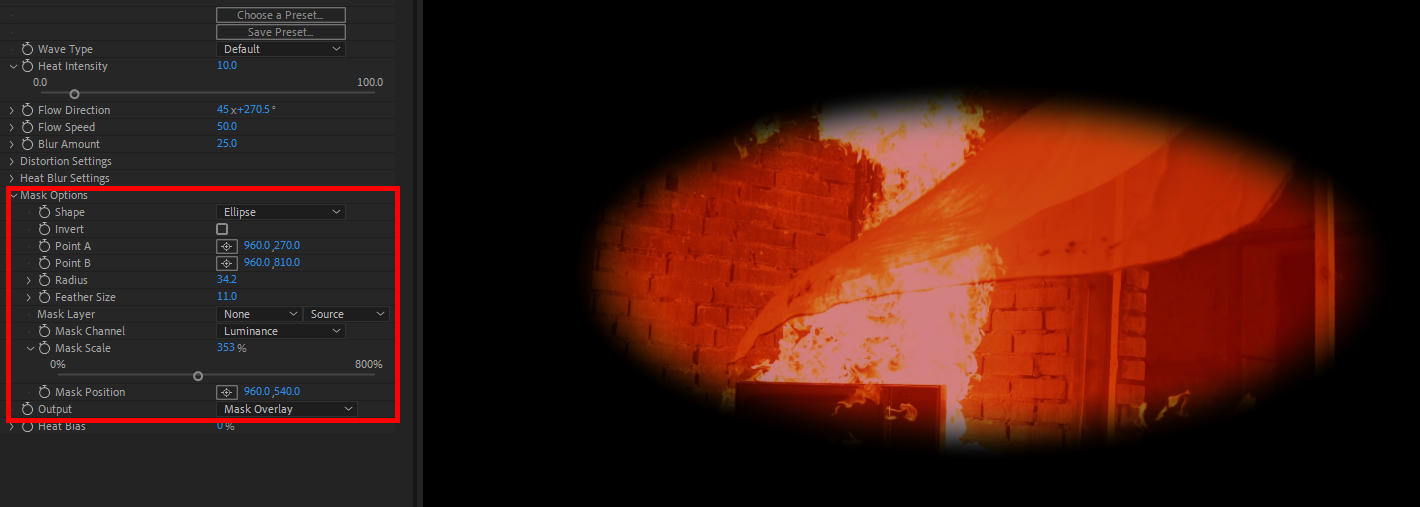
- The Shape drop-down menu offers Ellipse (the default), Rectangle, or Layer options. Layer connects to the Mask Layer control and allows you to set the shape of the mask to whatever comp layer is selected in the Mask Layer drop-down menu. When checked, the Invert checkbox will switch the blur to occur outside the selected mask shape instead of inside. The default is unchecked for this control. Point A cross-hair control corresponds to the position of the top of the mask image. Point B controls correspond to the mask's bottom position. Moving these points will squash or stretch the mask shape as well as move its position.
- Radius spreads the mask's coverage outward laterally from the center.
- Feather Size increases translucency and "softens" the mask edges along a gradient. The feathering direction will pull the transparent gradient toward the center of the mask with more negative values or out toward the edges with more positive values.
- The Mask Channel drop-down allows the blurred area to respect the Alpha or the Luminance channel of the selected Layer.
- Mask Scale changes the mask size across the image.
- Mask Position allows you to move the mask along the x and y axes using cross-hair or numerical controls.
- As mentioned earlier, the Output drop-down menu allows you to view the different components of the Heatwave effect individually. By default, this menu is set to Final Image, which shows the end results of all the settings applied to the footage. When selected, Distortion shows the noise pattern isolated on the screen. This is especially obvious when viewing it animated in the timeline. The Blur option reveals the blur map that gets applied to footage. This is helpful to see when adjusting the Heat Blur Settings group. The Mask and Mask Overlay options help view the effects of the Map Options group.
- Finally, Heat Bias control allows you to adjust the overall Heatwave effect upon the composition. Turn this control up to 100 to make the effect more subtle or turn it down to make it more prominent. That's the thing about Heatwave settings. Some like it hot, but you can't tell how hot 'til you try.