
Universe
VHS TRANSITION
Distort from one shot to the next while mimicking the look of a VHS tape that's been recorded over.
Presets
Press Play on any of Universe's glitchy yet awesome VHS Transition presets. Simply keyframe the Mix duration (see below) and tune to taste! Find these presets via the blue Open Dashboard... button or the Choose a Preset... button below it.
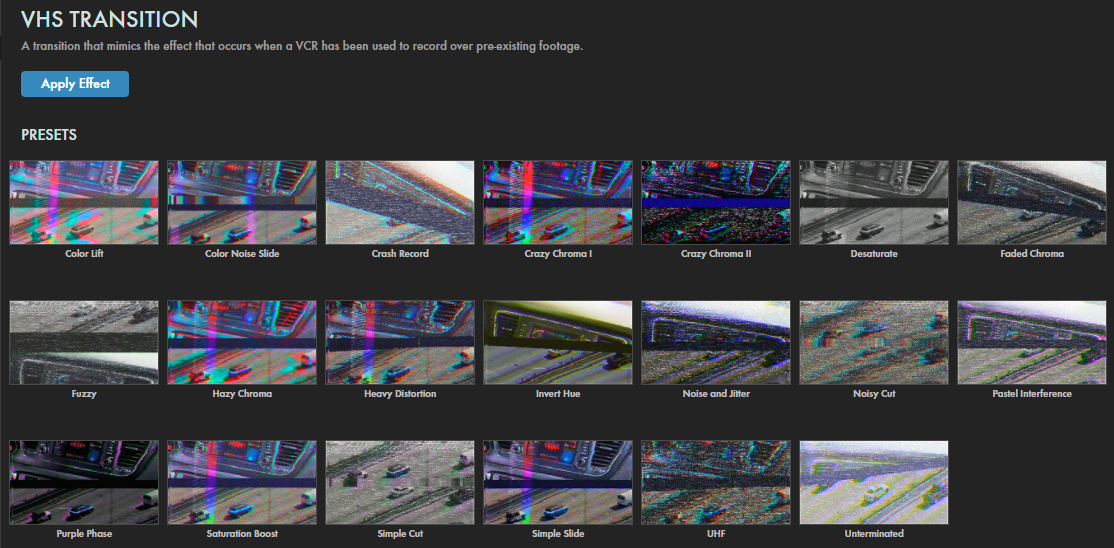
As with all other Universe tools, you can modify or create a VHS Transition look and then save it under its own name by pressing the Save Preset... button.
Getting Started in a Timeline




- Drag the transition over your edit in the timeline, placing it at the end or beginning. Alternatively, you can place it between two successive clips.
- Modify the Duration of the transition either by entering a length in the field or dragging directly in the timeline.
- You can choose the Alignment (Center at Cut, Start at Cut, End at Cut, or Custom Start) either by positioning the transition in the timeline or by choosing from the Alignment drop-down in some host applications.
Getting Started in a Compositor


- Apply the transition to the layer from which you want to transition.
- Choose the footage layer you would like to transition to in the Transition B drop-down menu. (Note for Motion users: Drag the footage layer up to the Transition B box.)
- Animate your transition using the Mix slider from 0% to 100 percent. Set a keyframe for 0% where the transition should start, then set another at 100% for the end.
Modify the Transition
- Transition Type determines the overall movement from one shot to the next during the transition. It can Slide Down (default) onto the screen or Slide Up. There's also the more subtle Wipe effect or the comparatively blunt Cut.
-
Tape Noise Type
controls the stylization of the VHS noise, although you can select None.
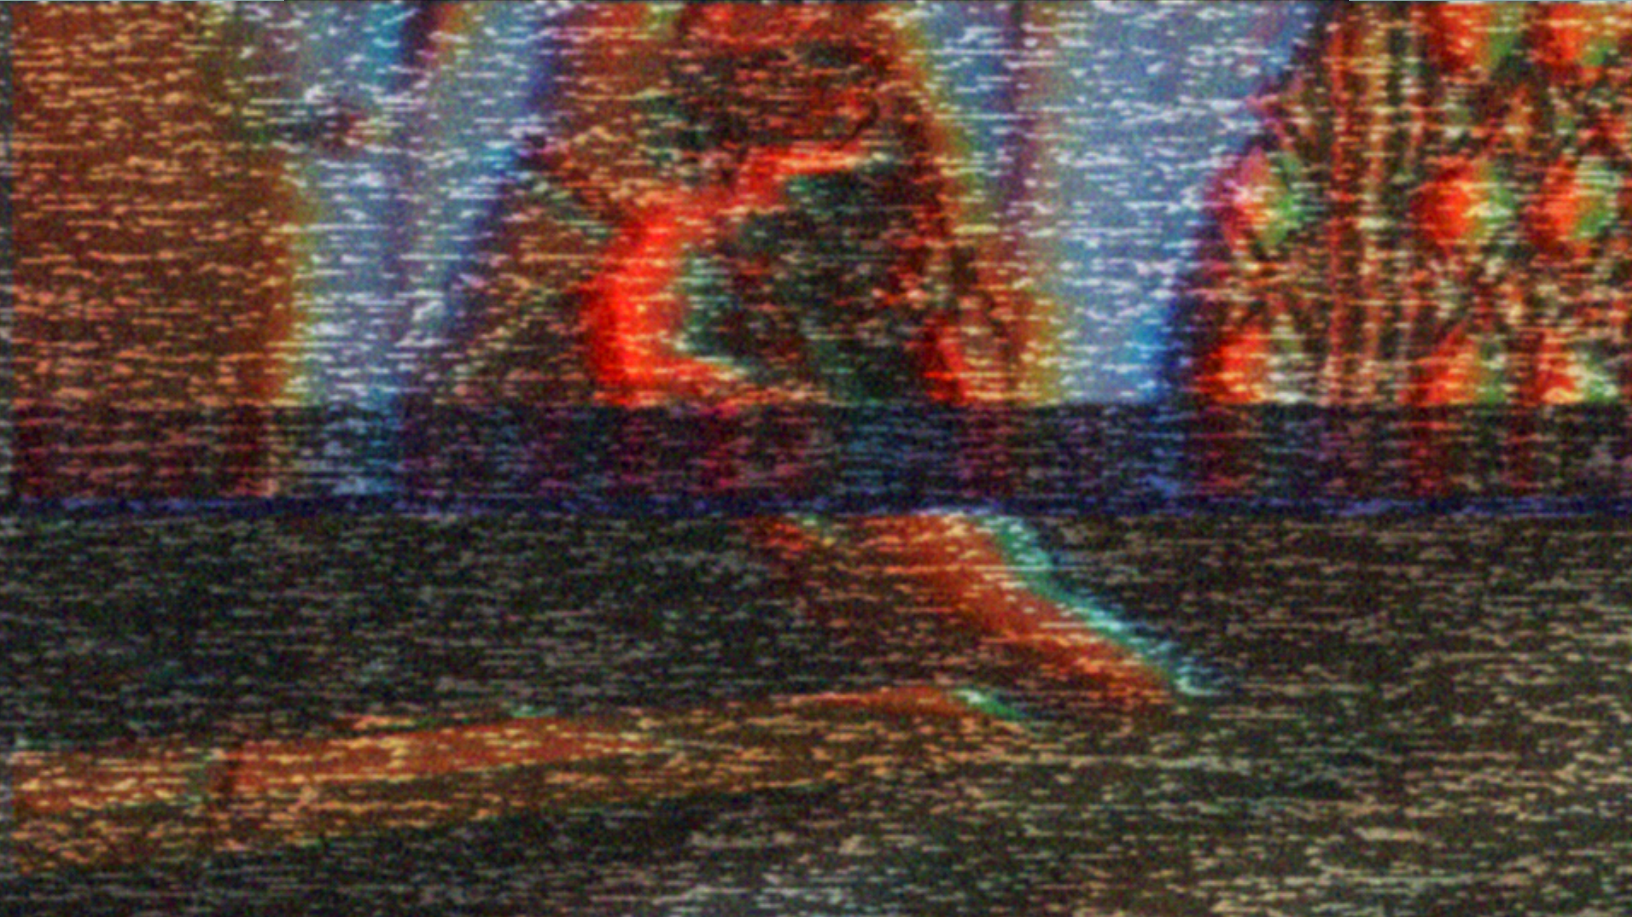
Color Noise (below, left), Bad Tracking (center), and Very Bad Tracking (right) mimic the
look of old VHS players that had a hard time syncing the VHS reel, resulting in visible stuttering.

Degauss (below) creates the look of a monitor resetting its color palette.
-
Tape Noise
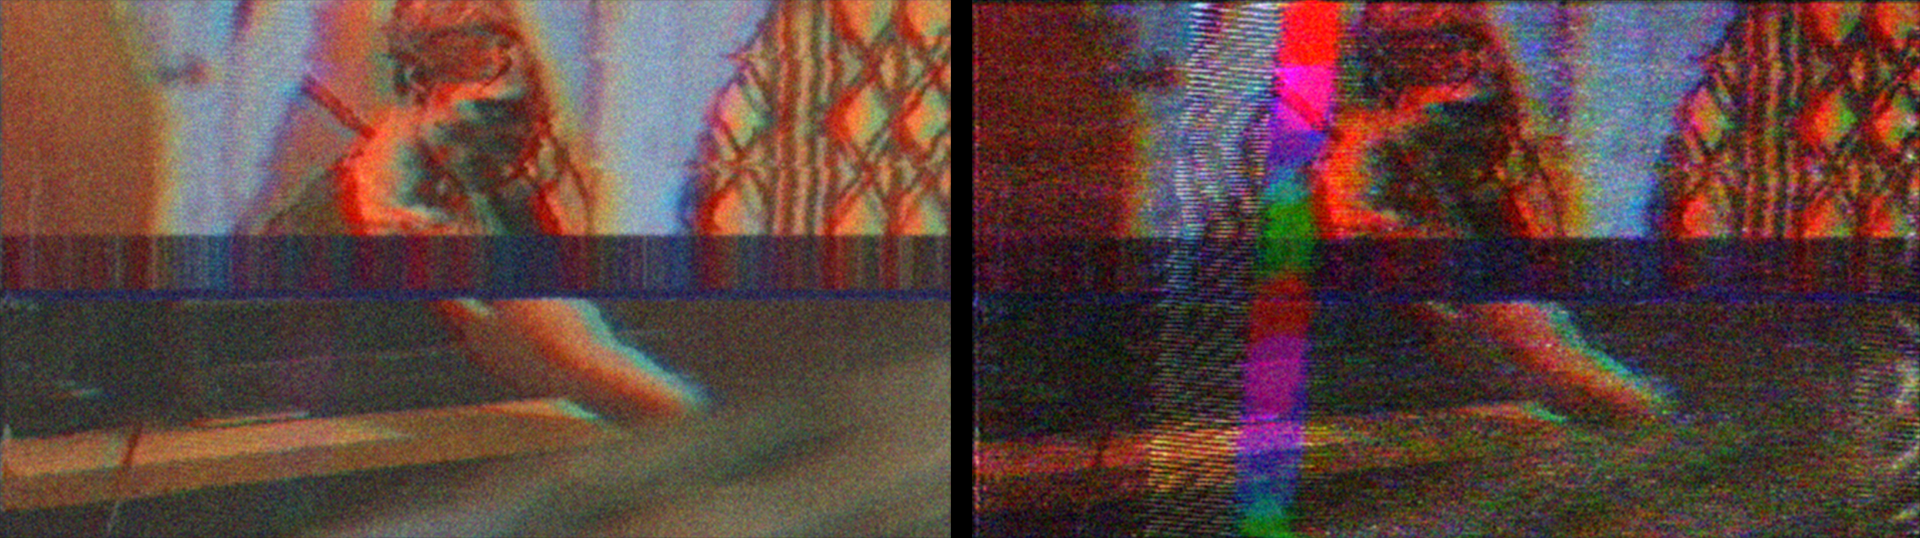
customizes the amount of noise covering the shots during the transition.
Below, we compare the values of 25 (left) and 175 (right) using the Color Noise type.
-
Tape Distortion
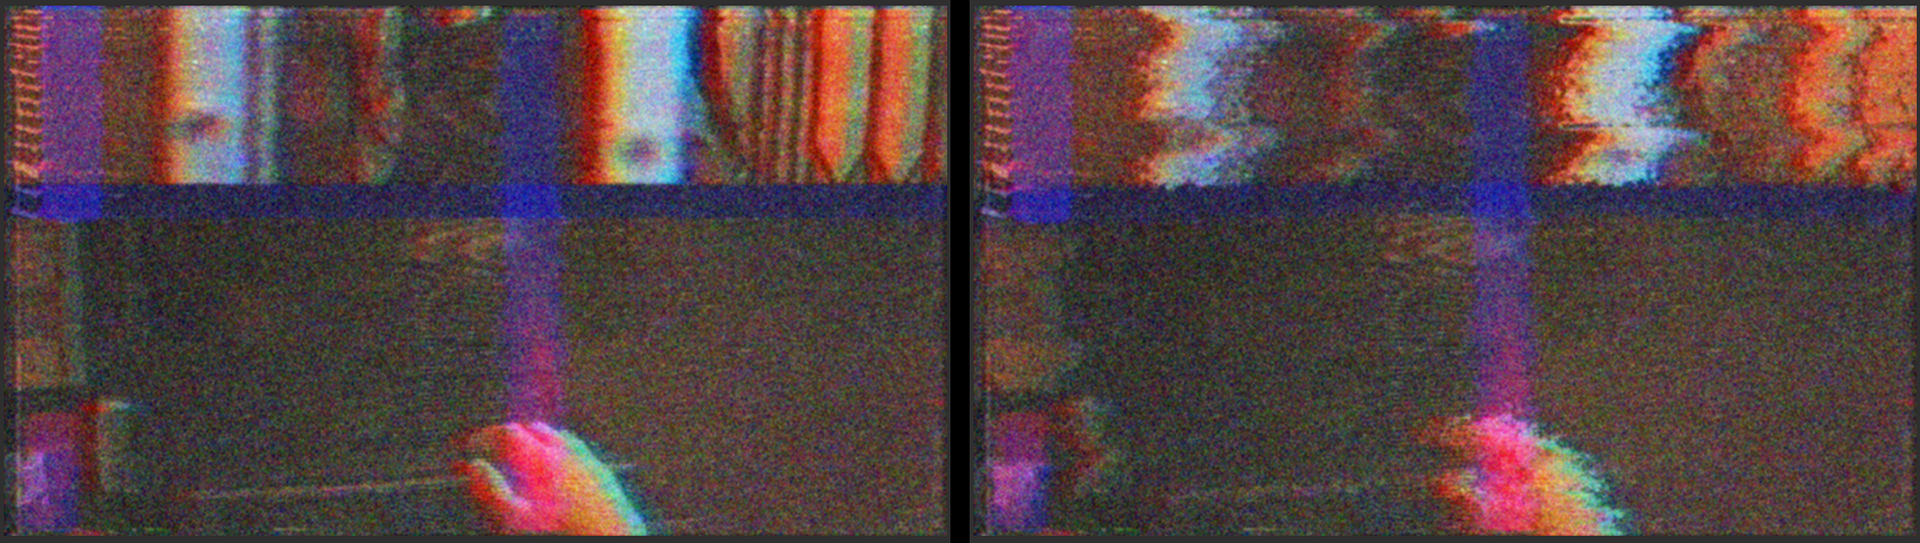
adjusts how skewed the overall shot becomes using a banded distortion method akin to tapes.
Below, we compare values of 0 (left) and the maximum of 500 (right). Note that negative values (down to -500) will push distortion in the opposite direction.
-
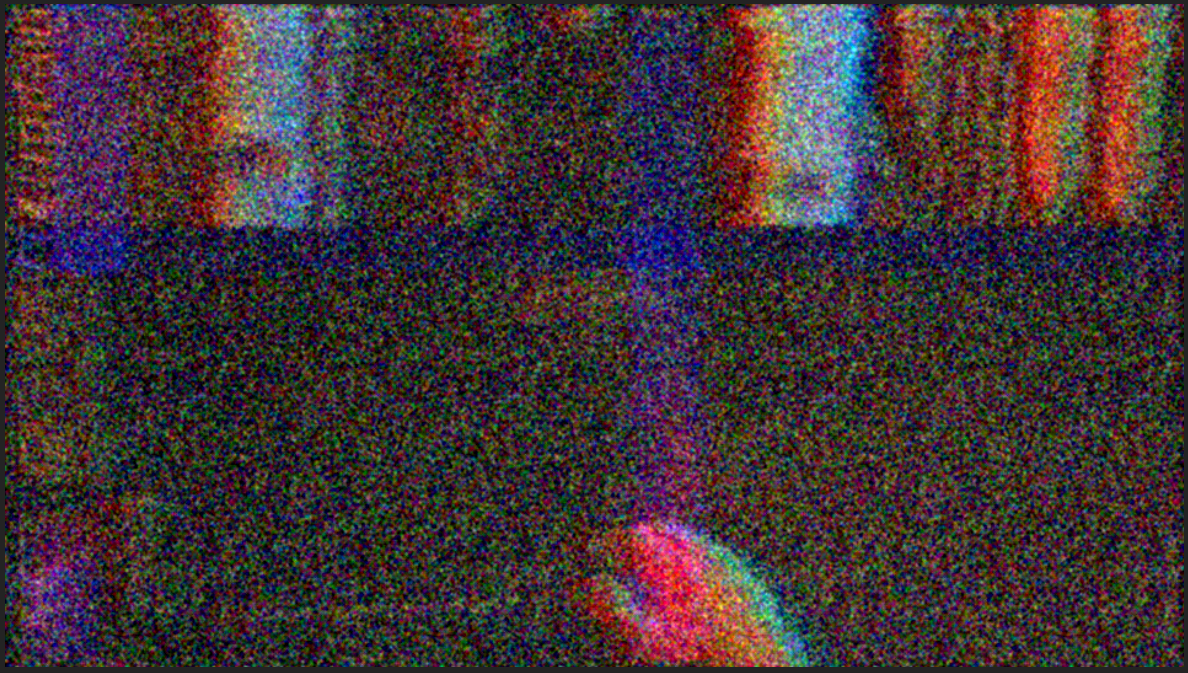
Random Noise
controls a secondary noise amount that flickers on and off the image.
Below, we turned Random Noise up to its maximum value of 100.
-
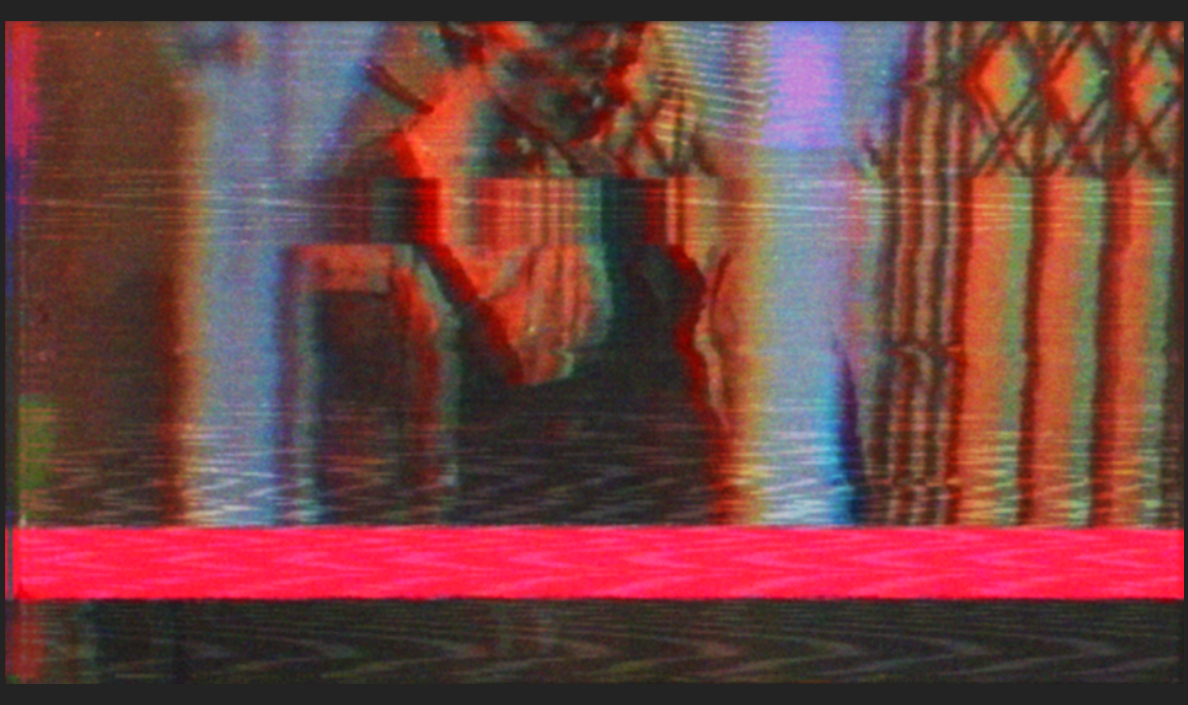
Stroke
contains toggles and adjustments for an optional stroke visible between shots.
- Enable Stroke toggles whether the stroke is apparent.
- Width adjusts the diameter of the stroke.
-
Color
changes the stroke's color using an eyedropper or swatch.
In this image, we changed the Stroke color from the dark blue seen in the above examples to red, then we doubled the Width from 25 to 50.
-
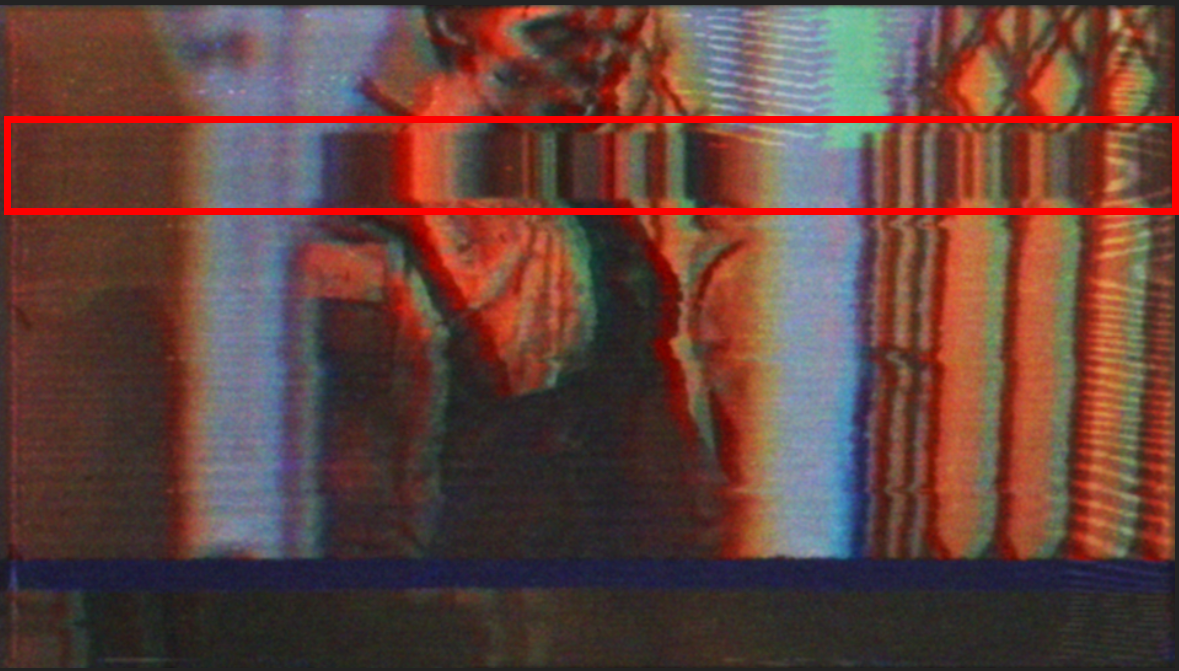
Wrinkle Distortion
toggles whether the tape's wrinkle distorts the image as it passes.
Below, we've highlighted the wrinkle in a red box.
- Wrinkle Size modifies the diameter of the wrinkle, maxing out at 20% of the shot.
-
Color Controls
contains adjustments for each of the color distortions performed during the transition.
-
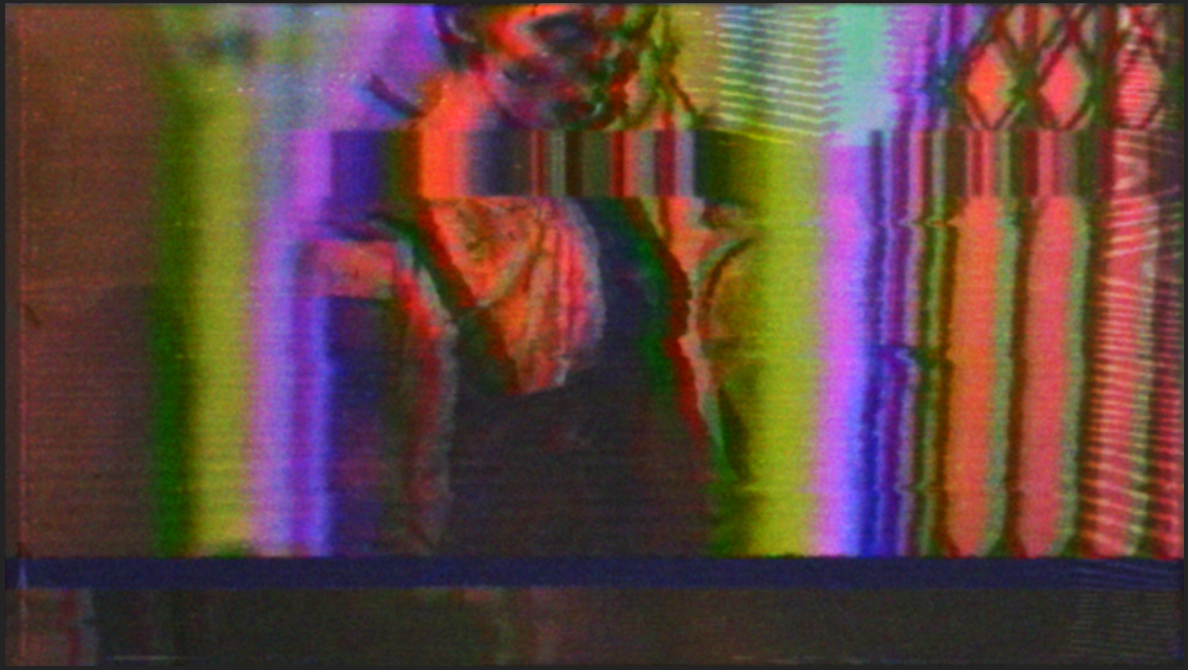
Red/Green/Blue Offset
controls the distortion of the position of the respective channels on a horizontal axis. For example, in this image, we left Red Offset at its default of -50, but we changed Green Offset to -100 and Blue Offset to 100, causing those to channels to shift to the left and right, respectively.
- Red/Gree/Blue Blur determines the fuzziness of the respective channels.
-
Black Level
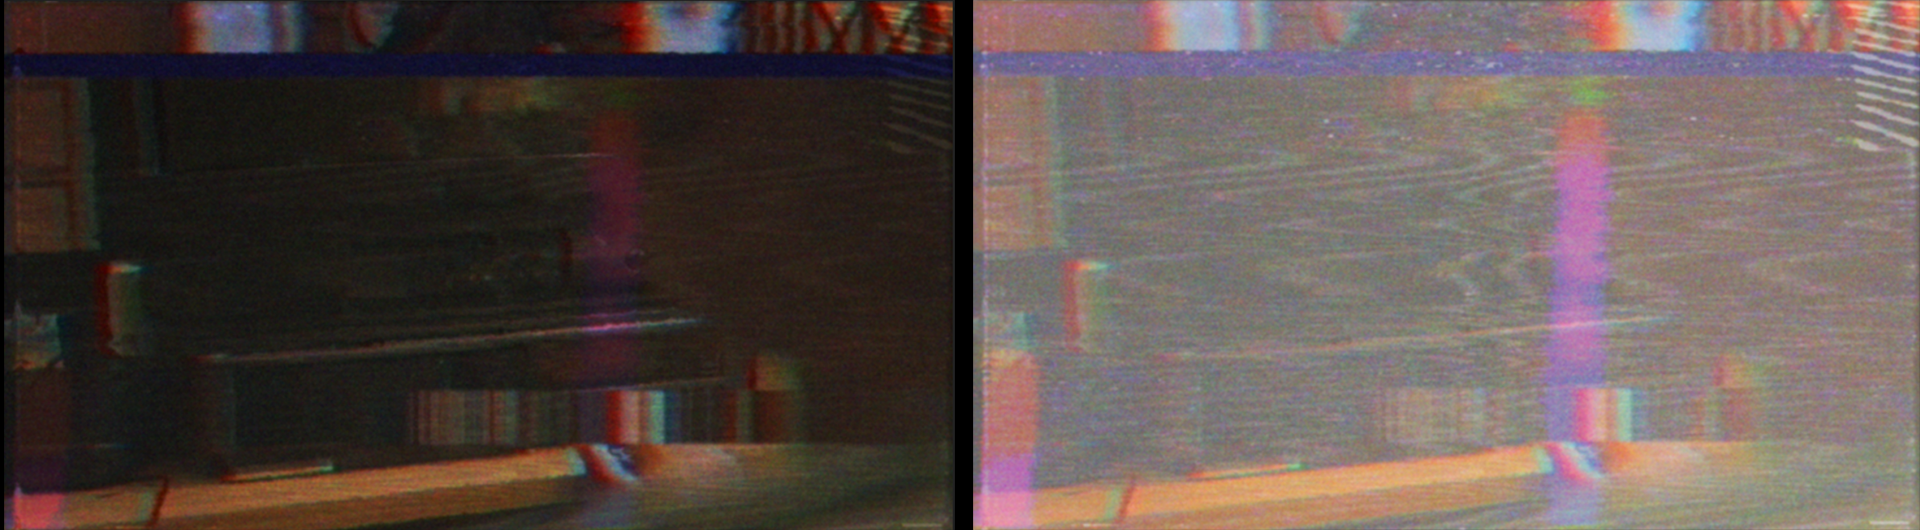
adjusts what the color adjustment considers as black. Higher values result in a brighter image. Lower values result in a darker image (down to whatever the original shot considers as black).
All of the above images use Black Level: 10. Here are values of 0 (left) and 70 (right). Even darker scenes are possible with negative values down to -100.
- Saturation controls the intensity (or lack thereof when set to 0) of the collective channels. You can also push Saturation down as far as -200 for some interesting inverse color results.
-
Luminance Blur
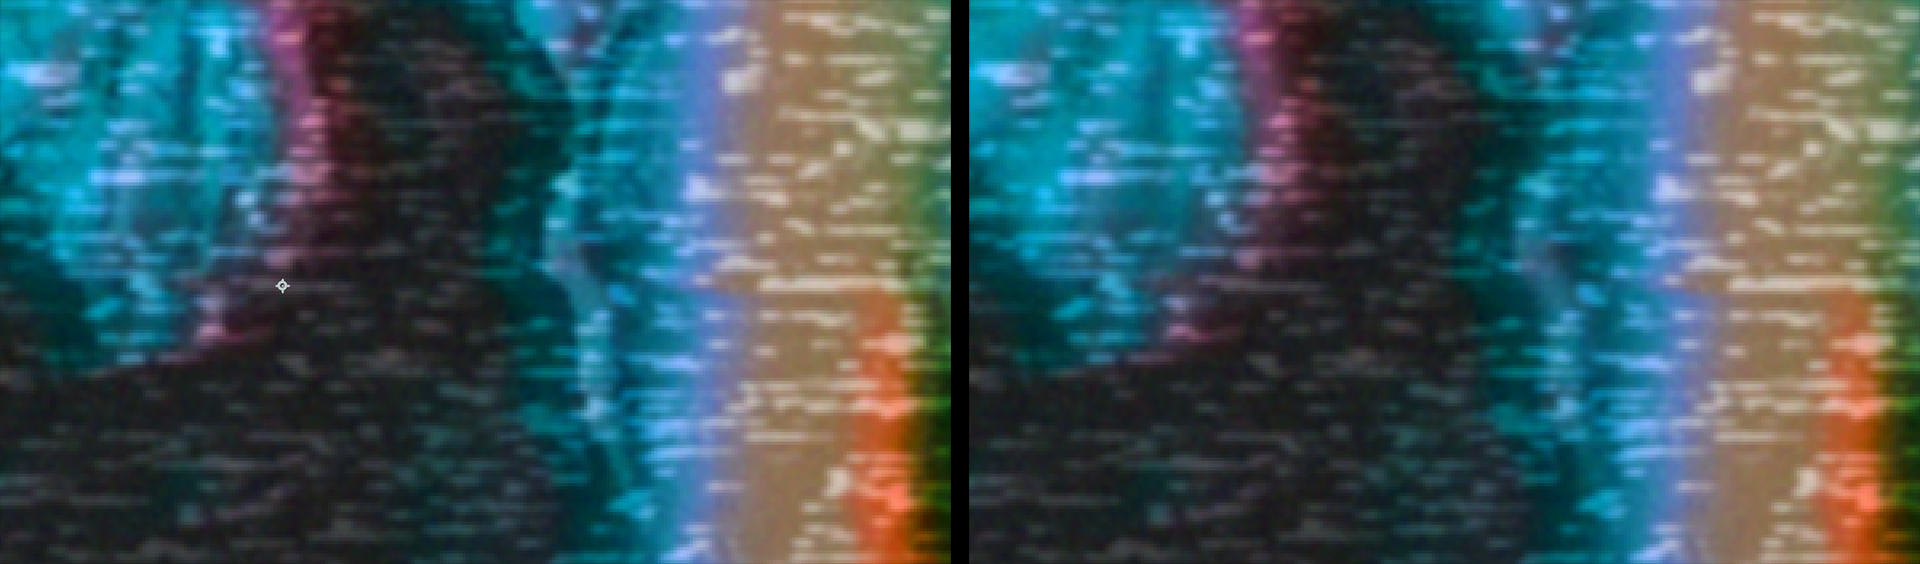
adjusts the fuzziness of the luminance/brighter parts of the image.
We illustrate this here with values of 0 (left) and 20 (the maximum, right). Notice how the speckles of our Degauss pattern don't blur. Luminance Blur only effects brighter areas of the underlying clips.
- Chroma Blur customizes the fuzziness of the image's brightest parts.
- Chroma Offset X/Y moves the brightest parts of the image on their x (horizontal) or y (vertical) axis.
-
Red/Green/Blue Offset
controls the distortion of the position of the respective channels on a horizontal axis. For example, in this image, we left Red Offset at its default of -50, but we changed Green Offset to -100 and Blue Offset to 100, causing those to channels to shift to the left and right, respectively.
- Frame Jitter controls the amount that the entire frame wriggles around during the transition.
-
Skew
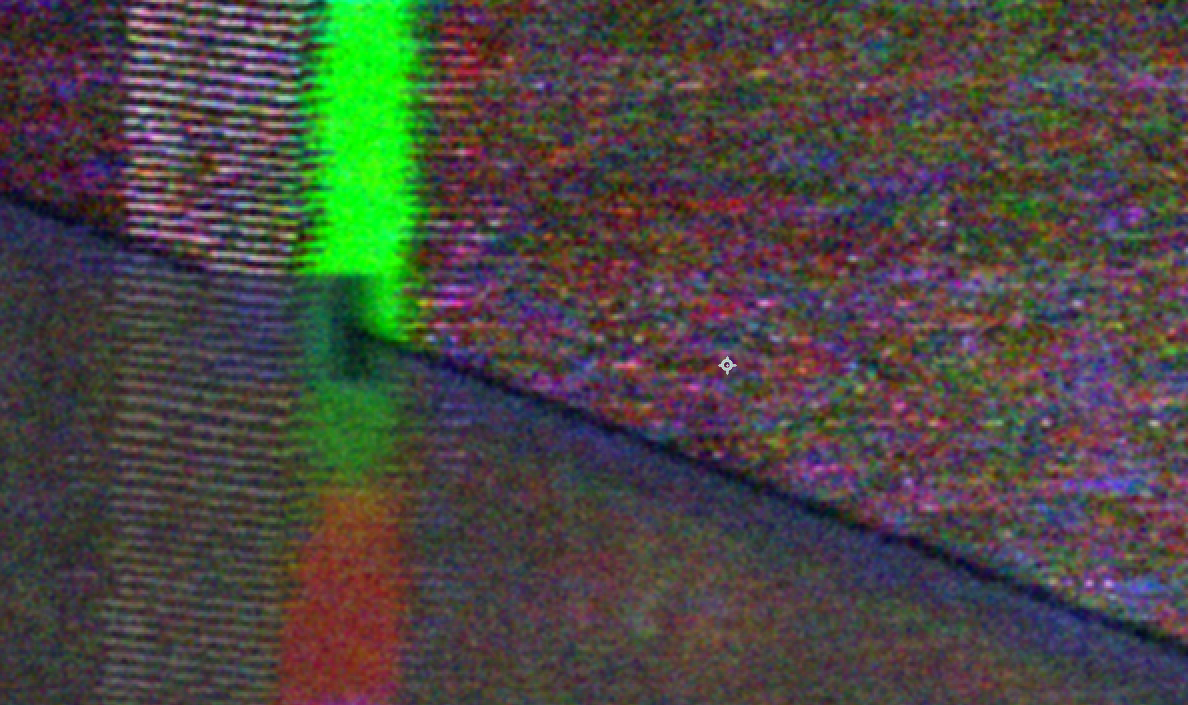
adjusts how distorted the imagery becomes as the frames slant. This impacts the source clips as well as the Stroke, as shown here.
- Monochrome removes all saturation from source footage during the transition.
- Frame Style determines if the frame is preserved (Original) or restricted to 4:3 (a standard during the VHS era).