
Motion Retargeting
The retargeting tools are designed to transfer motion from one hierarchy of objects to another. These new tools are specifically trying to correct common issues that arise from this type of motion transfer: issues with mismatched hierarchies, as well as initial object orientation and character proportions differences. While primarily designed to work with a character joints hierarchy, it can be used with any hierarchy of objects.
The tools are split between two tags: the Character Definition tag, which is used to identify, map out and match objects between hierarchies, and the Character Solver tag, which is used to transfer the motion from one hierarchy to the other.
The Character Definition tag can be set up for each individual character and provides context for the Character Solver tag. It is used to identify which object should be matched to which and store additional information such as a reference pose.
Compared to the old Retarget tag, these new tools match objects using naming conventions, which allows retargeting between hierarchies that are structured differently. The Character Solver tag can also transfer motion between hierarchies of objects that do not have the same initial orientation, which makes these tools useful for much more user-cases than the old Retarget tag (which only works with identical hierarchies and object orientations).
.
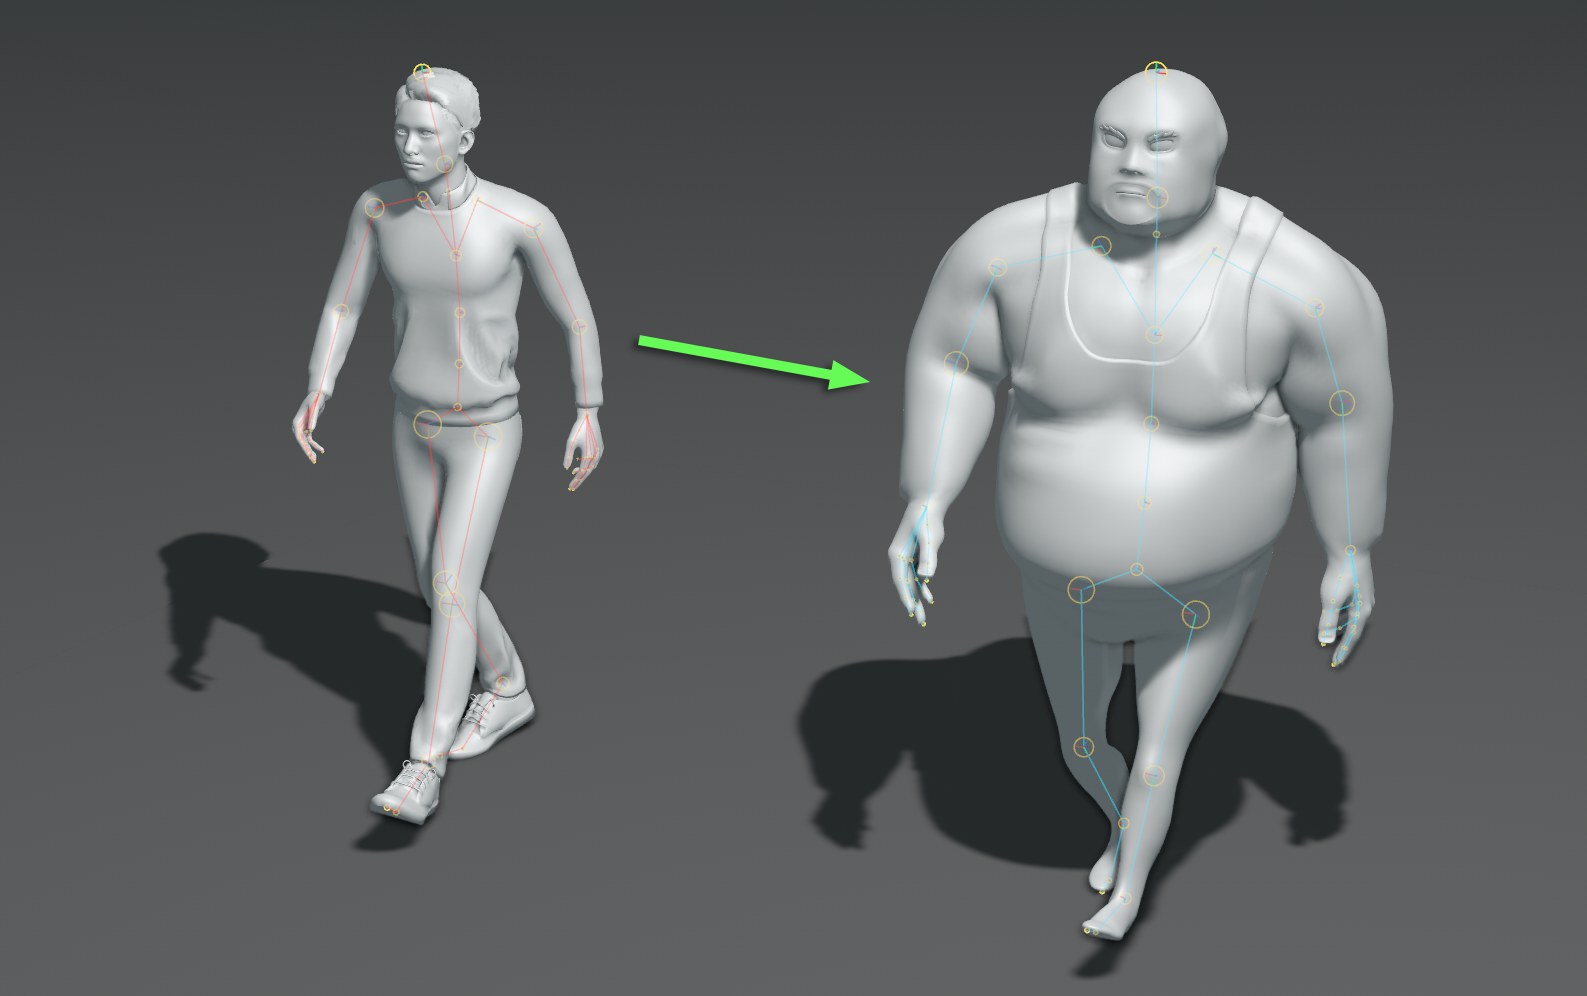 Here, we transfer motion from the left character, to the character on the right. Motion retargeting allows for motion transfer between different characters.
Workflow Summary
To use motion retargeting, you will need a defined source (your animated source skeleton/hierarchy), a defined target (your recipient skeleton/hierarchy) and a Character Solver tag applied to the target to transfer animations from the source hierarchy.
As an example case, if we want to transfer motion between two characters, we can follow these steps:
-
Make sure both target and source characters are in their rest pose (T-Pose recommended, for characters) and facing the same way (negative Z axis is recommended).
-
Add a Character Definition tag to each root joint (the joint at the top of the hierarchy, usually the hips joint).
-
Open the Definition Manager of the source and target skeletons by using the Open Manager command found in the Attributes of the Character Definition tag of each character.
-
From here, you can use the Extract Skeleton command to automatically assign joints to their respective components/body parts by following custom or preset naming conventions, or manually populate the body parts list by directly assigning joints or objects to your body parts.
After identifying your hierarchy of joints or objects, you can then transfer motion from the source to the target character by adding a Character Solver tag to the target character and assigning both source and target Character Definition tags to the Character Solver tag.