

Displacement
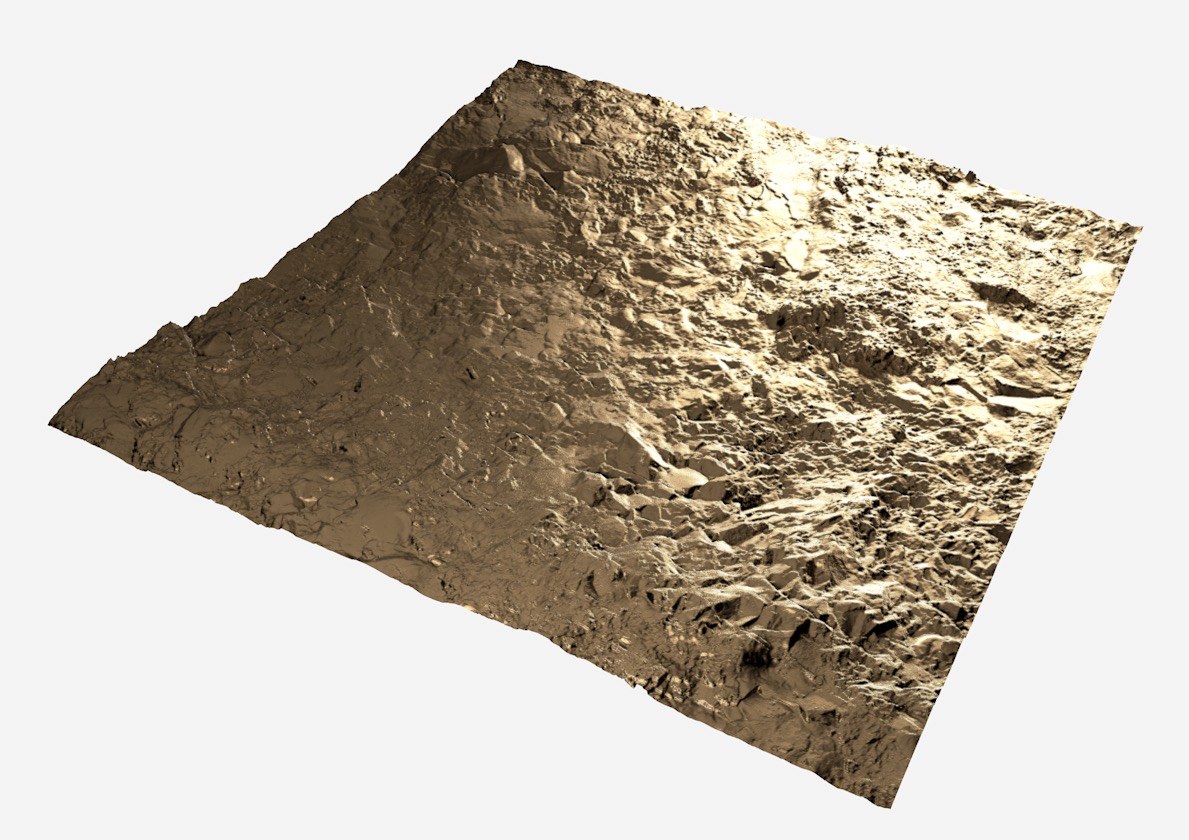 Contrary to a manipulation using the Bump or Normal effect, the Displacement effect actually does affect the object's geometry. To make the effect convincing, the object should have a uniform subdivision. If too few subdivisions exist, Sub-Polygon Displacement can be used to further subdivide the object.
Contrary to the Bump and Normal effects, the Displacement effect will actually modify the object's surface. Existing surface points will be offset during rendering. You can optionally add subdivisions to the surfaces for rendering to make the effect less dependent on the object's polygon density.
Here you can link the texture or the Material Node that should be used for the deformation. Grayscales or colored textures or Nodes can be used.
This setting defines the method with which the displacement should be calculated. Depending on whether a grayscale or color texture is used for Value, different methods will be made available:
- Intensity: The displacement will only be made in the positive direction. Based on its gray values, the following displacement will take place: black none; white maximum
- Intensity (Centered): The surface will be deformed starting from a neutral gray value of 50%. White will, for example, lead to a maximum displacement in the direction of the surface Normals; black will lead to a maximum displacement in the negative direction of the surface Normals.
- Red / Green: The displacement can be calculated in both positive and negative Normal directions, depending on the texture's red and green values. Green values will raise the displacement, red values will lower the displacement. The pure red/green components of the RGB color are the key factor. Black will produce no displacement; pure green (RGB 0, 1, 0) and pure red (1, 0, 0) will each lead to maximum displacements in opposite directions.
- RGB (XYZ Object / World / Tangent): These calculate the displacement spatially based on the texture's RGB components. The red color portions will lead to a displacement along the X axis, green along the Y axis and blue along the Z axis. Depending on which mode is selected, different coordinate systems will be used. The most flexible and highly recommended mode is RGB (XYZ Tangent), at least if your displacement was also created for this mode. The displacement relative to the object surface tangents makes it possible to simultaneously displace the object (e.g., using a Deformer) without creating errors. This mode is essential for character animation.
Multiplier for the displacement's intensity
This setting defines the distance the displacement will travel. The Displacement Height will be multiplied by the Strength to create the actual effect.
Activates the additional subdivision of the rendered surfaces. This applies for the entire object to which the material is assigned. It can therefore be a good idea to delete object elements that are not visible since these will then not need to be subdivided. The subdivision can also be used to round off the object if Round Geometry is enabled. The effect is then identical to making the object a Child object of a Subdivision Surface object only that the subdivision will first be visible when the object is rendered.
This setting can be used to define the number of subdivisions generated by Sub-Polygon Displacement. As usual, the greater the number of subdivisions, the better the result will be and the longer rendering will take – and the more memory that will be required for rendering.
Note that this value can differ depending on the object in question. For example, if you apply the same material to a cube primitive and a Plane object, the results will differ since the default cube only had six polygons and the Plane object has 400.
The same applies to an object that has different subdivisions. A character, for example, will have many more polygons in its face than in its thigh. Nevertheless, the all surfaces will be subdivided equally.
Internally, the following polygon count will be calculated per polygon:
- Triangle: (2 exponent subdivision level) * (2 exponent subdivision level) / 2
- Quad: (2 exponent subdivision level) * (2 exponent subdivision level)
For a subdivision of 8, for example, the following polygon count would be generated for rendering:
Cube: 6*256*256 = 393.216 Polygons
Plane: 400*256*256 = 26.214.400 Polygons
Always make sure the textured object's polygon density is as uniform as possible so the Displacement effect can be applied as uniformly as possible.