
Mask

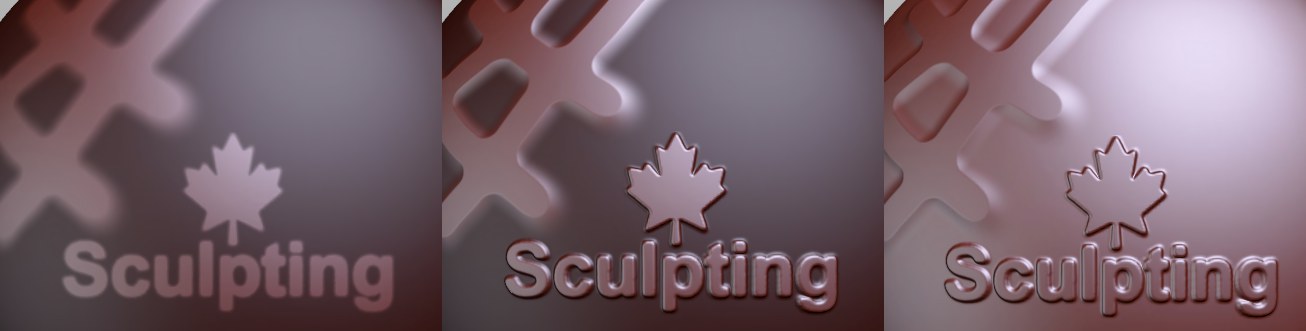 The Stamp function can also be used to apply existing designs (in this example the Inflate brush was used and the masked regions omitted); in the 2nd step the mask was inverted.
The Mask brush is somewhat different from the other brushes. The brush itself is not used to sculpt but rather to mask regions of an object that are then protected from being modified by other brushes (exception: in conjunction with the Symmetry function, the mask will behave like a selection). With the Mask brush you can paint directly onto a Sculpt object (without having to deal with projection types or UV coordinates).
The Mask brush has the following special features:
- Click once on the Sculpt object to mask across a large region (see Fill). Simultaneously pressing the Ctrl key will de-mask the object.
- Simultaneously pressing the Shift will add soft edges.
Only one mask per Layer can be created, which will be restricted to that Layer (and will only be displayed if the Layer is visible). These can, if necessary, be copied onto other layers with the same subdivision.
The mask can be disabled in the Sculpting Layer Manager.
The mask color can be subsequently modified in the Sculpt tag.