
Jitter
|
|
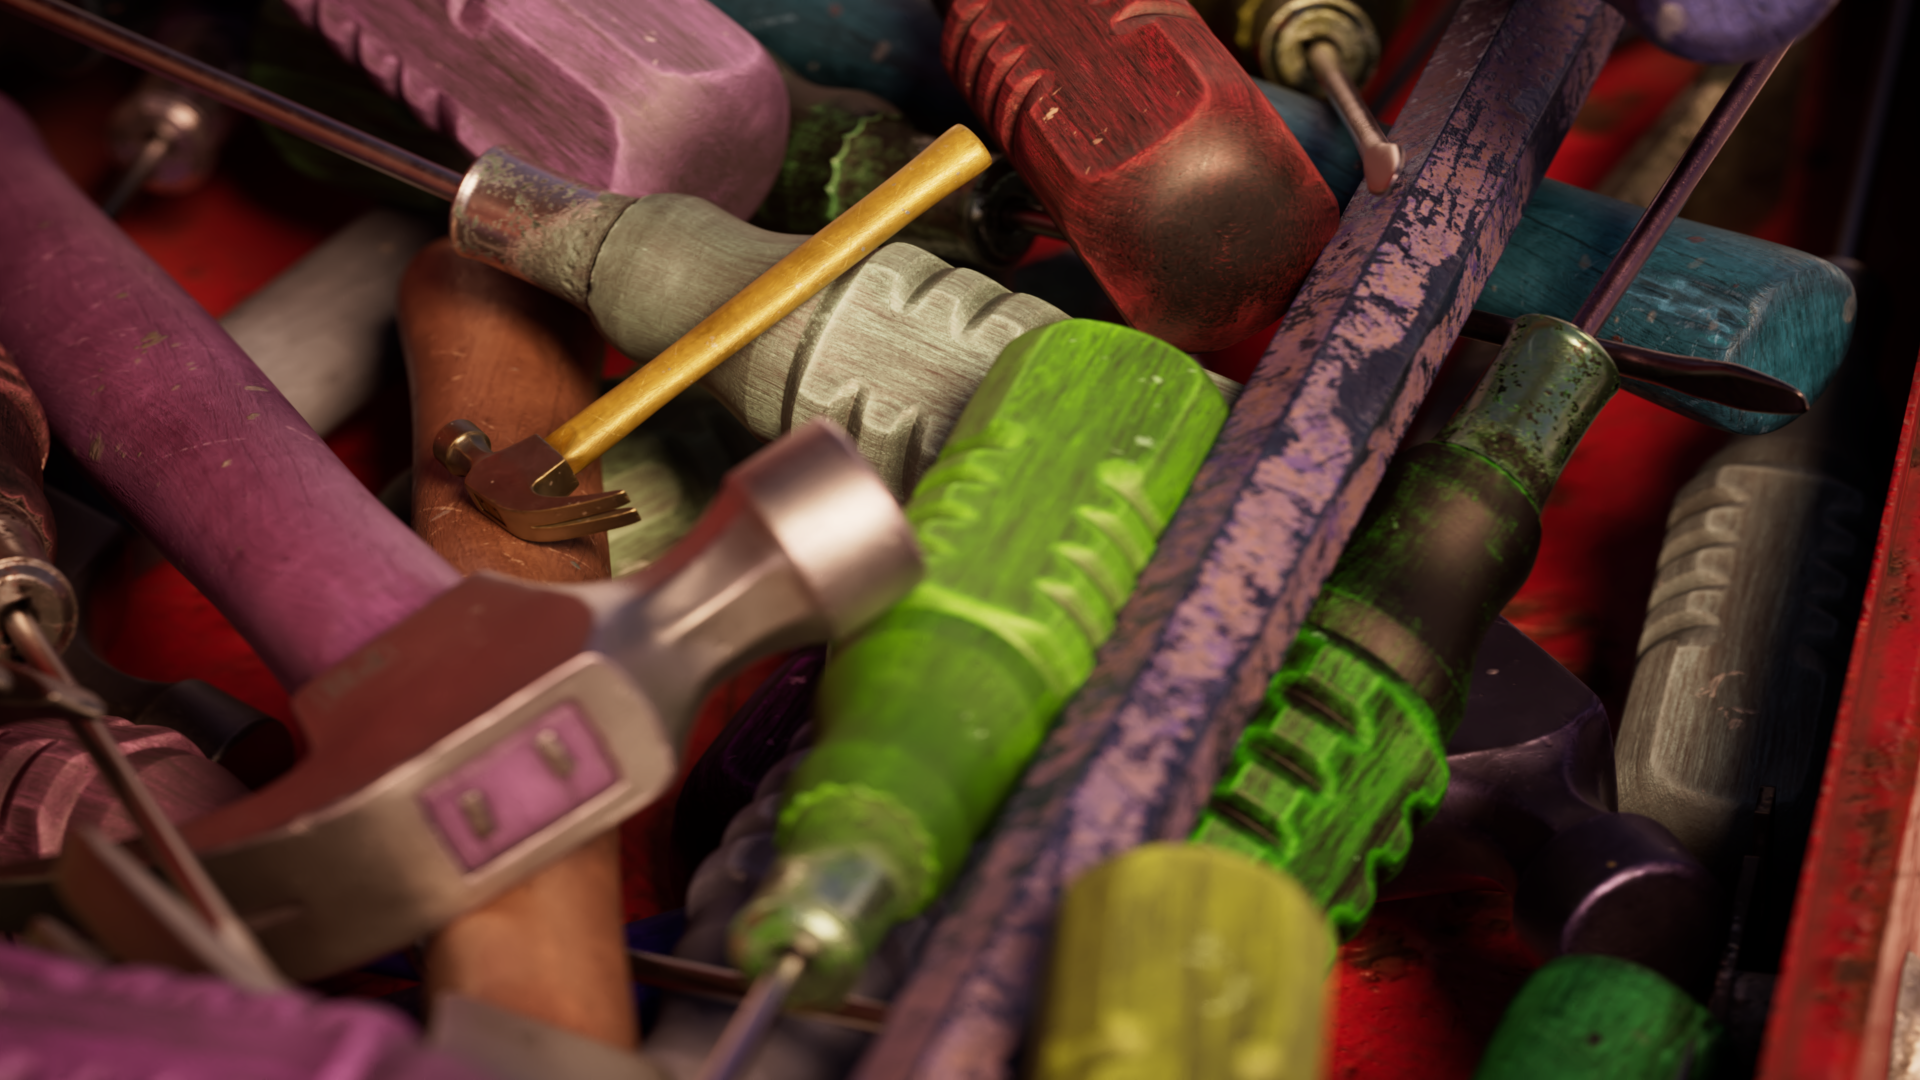
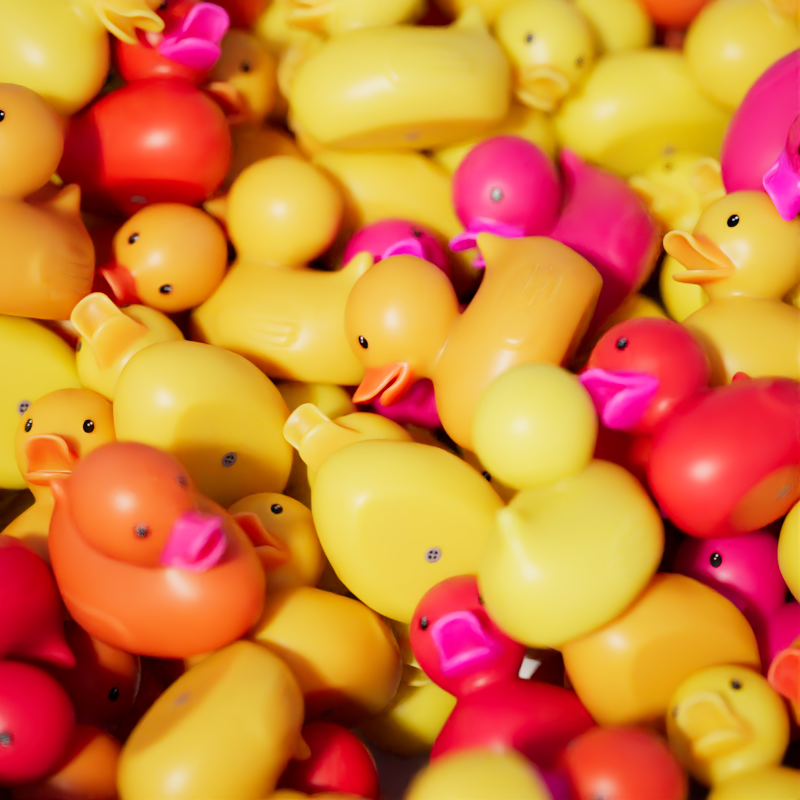
| Models from polyhaven.com | |
The Jitter shader can be used to create randomized colors and float / integer values based on automatically generated attributes. For example, automatically adding unique color variation to different objects or using randomly generated float values to control things like metalness or roughness per-object. This is accomplished by pairing an input ID with a randomized seed, the input ID controls how the source objects are differentiated and the seed allows the user to quickly change the randomized output for each variation option.
Examples
Connecting custom User Data
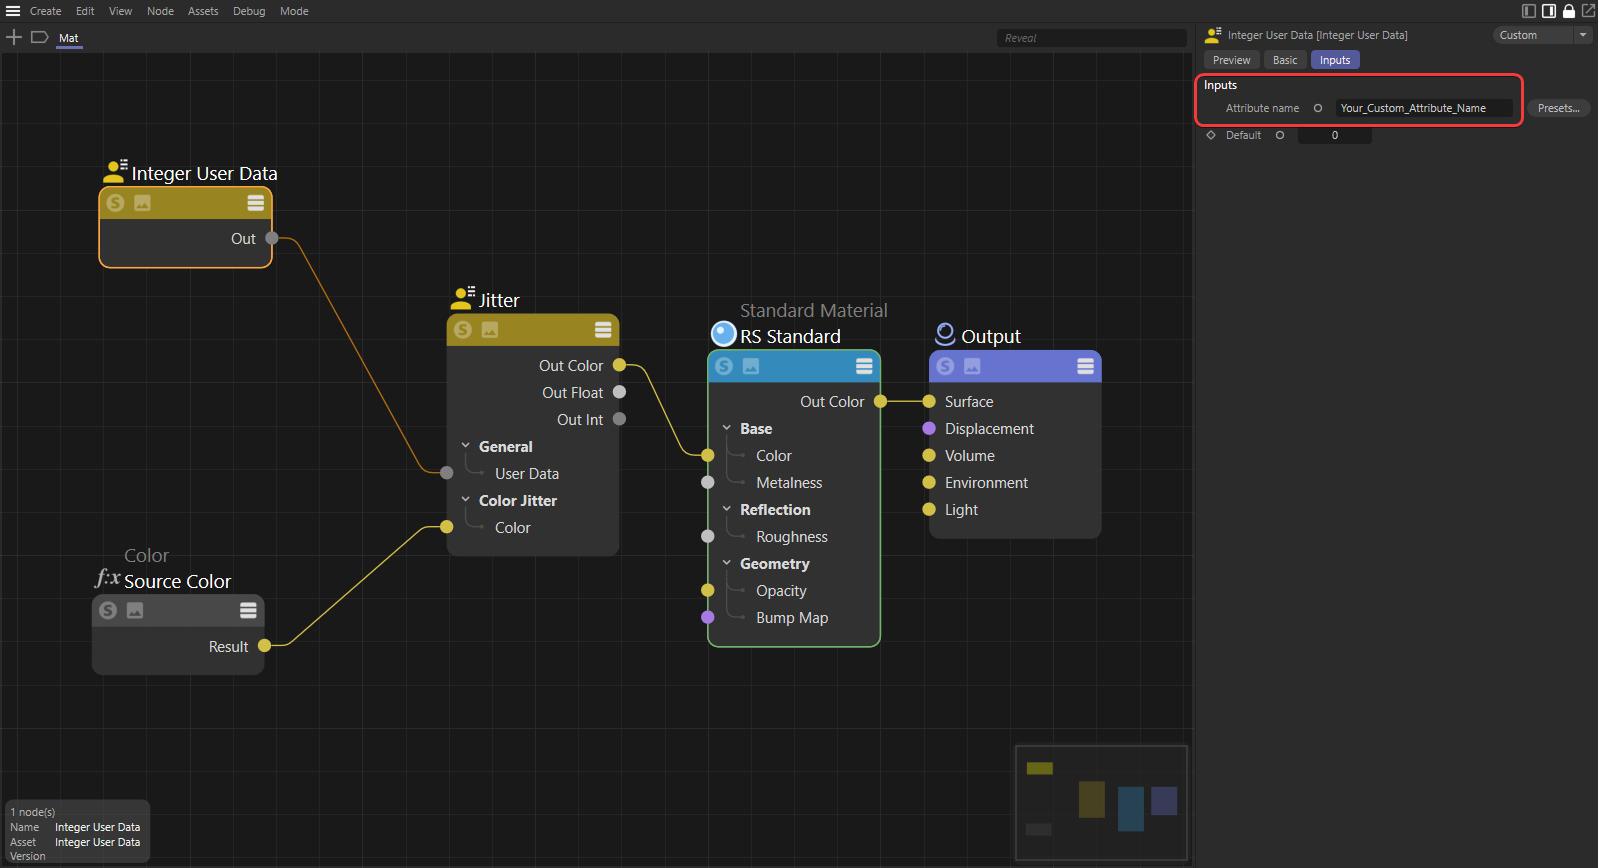
To use a custom attribute to drive a jitter node create a User Data node that matches the data type of your attribute, in the example below an Integer User Data node is used. The "Attribute name" in your User Data node must use exactly the same name as the attribute added to your objects or else the data will not be found.
Then set the Jitter node's Input ID Mode to "User Data ID" and connect the output of your User Data node to the "User Data" input on the Jitter node as demonstrated in the image below. Once all hooked up your custom attribute will now be used to control randomization throughout your scene.
|
Randomize a Cloner / Matrix object with RSMGID
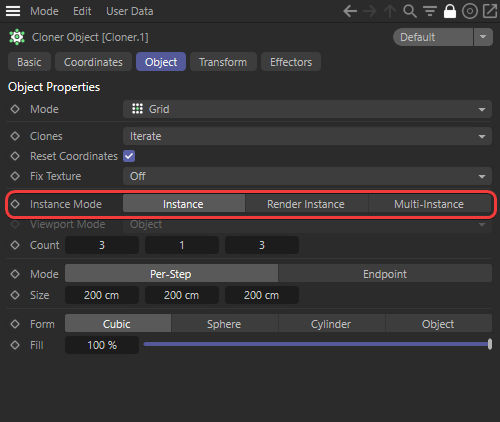
When using a Jitter node with a cloner (or matrix object) it is important to pick your ID Input Mode carefully since some ID sources work differently depending on how the geometry is handled. For example, the cloner's Instance Mode has a significant impact on the viable ID types.
|
| Changing a Cloner's Instance Mode |
When using the cloner's default "Instance" type with Jitter's "Name ID" mode everything will work as expected, however it will not work for "Render-Instance" or "Multi-Instance" - instead only outputting a single color for all clones.

|

|

|
| Instance Mode: Instance Jitter Input ID: Name ID |
Render-Instance | Multi-Instance |
This can be resolved by using a different ID input, for cloners and matrix objects it is recommend to use the built in integer Mograph ID "RSMGID", this will result in consistent coloration for all Instance modes.
This does not work for manually created instances outside of a cloner.

|

|

|
| Instance Mode: Instance Jitter Input ID: Integer User Data -"RSMGID" |
Render-Instance | Multi-Instance |
To use the Mograph ID with a Jitter node complete the following steps:
-
Set the Jitter's Input ID Mode to "User Data"
-
Create an Integer User Data node
-
Set the Attribute Name to "RSMGID"
-
Connect the Integer User Data node's output to the Jitter node's "User Data" input
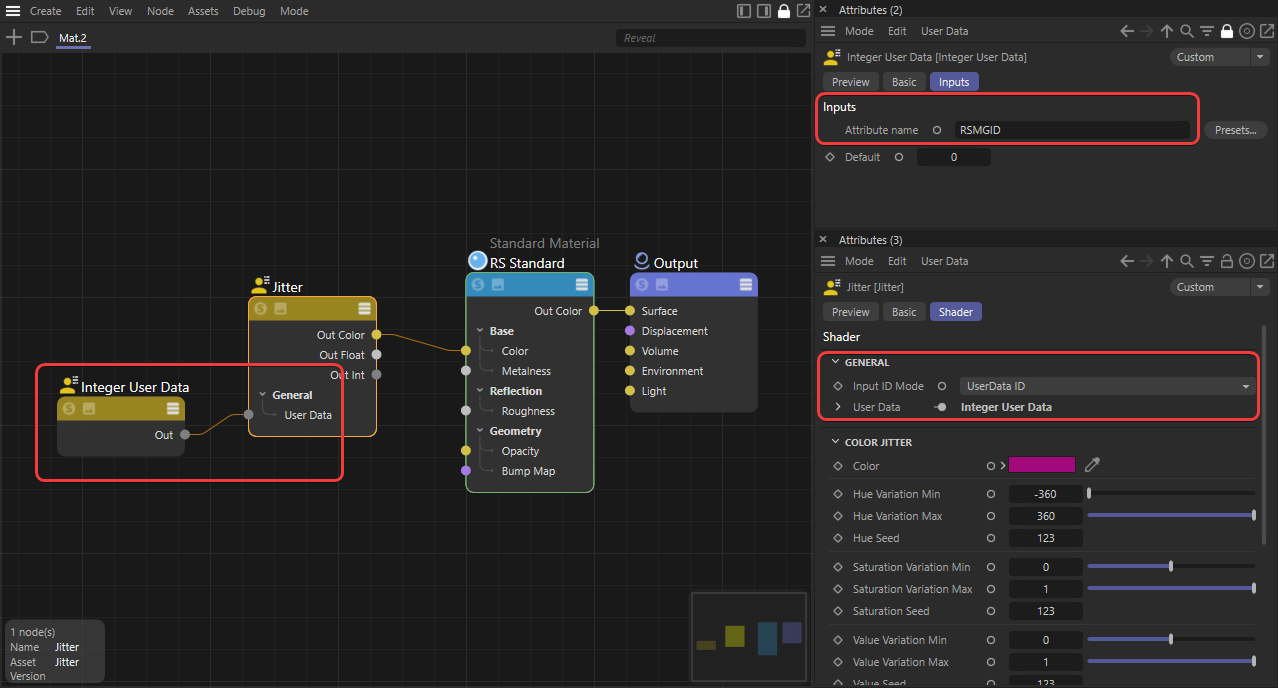
|
| Using "RSMGID" with a Jitter node |
Randomize some Particles with RSPID
When using a Jitter node with particles it is recommended to use the built in integer Particle ID "RSPID".
For best results, add a Redshift Object tag to your particles and reference your particle geometry in the Custom Objects section. Apply the jitter material on the source object and not the particles themselves and do not parent the source object to the particles as pictured below.
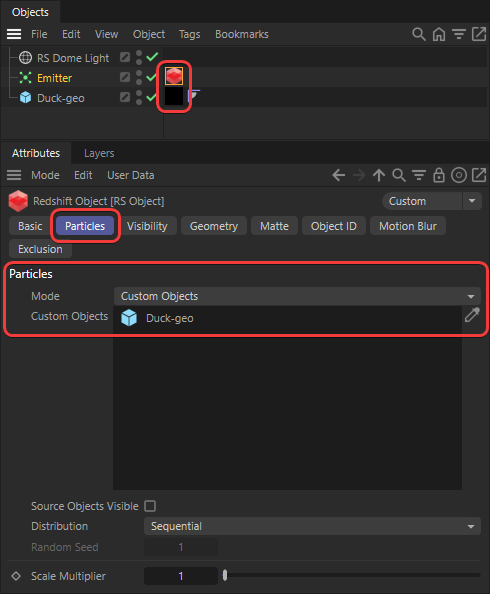
|
| Scene set up for particles and jitter |
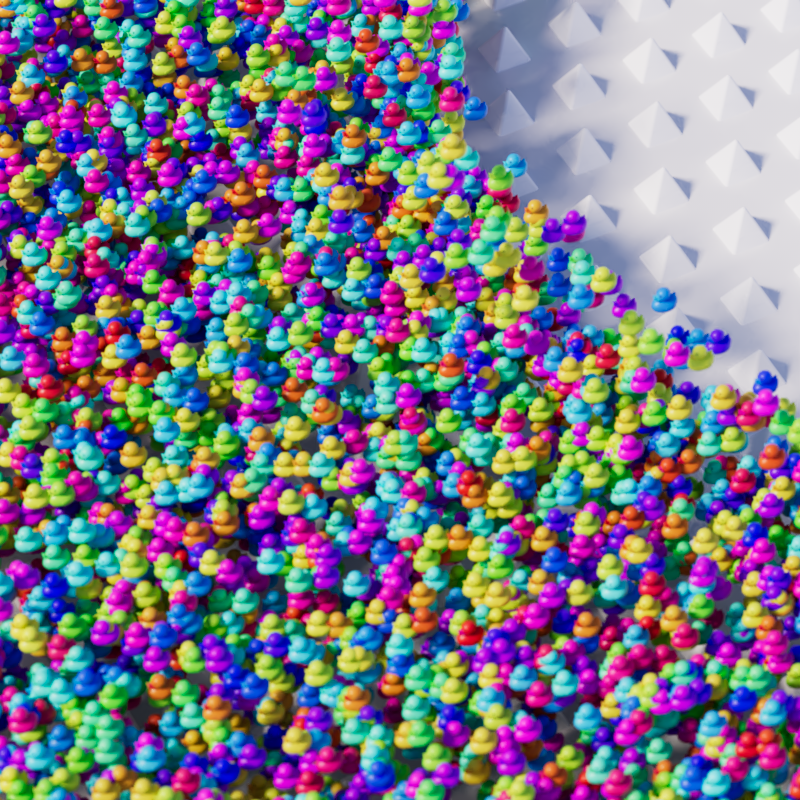
|

|

|
| Jitter Input ID: Integer User Data -"RSPID" |
Name ID | Integer User Data - "RSMGID" |
To use it with a Jitter node complete the following steps:
-
Set the Jitter's Input ID Mode to "User Data"
-
Create an Integer User Data node
-
Set the Attribute Name to "RSPID"
-
Connect the Integer User Data node's output to the Jitter node's "User Data" input
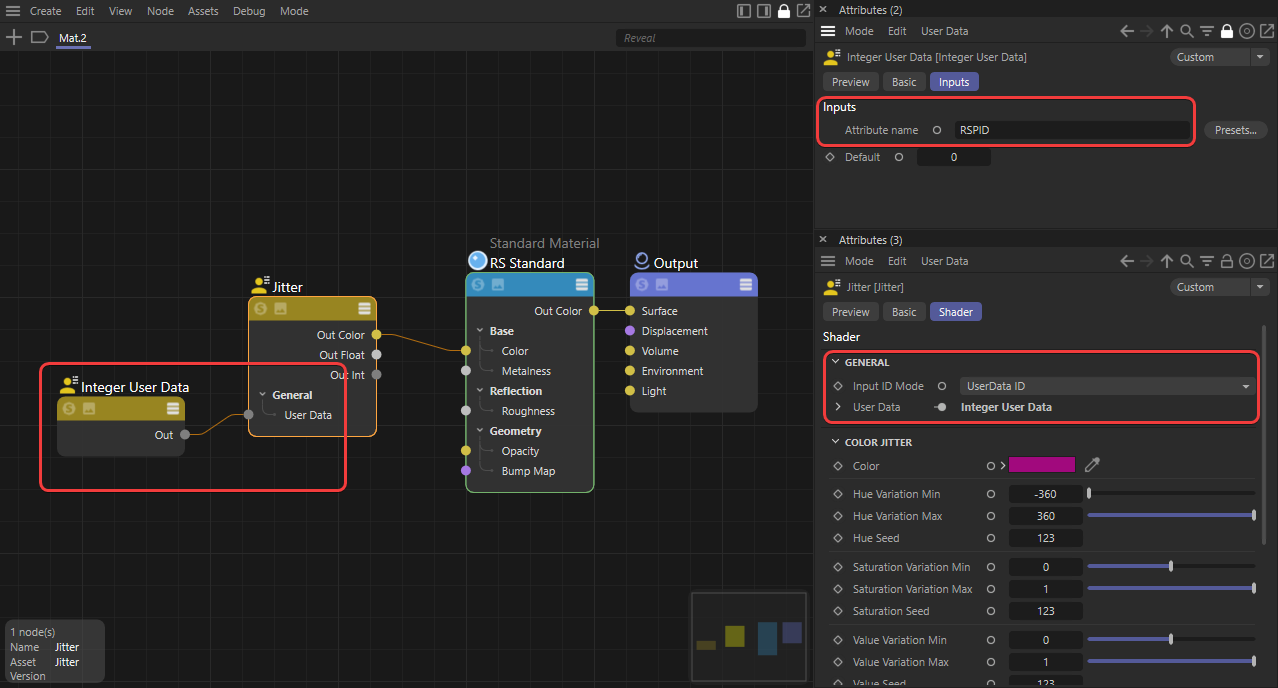
|
| Using "RSPID" with a Jitter node |
Combining user data
If you need to use a jitter material on multiple object types that are not compatible with the same user data (like a cloner and particles) you can combine user data with an add node.
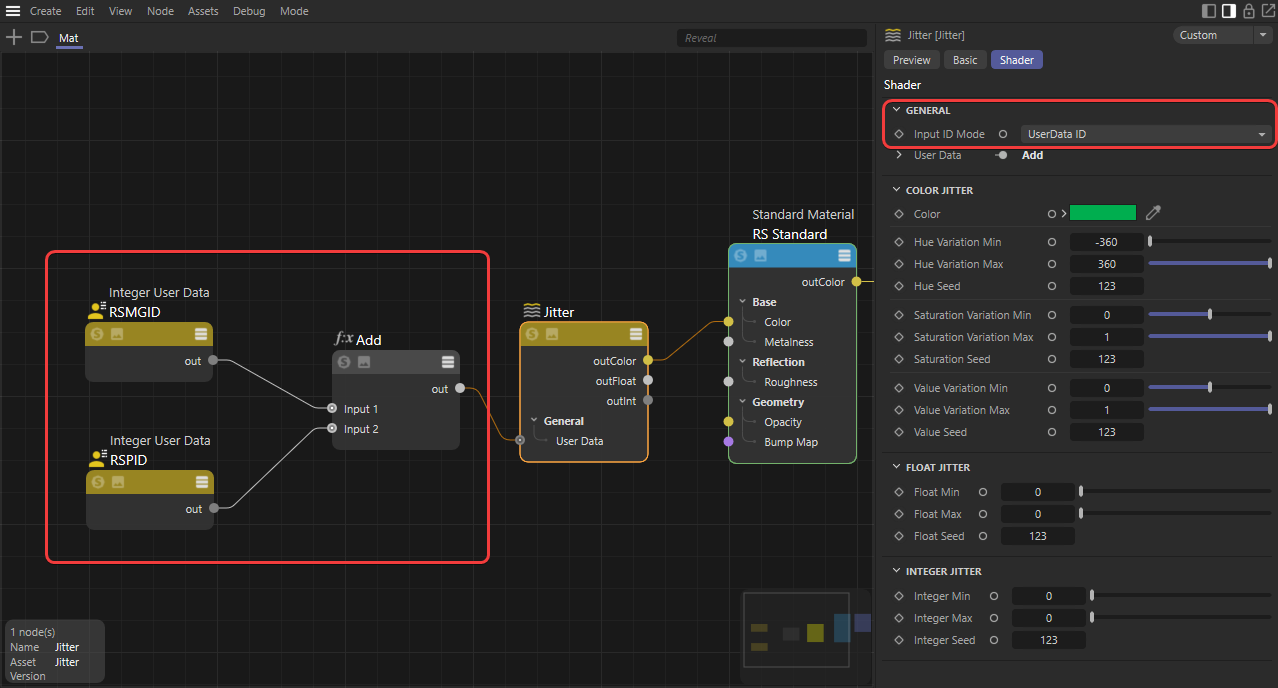
|
| Using "RSPID" with a Jitter node |
Controlling the maximum number of unique IDs
The Jitter node is great at adding random variation to a large number of objects but there may be times where you want to limit the total number of unique variations. For example, if you have 100 objects and use an Input ID that provides a unique ID for each object then you will get 100 different variations. You could limit the total number of variations manually by using custom user data or you could just use an extra Jitter node.
In the example described below a limited number of color variations is used to demonstrate this set up but it can also be used for limiting the unique number of random floats and integers.
Start by creating a Jitter node with an Input ID that provides a unique ID for each object in your scene and call it "Max Variations," this node is used to control the maximum number of variations in the final output. Create another Jitter node with the Input ID Mode set to "User Data" and name this node "Color Range," this node is used to control the actual color output of your unique variations and it should be connected to a color input in your shader. Then connect the "Max Variations" Integer output to the User Data input on the "Color Range" node.

|
With this setup the total number of color variations is controlled by adjusting the min and max integer values on the "Max Variations" node, the number of unique integers in the output range corresponds directly to the number of unique color variations. For example an integer min of 0 and a max of 3 results in 4 unique colors (0,1,2,3) or an integer min of 1 and a max of 5 results in 5 unique colors (1,2,3,4,5).
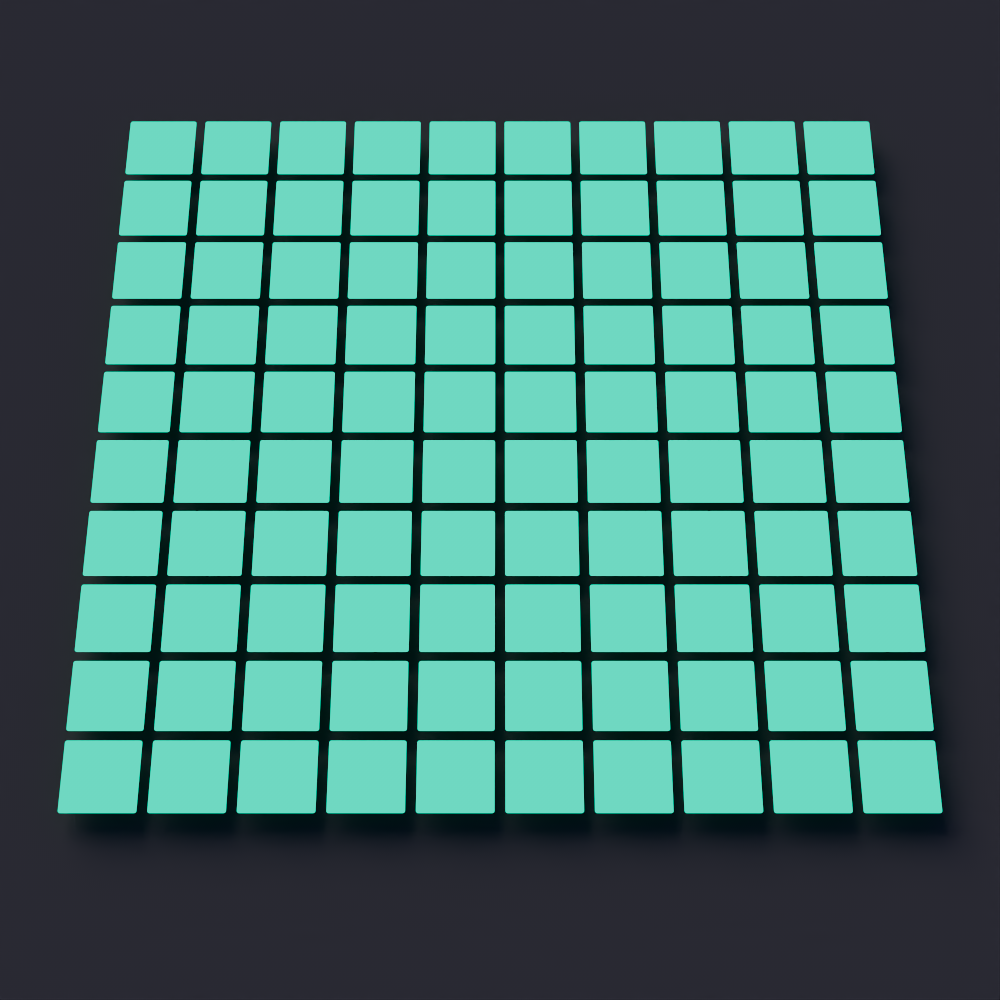
|
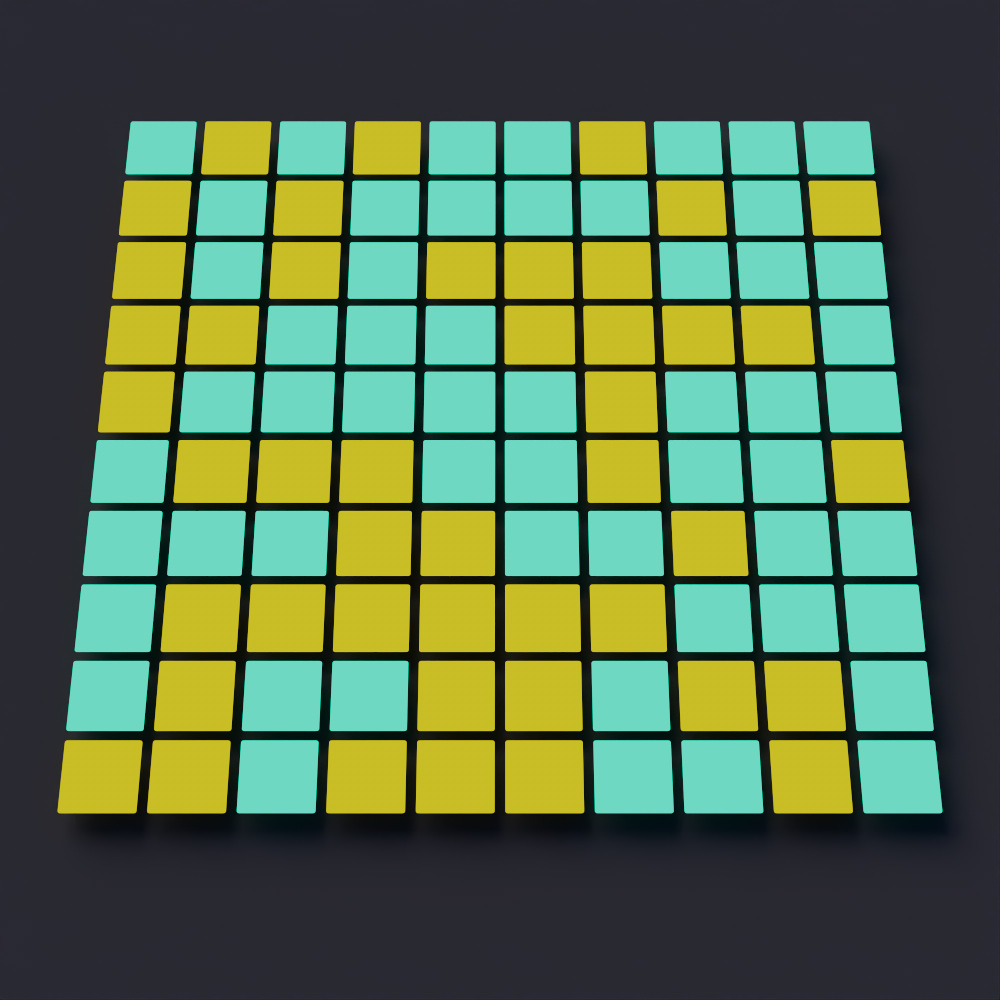
|
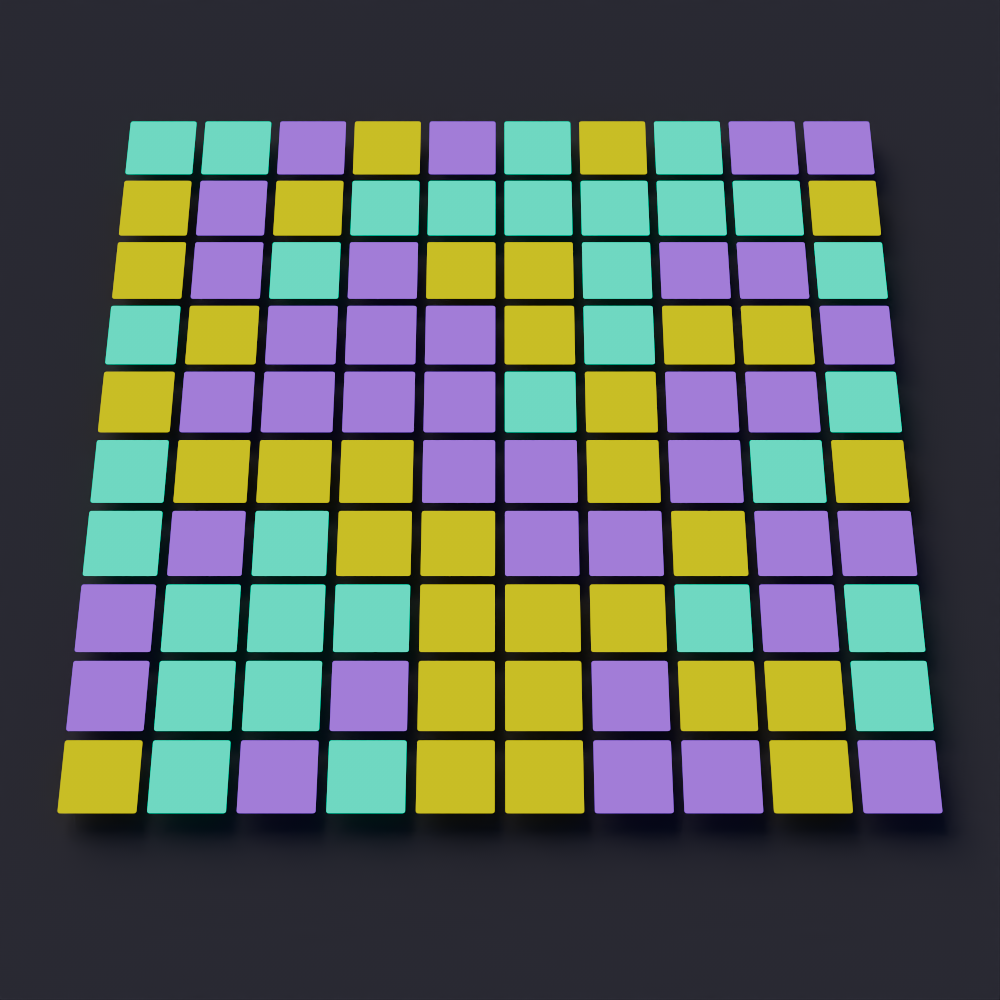
|
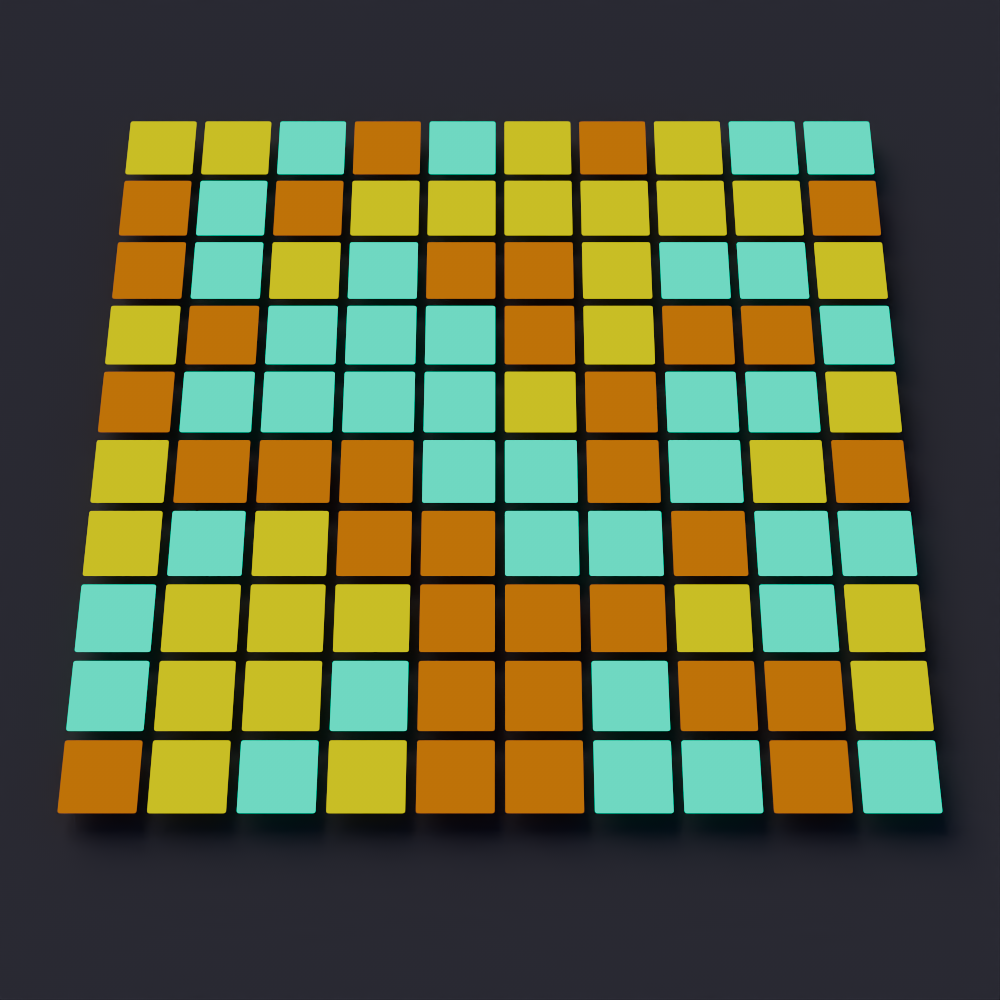
|
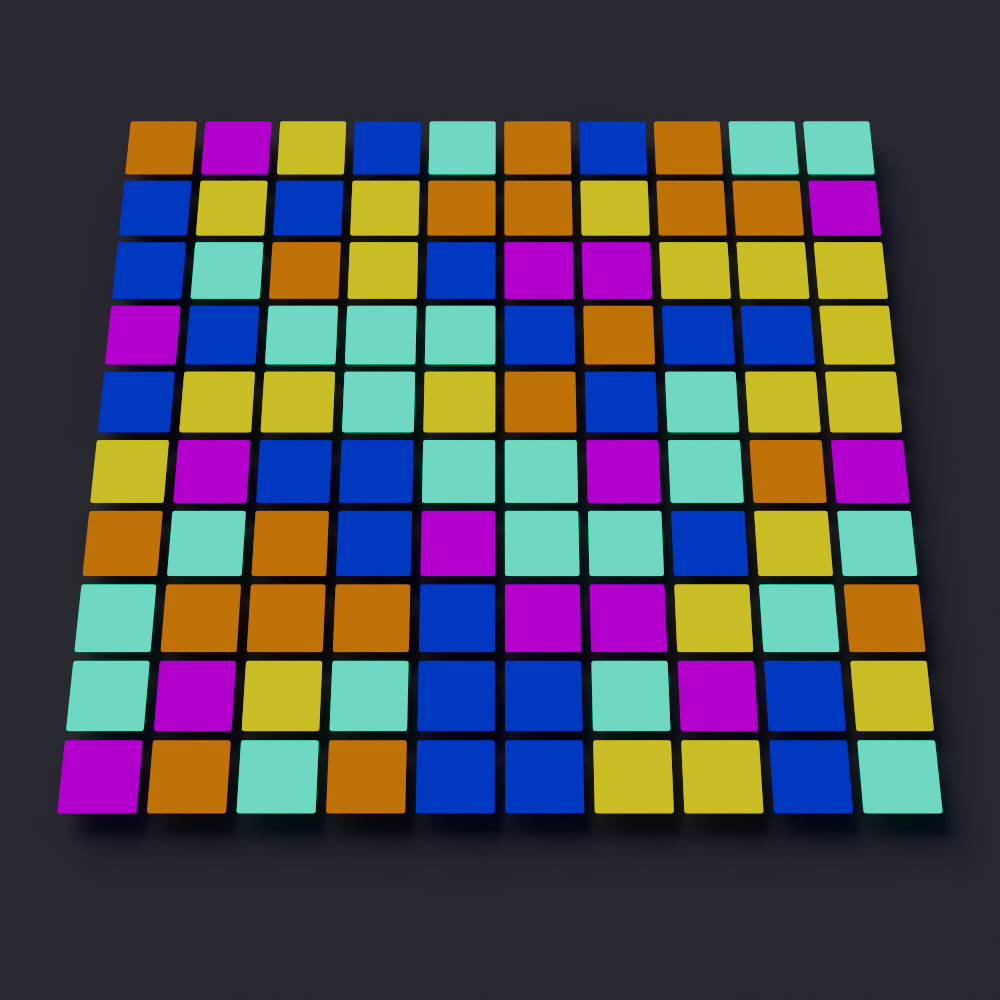
|
| Integer Min-Max: 1-1 Unique Colors: 1 |
1-2 2 |
0-2 3 |
1-3 3 |
1-5 5 |
The "Color Range" Jitter node is used to determine the actual color output, controlling the extent that the hue, saturation, and value can change based on the source color, however the total number of unique variations for hue, saturation, and value will always be limited to the maximum number of variations. For example, with an integer min of 1 and a max of 3 you will only ever get 4 unique color hues, 4 unique saturation levels, and 4 unique value levels.
In the example below the only parameter that is changed is the maximum hue variation, note how the unique ID of each object does not change but the color changes drastically as the value increases. When the maximum variation range is low it is difficult to tell that there are 3 unique colors but this becomes more apparent as the variation range grows.
| Hue Variation Max: 0 to 360 Unique Colors: 3 |
The seed values can be adjusted to quickly trial different results, changing the Integer Seed on the "Max Variation" node determines the distribution of unique IDs across all objects.
| Changing the Integer Seed |
Changing the hue seed on the "Color Range" node determines the distribution of unique hues across all objects, allowing you to quickly test different color palettes.
| Changing the Hue Seed |
If you are happy overall with your limited color palette but would still prefer some slight variation this setup can be taken even further with the addition of yet another Jitter node. Create a new Jitter node called "Color Variation" and use an Input ID that provides a unique ID for each object in the scene. Connect the Color output of the "Color Range" node to the Color input of the "Small Color Variation" node.

|
By keeping the variation range small the final result will closely resemble the base color palette while adding some subtle visual interest.
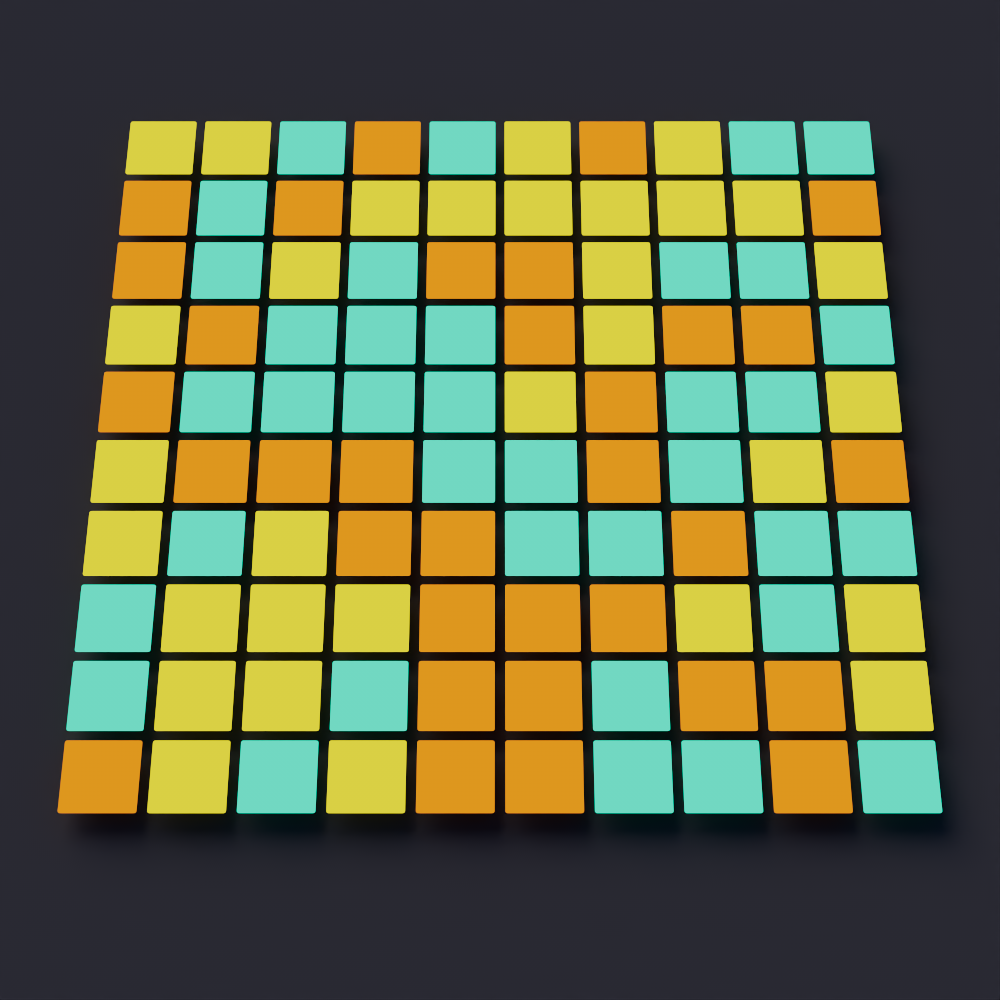
|
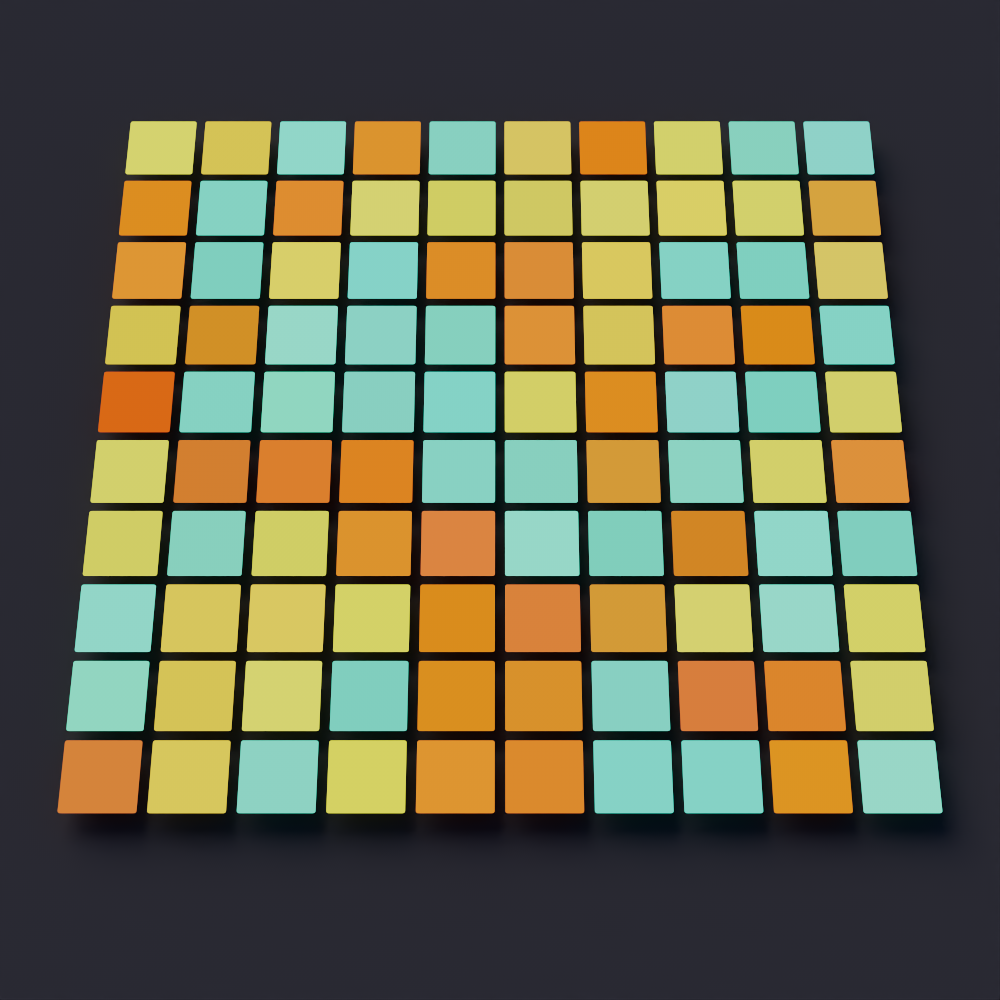
|

|
| Hue Min-Max: 0 Saturation Min-Max: 0 Value Min-Max: 0 |
-10 to 10 -0.2 to 0 -0.2 to 0 |
-30 to 30 -0.2 to 0 -0.2 to 0 |