

Low Altitude Clouds
Turns the low altitude clouds layer on or off.
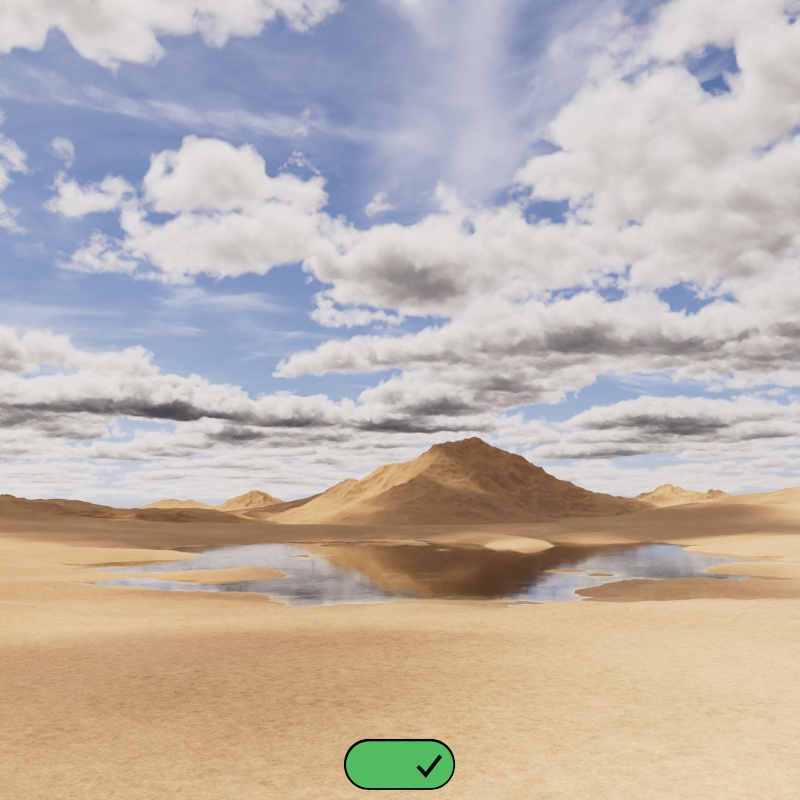
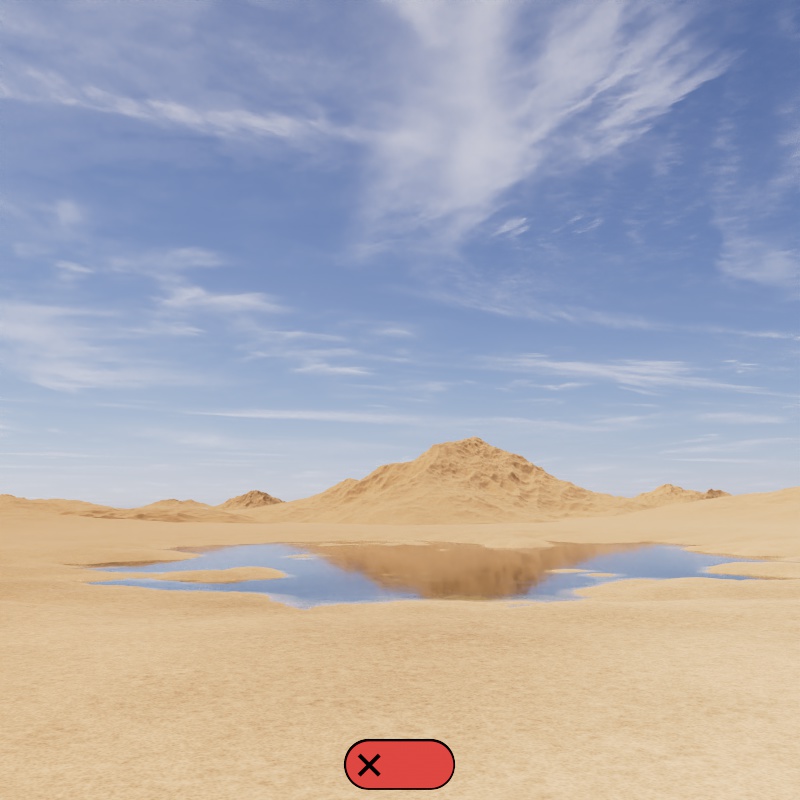
Low altitude clouds simulate a layer of cumulus or stratus clouds.
|
|
| Low Altitude Clouds: Enabled | Disabled |
Randomizes the position and shape of the clouds. Change this value until you find a nice starting point for your scene.
| Changing the Seed value |
Controls how thick and dense the clouds look.
| Density Scale: 0-0.5 |
Controls how cloudy the sky is. Low values result in few or no clouds while high values blanket the sky like a cloudy overcast day.
| Coverage: 0 - 50 |
Controls the shape of the clouds by approximating different types of clouds. High values result in puffy cumulus clouds while lower values result in thin stratus clouds.
| Shape: 0 - 100 |
Fixed Unit: Meters
Controls at what height the clouds starts to form in meters. How high the clouds extend up from this point is based on the Thickness parameter.
For example, when using an Altitude of 1500 and a Thickness of 1000 there will be no clouds from 0 to 1499 meters. At 1500 meters the clouds begin and extend for 1000 meters, there are no clouds above 2500 meters.
| Altitude: 0 - 3000 |
Fixed Unit: Meters
Controls how tall the clouds are in meters. The Altitude controls at what height the clouds start to form. Higher values result in thicker clouds. High values result in big puffy clouds while low values flatten them into a thin layer.
For example, when using an Altitude of 1500 and a Thickness of 1000 there will be no clouds from 0 to 1499 meters. At 1500 meters the clouds begin and rise up to 2500 meters, there are no clouds starting at 2501 meters and beyond.
| Thickness: 100 - 4000 |
Controls the size of the primary noise used to drive the overall shape of the clouds. High values result in large clouds while low values result in small cloud formations.
| Scale: 16,000 - 64,000 |
Controls the size of the secondary noise used to add detail to the silhouette of the overall cloud shape. High values result in large smooth edges while low values result in fine wispy shapes.
| Detail Scale: 1440 - 5760 |

Fixed Unit: Meters
Controls the position of the clouds in meters, this is good for moving clouds in a particular direction until they are framed exactly how you want them in your shot.
Note, this should not be used to move clouds across the sky for a time lapse effect because the cloud noise does not evolve when moving.
| Changing the Offset |
Simulates wind shear by slanting the cloud shape along the Wind Direction. Higher values slant the clouds more.
A small amount of Wind Skew tends to add a nice amount of breakup to the edges of the clouds.
| Wind Skew: 0 - 2 |
Controls how fast the clouds move across the sky. Higher values move the clouds a greater distance each frame. A value of 0 leaves the clouds stationary over time. The clouds move along the Wind Direction.
| Wind Speed: 50 | 300 | 1000 |
Controls how fast the detail noise moves across the cloud formations, affecting the look of the cloud's silhouette. Detail Phase moves along the Wind Direction.
Note, this does not move the overall cloud shape across the sky, only the clouds structure that makes up the small details of the internal and edge shape. For best animated results, find a nice complimentary Detail Phase depending on the Wind Speed of your clouds.
In the examples below, note how the edges of the clouds evolve at different rates depending on the Detail Phase but the overall cloud shape remains fixed. This is because the Wind Speed is set to 0.
| Detail Phase: 0.5 | 1 | 2 |
Controls the direction the clouds move across the sky. Wind Direction controls the direction of the Wind Speed, Detail Phase, and Wind Skew effects.
| Wind Direction: 0 | 45 | 0 - 360 |
Blends the clouds into the horizon by reducing their opacity. Higher values extend the range of the blend further away from the horizon, making more of the clouds transparent, while low values keep the blend small and localized near the horizon.
| Horizon Blend: 0 - 100 |
By default the Clouds are rendered as a special background shader with Volumetric Clouds disabled, these are referred to as Fast Clouds. This heavily prioritizes performance but limits how the clouds can be used because they can only be seen behind other objects in the scene. Only the Sun & Sky and Dome Lights affect cloud lighting in this mode.
When enabled the clouds become a true volume object, same as any other VDB in a scene (but are not visible in the viewport). You can fly up into the clouds and render objects behind them but this come at the cost of longer render times. In this mode, all light types can affect cloud lighting, but the Cloud object does not support light linking.
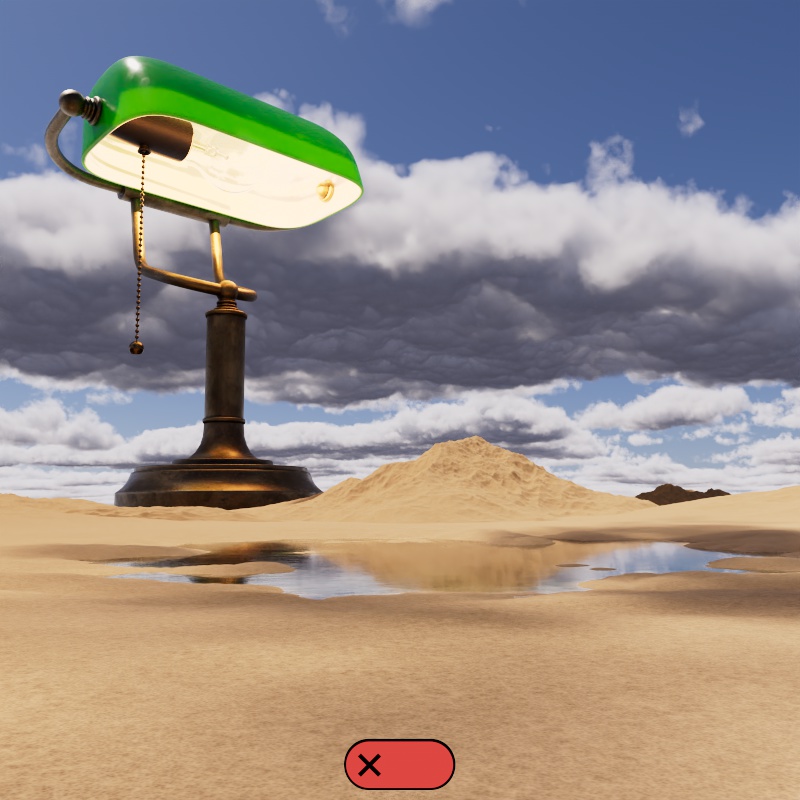
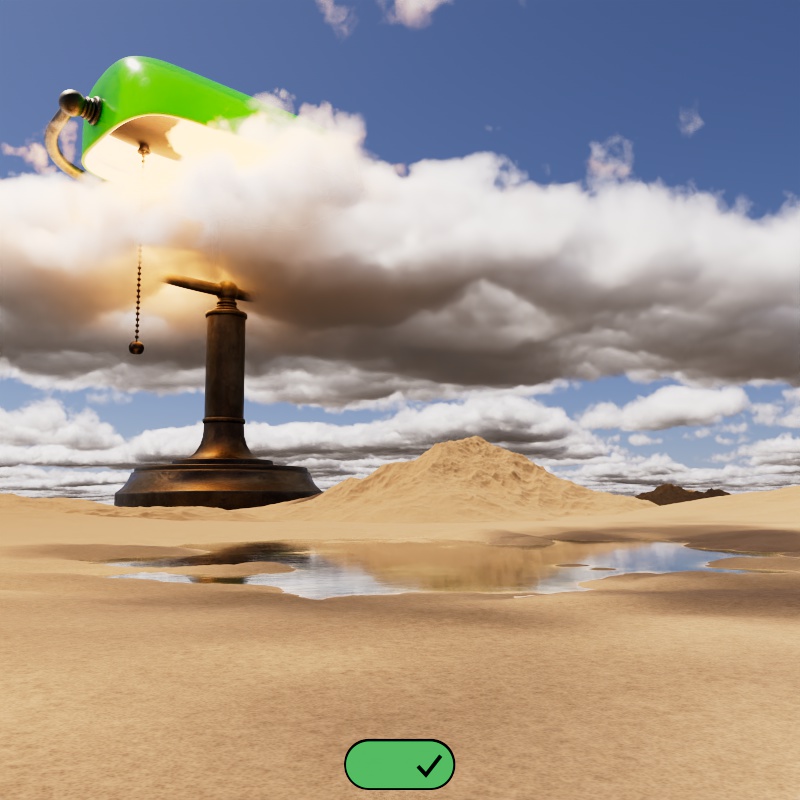
In the example below a massive desk lamp towers above the landscape, it stretches well above the altitude of the clouds. When Volumetric Clouds are disabled the clouds can only ever be seen behind the lamp, and its light cannot affect the clouds. However, when enabled, the clouds envelope the lamp and the light inside scatters through them.
|
|
| Volumetric Clouds: Disabled (default) | Enabled |
Only available when Volumetric Clouds are disabled.
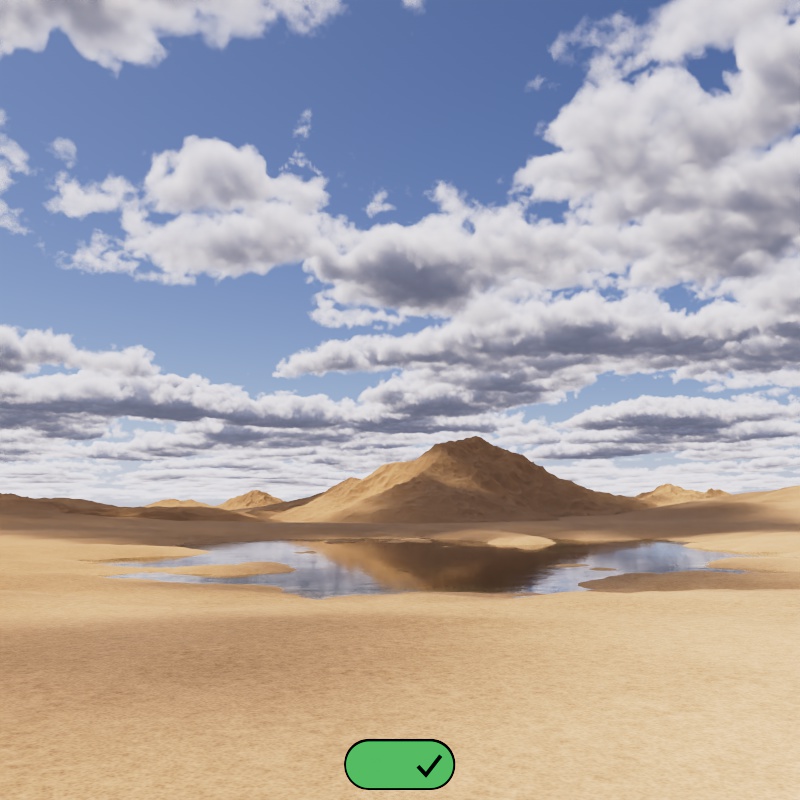
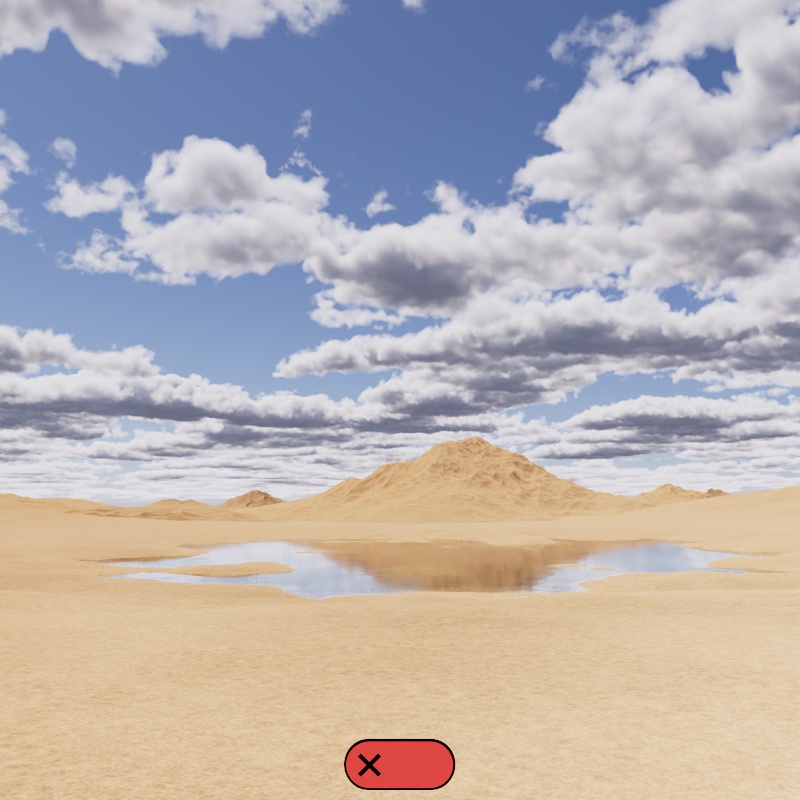
When enabled, clouds cast shadows on the objects in the scene. When disabled, clouds do not cast shadows and are purely a background element.
|
|
| Cloud Shadows: Enabled (default) | Disabled |
Only relevant when Volumetric Clouds is disabled.
Controls the render quality of the clouds by setting the step length for shadow rays. Higher values result in higher quality clouds at the expense of render time.
When the sun is low on the horizon, like at sunset or sunrise, the quality value should be increased to account for the long shadows cast at this time of day. In the example below note how the sunset example has more visible artifacts at low Quality values than the daylight example at the same value. When the sun is overhead the shadows don't have to travel as far and are less likely to have visual issues.
At very low quality values the Clouds switch to a lower internal resolution for the clouds, this can be seen around the half way point in the example videos.
| Cloud Quality: 0.01 - 1.5 Daylight (normal angle) |
0.01 - 1.5 Sunset (low angle) |
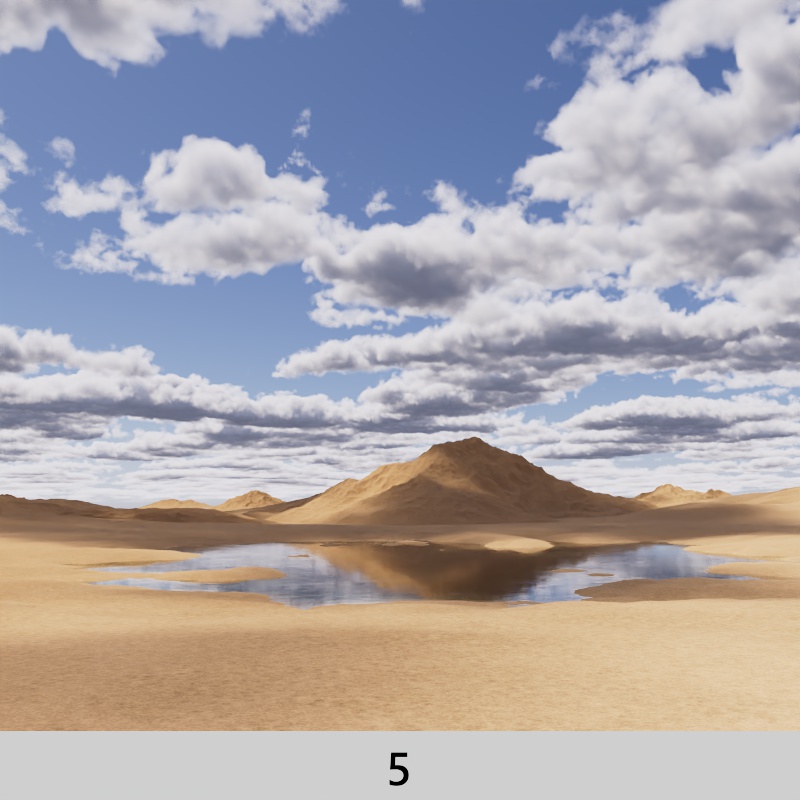
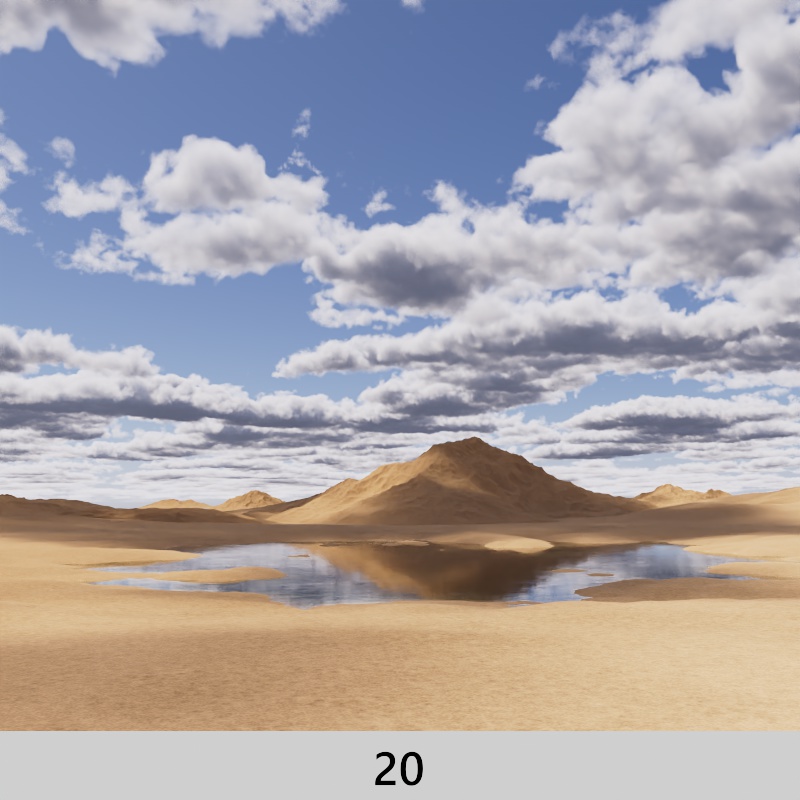
Be cautious when increasing the Cloud Quality because there are diminishing returns in visual quality even though the render time can increase dramatically.
|
|
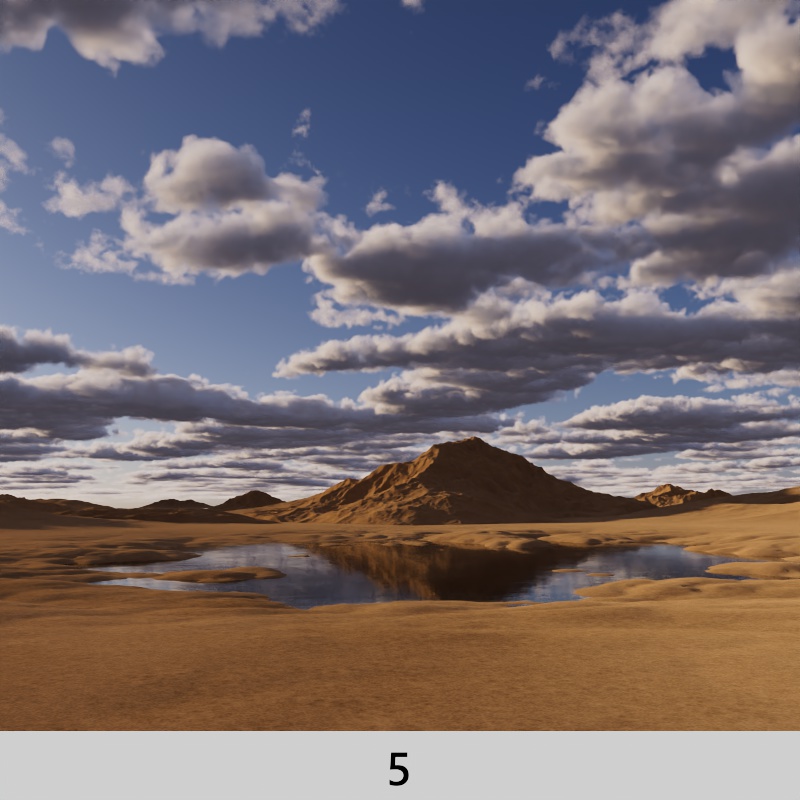
|
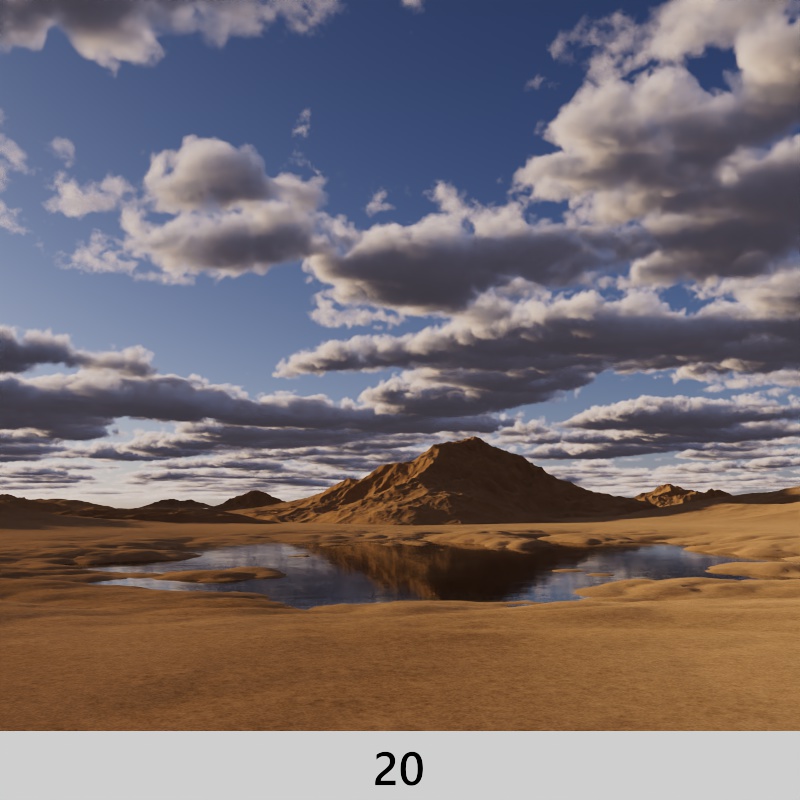
|
| Cloud Quality: 5 Render Time: 6m 20s |
20 1h 23m 16s |
5 7m 8s |
20 1h 34m 13s |
When the Cloud Shape Scale is low the repeating pattern of the noise driving the shape of the clouds may become very apparent, particularly when the Cloud Coverage is high. To address this Hex Tiling can be enabled which breaks up the noise for a more realistic noise distribution at the expense of render time.
Note how the repeating pattern is obvious when Hex Tiling is disabled in the first two examples with very low scale and high cloud coverage. By comparison, when coverage is lower, the repeating pattern is still there but much less noticeable in the animated example.
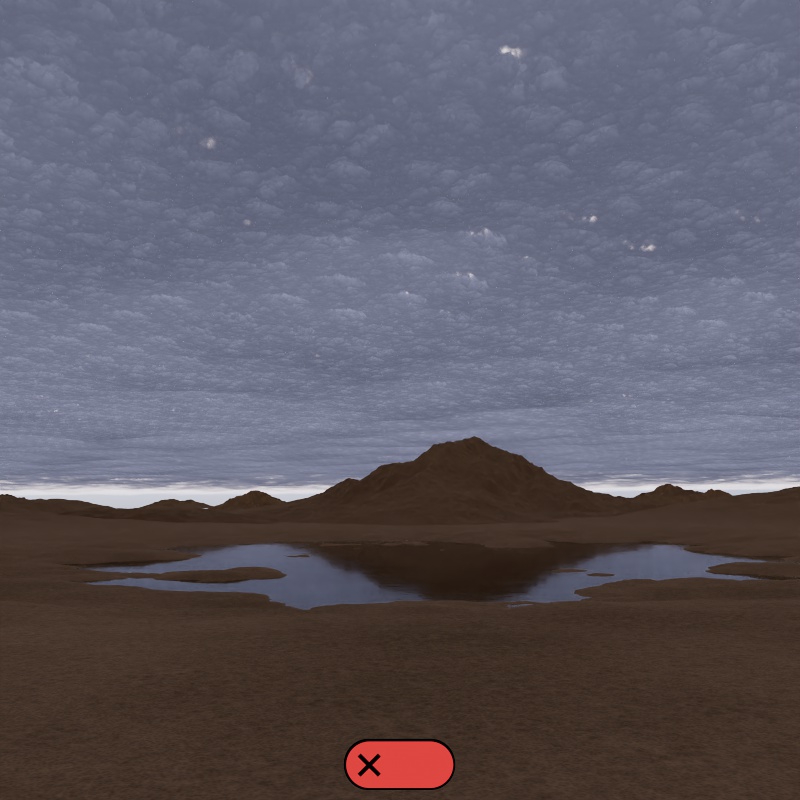
|
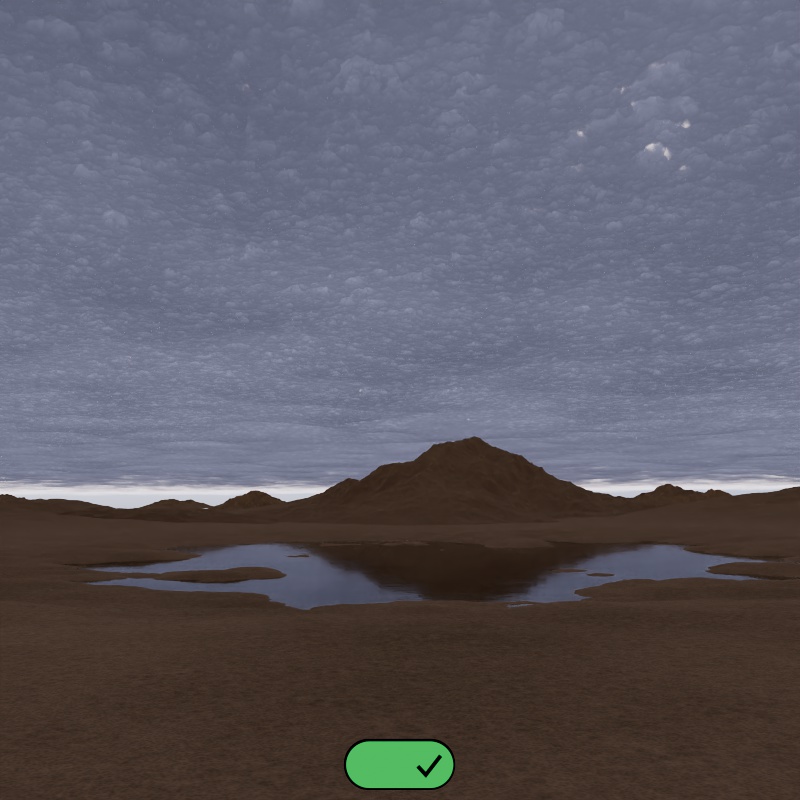
|
| Hex Tiling: Disabled (default) | Enabled |
| Hex Tiling: Disabled (default) | Enabled |
Controls the color of the clouds.
| Changing the Scatter Color |
Controls how much light is scattered which affects the brightness of the clouds. Higher values result in more scattered light and brighter clouds while lower values make them darker.
| Scatter Scale: 0 - 2 |
Controls the direction light scatters inside the clouds within a -1 to 1 range. In the real world the composition of a volume can cause light to scatter in specific directions, clouds frequently exhibit forward scattering (positive values) due the inclusion of water and ice molecules.
The default anisotropy of 0 results in isotropic scattering, when the light scatters equally in all directions. Positive values increase the chance for forward scattering, when more light is scattered in the direction the light rays are already traveling. Negative values increase the chance for back scattering, when more light is scattered back towards the location of the light source.
| Anisotropy: -0.7 to +0.7 Front lighting |
-0.7 to +0.7 Overhead lighting |
-0.7 to +0.7 Back lighting |
Direct Lighting Scale[0.00..+∞]
Not available for Volumetric Clouds
Controls the direct lighting contribution on the clouds. This controls how intensely the clouds are affected by the Sun or the brightest parts of a Dome Light.
| Direct Lighting Scale: 0 - 4 |
Ambient Lighting Scale[0.00..+∞]
Not available for Volumetric Clouds
Controls the indirect lighting contribution, most notable on the underside of the clouds. This can be heavily affected by the Sun & Sky's Ground Color.
| Ambient Lighting Scale: 0 - 0.5 |
Controls how dense the clouds looks with a color input. By default, Transparency uses a 50% grey color value, darker colors make the volume appear thicker while brighter colors make it appear thinner.
| Changing the Transparency Color |
Controls how dense the clouds looks and the distance in scene units a ray needs to travel before the transparency color reaches full saturation. Higher values result in thinner looking clouds while lower values result in thicker clouds.
At higher values, the visual density of the clouds decreases resulting in less absorption of color in the object. A value of 0 results in completely opaque clouds.
| Transparency Depth: 0 - 1 |
Shadow Density Scale[0.00..+∞]
Controls how dense the clouds looks without affecting its overall shape and silhouette. In effect, this may be used as a "trick" that can emulate multiple scattering with a less severe impact to render times than actual multiple scattering. This can be achieved by setting the shadow density scale to a value below 1.0, but going too far can sacrifice definition.
| Shadow Density Scale: 0 - 2 |
Extinction Falloff[0.00..1.00]
Only available when Volumetric Clouds are enabled.
Extinction Falloff enables a multiscatter effect that can simulate hundreds of volume bounces without the performance penalty. It accomplishes this by reducing scattering and transmittance as volume rays bounce through a cloud, allowing more light to travel with each bounce and more closely mimicking a render with a much higher volume trace depth.
The multiscatter effect takes place when Extinction Falloff is greater than 0, the default value of 0.2 is considered the sweet spot for injecting maximum light energy without going overboard. Higher values reduce scattering and transmittance at a faster rate, injecting more light and potentially reducing render times but it may cause the clouds to get darker after a point. When set to 0 the effect is disabled completely and Redshift falls back to legacy extinction falloff.
Anisotropy Falloff[0.00..10.00]
Only relevant when Extinction Falloff is greater than 0 and Volumetric Clouds are enabled.
Controls the rate of reduction in anisotropy with each volume bounce. High values push anisotropy toward isotropic scattering and may dramatically change the look of the clouds. A value of 0 disables Anisotropic Falloff.
Only relevant when Extinction Falloff is greater than 0 and Volumetric Clouds are enabled.
Controls how soon the multiscatter effect begins in number of volume ray bounces, by default the effect takes place at the first bounce. For example, if your Volume trace depth is set to 10 and your Start Depth is set to 3 then the multiscatter effect begins at the third volume bounce.
The default value of 1 is generally recommended as a good balance point, a value of 0 may result in unrealistically bright volumes while higher values sacrifice brightness and reduce the multiscatter effect.