

Asset
Here you will find a list of all the asset parameters. If the parameters are grouped in Substance 3D Designer, these groups are also adopted here as appropriately named sub-tabs. Otherwise, the parameters appear in a Basic properties sub-tab or - if there are image inputs (i.e., where textures can be loaded) - in the image Input sub-tab.
Multi-selection
When selecting multiple Substance Assets in the Substance Asset Manager, it is no longer possible to display all parameters in the Attribute Manager, but only the settings and output textures that are identical between the selected assets. This usually includes the Width and Height settings, which can be easily set for several assets at the same time. As can be seen in the following illustration, textures that are identical in type are listed in the output group. However, the preview of these textures is then replaced by multiple Substance logos.
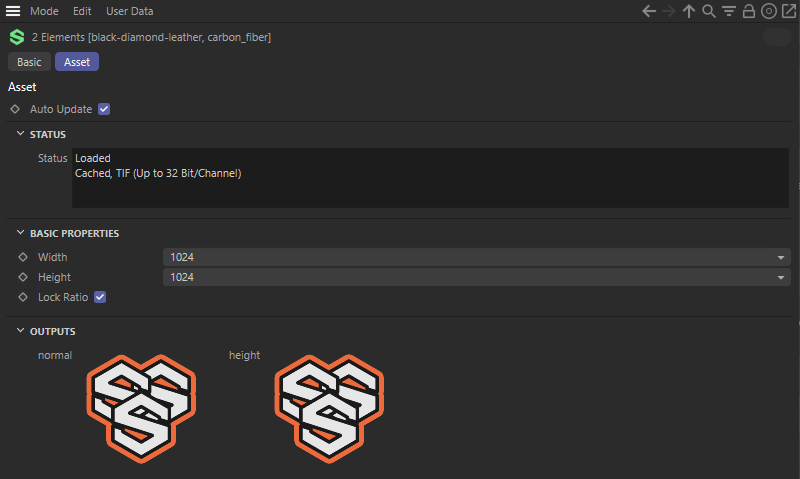
Example of a multi-selection of substance assets in the Attribute Manager.
This field contains the link to the Substance file (file extension .sbsar). The link is normally created automatically when you load a Substance Asset via Substance-Engine/LoadSubstance... in the Extensions menu. The same command is also available in the Substance Asset Manager's File menu.
However, you can also create the link manually at any time by selecting a new Substance Asset by clicking on the folder icon to the right of the Filename field.
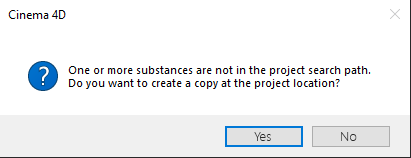
Message when loading a new Substance Asset.
If the asset to be loaded is not in the search path of Cinema 4D (see specifications in the files section of the Preferences) and also not in the directory of your currently open scene, a message will appear (see image above). You can then decide whether you want to use an absolute path to the Substance asset for the Filename (option: No) or whether the asset should be copied to the current directory of your scene and therefore a relative path can be used (option: Yes).
The advantage of an absolute path is that no copy of the asset needs to be created. However, a disadvantage can be that the link in Cinema 4D will be lost if the Substance Asset is deleted or moved to another directory. This also makes it more difficult to pass on the scene, as the Substance Asset is not automatically saved with the Cinema 4D scene. In this case, saving the asset in the directory of your scene is more practical. You can then simply zip the project folder, for example, and pass it on. All required assets will then automatically be included.
An alternative to this is to use the Save Project Including Assets... command in the main File menu. This resolves all absolute links to assets and will also copy the assets to the scene directory. Perfect for archiving or passing on the project.
If you create a new link here for existing associated materials, a warning will be issued, as the substance shaders will use the output channels - if possible (same type) - of the new asset, i.e., the material will change.
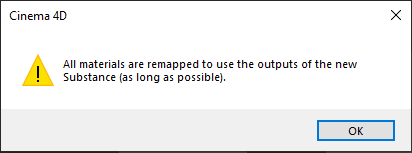
Message when replacing an asset link if textures of the previously linked asset are already used via substance shaders, e.g., in materials.
This allows you to freeze the corresponding asset with its current settings. Details can be found here.
In general, many of the settings made available for an asset can be animated directly in the Attribute Manager using keyframes. This auto-update option must be activated so that the asset and its output textures can be recalculated. To ensure that the materials in which the output textures of this asset are integrated via Substance Shader are also updated, the Animate preview options must be activated in the View settings of these materials.

Status
The first item here should always be Loaded. If a different status is displayed there, Cinema 4D will not find the corresponding Substance file. Then link them again by clicking on the folder symbol behind the Filename.
You will also find information on texture color depths and possibly tips on how to speed up the texture calculation.
You will only see this option if you load a file that was created with a very old version of the Substance plug-in. Older versions interpreted the gamma values differently and therefore also delivered different results in comparison with current Cinema 4D versions. In such cases, leave the option disabled in order to obtain the same results from older versions in the current Cinema 4D version. If the option is enabled, the updated gamma calculations will be applied.
Other parameters
Here you will usually find the settings for the Width and Height, which are always used identically in pairs by default due to the active Keep Aspect Ratio Option. These resolution values define the texture size that will be used to bake the output channels on the Substance Asset. Larger resolutions can contain more details, but also take longer to update if you change settings on the Substance Asset, for example. This can be particularly important for animated assets.
All other parameters listed in the Attribute Manager have been created individually for the respective asset in Substance 3D Designer and are therefore not described here.
Output
In this group you will find preview images of the various textures that can be calculated by the asset. These preview images can also be viewed in a much smaller size in the Substance Asset Manager. These textures can be loaded into materials or wherever shaders can be linked in Cinema 4D via Substance Shaders.