
Direction
With the parameters on this settings page, the branches can be bent or affected by gravity.
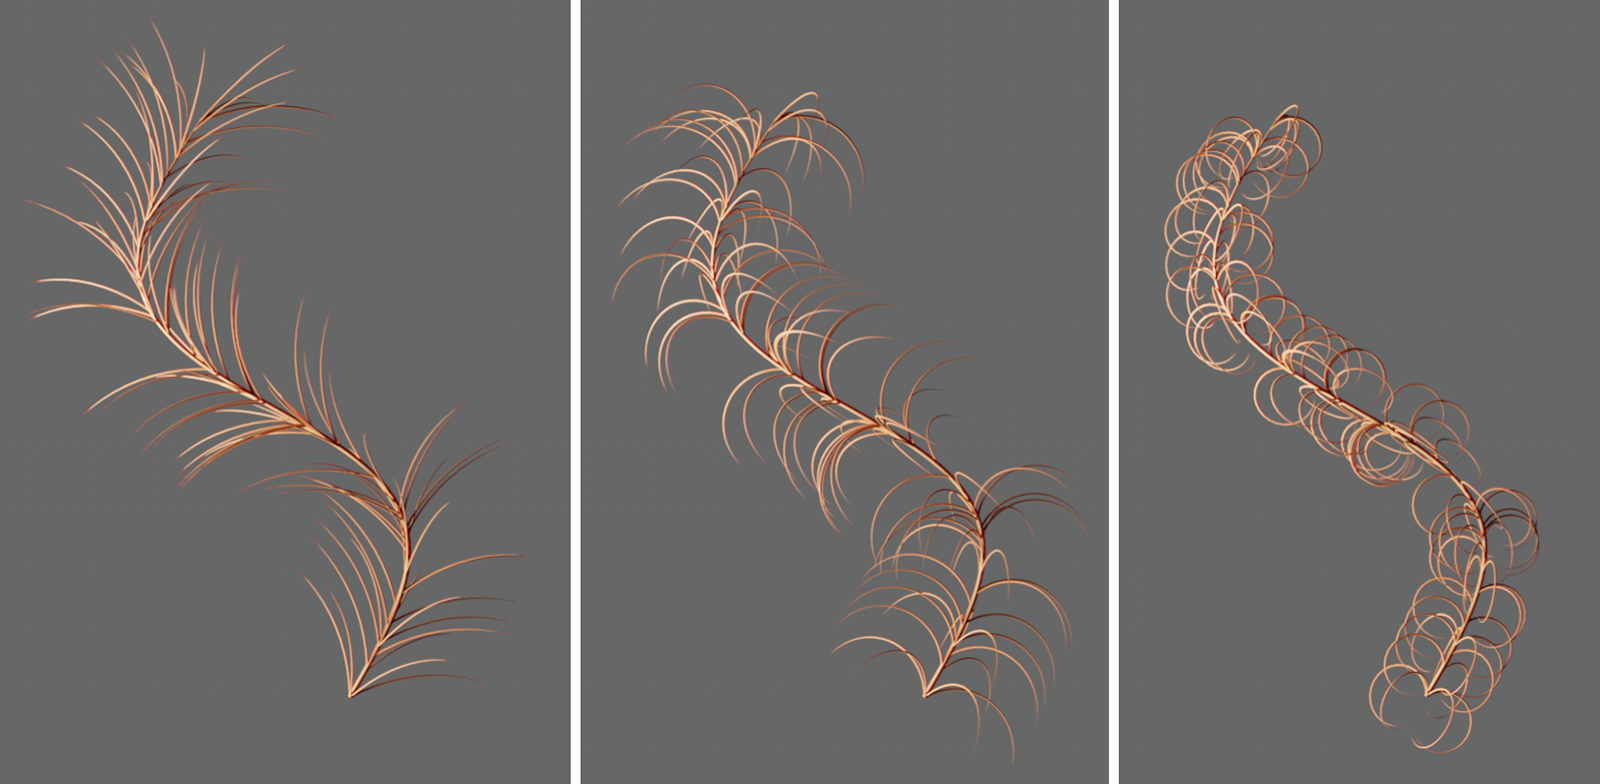 Various examples of branch shapes that can be realized using these settings.

Here you can define the number of points to be calculated along the branches. The more points there are, the more rounded even extremely bent branches will appear. However, this can also greatly increase the calculation time. In the Global settings you will therefore also find an upper limit for the maximum number of points that can be generated.
Please note that subsequent changes can also change the random calculation per branch and therefore its basic shape.
The following settings also contain random variation options. These react to this frequency. Higher frequency values lead to more variations along the branches.
This is the total angle of curvature applied to each branch. By default, an increase will lead to bending and finally to rolling up each spline, as can be seen in the image above.
Total Angle Variation[-∞..+∞°]
By increasing this value, a random variation of its bend can be added per point of a branch. This variation is also dependent on Noise Frequency.
This lets the branches be bent sideways. With very high values, helix or corkscrew-like shapes can also be created. Bear in mind that this bend cannot work with straight branches. For more visible results, you must therefore also increase Total Angle at the same time.
This lets the lateral bend per point along the branch be varied randomly. This randomness also depends on the size of the Noise Frequency.
Start/End Influence[-100..100%]
This lets you blend seamlessly between the beginning and end of each branch, where the main part of the deformation should take place. With negative values, the deformation in the first half of the branches will weaken. At values above 0%, the deformation will become correspondingly weaker towards the end of the branches. In the neutral center position of 0%, the deformations will be distributed evenly along the entire length of the branch.
Use this to select the type and direction in which gravity should act on the branches. The strength of the effect is controlled by the Gravity value.
- Global: The branches will be bent downwards along the global, negative Y-direction.
- Local: The branches will be deformed along the local, negative Y-direction. You can either change this direction via the rotation values in the Coordinates section of the asset if it is used in the Object Manager or you can use the rotation angles of the local Modifier matrix at the input of the Node if it is used in the Node Editor.
- Spherical: The position plays a role here, which you can define via the Coordinates section or the local Modifier matrix. The branches will be attracted to this position like a magnet and bend accordingly.
- Local Spherical: Gravity will bend each branch towards its root point at the initial spline, causing each branch to curl. For very straight branches, it may be necessary to use very high values to see an effect. Branches that already have curvatures, e.g., through the use of Total Angle, will react to small Gravity values in this setting.
This is used to define the intensity of gravity.