

Proximity
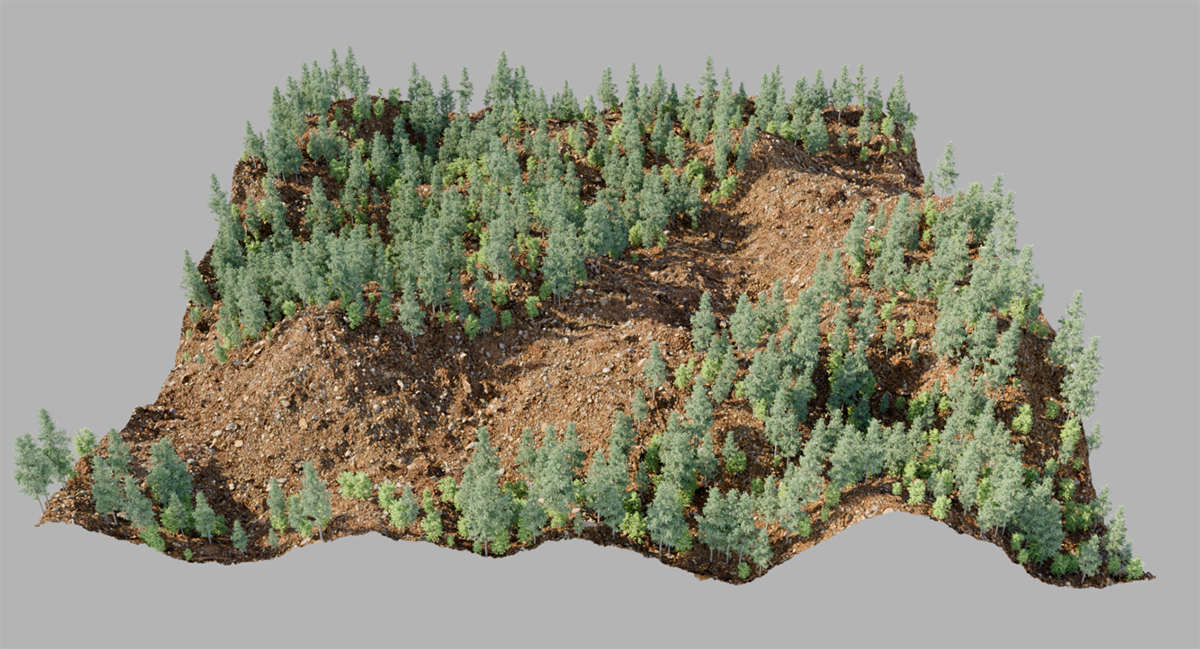
If certain areas need to be specifically kept clear of instances—for example, when a terrain is bisected by a road or a river and vegetation should therefore not be placed there—separate proximity objects are a good solution. These can be closed splines or polygon objects, but other scatter objects can also be assigned here.
For example, large rocks can be placed using a Scatter object, and another Scatter object can then generate clumps of grass that avoid these rocks.
Typical use cases include:
- Removing instances around obstacles
- Creating growth zones around objects
- Fading density near roads or paths
- Increasing scale near attractors
- Protecting areas from scattering
Various types of objects can be assigned here. However, to ensure predictable behavior, these should always be closed shapes—that is, either closed spline curves or closed polygon objects. This also includes generators that create polygon objects:
-
Spline Objects: For example, if you want to keep a lake free of vegetation, you can simply draw a closed spline curve parallel to the landscape and use it to define the outline of the body of water.
-
Polygon Objects: Closed polygonal shapes, such as one of the many primitive objects, can also be easily assigned. The volume of this object should then, for example, overlap the landscape in order to affect the scatter distribution.
-
Generator Objects: Generators, such as the MoGraph Cloner object or another Scatter object, can also be used. This allows you to use many shapes as proximity objects all at once.
Please note that the following settings can be configured individually for each object assigned in the Objects list. Therefore, first select the corresponding entry in the list by clicking on it, and then choose the appropriate settings in the lower part of this settings page.
Next to each Objects entry, you'll find a Radius value. The Radius can be used to adjust the range of influence for each proximity object individually.
List entries that are no longer needed can be disabled by unchecking them or simply selecting them and then pressing the Del key.
If polygon objects have been assigned that are also deformed, their deformed shape can be evaluated by enabling this option. Otherwise, only the undeformed, original object shape is used.
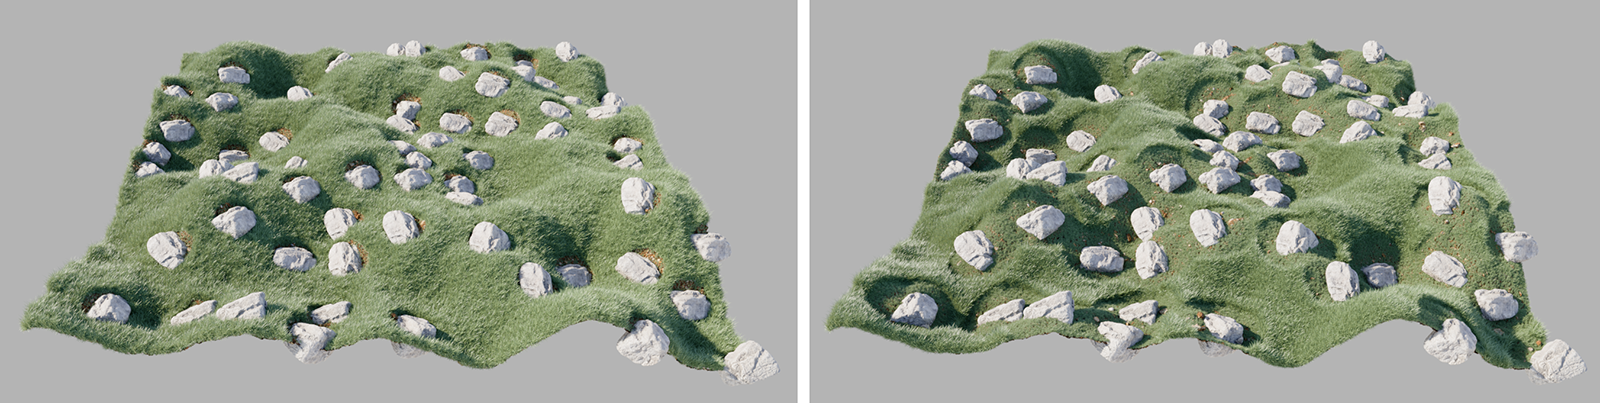
Please note that these and the following settings can be configured individually for each object assigned in the Objects list. Therefore, first select the corresponding entry in the list by clicking on it, and then choose the desired mode for it:
-
Mask: Instances can be hidden in the area surrounding the assigned object. When using a spline, you must also select a direction for Mask Projection.
-
Scale: The instances surrounding the assigned object can be scaled.
If you have assigned a closed spline as a proximity object, you must also specify a projection direction for it in ModeMask. Think of it as if you were combining the spline with an Extrude generator to create a solid. For example, if you want to distribute instances across a landscape that lies primarily in the XY plane, you’ve likely drawn the spline in that same XY plane—for instance, created it in the top-down view. Accordingly, this spline would need to be projected using Mask ProjectionAlong Y.
This setting is only available in ScaleMode and can be used to adjust the size progression of the instances. The default value of 100% ensures that the instance size drops to 0 exactly when the set Distance is reached. At higher percentage values, this scaling limit moves farther away from the Proximity object. For values below 100%, the scaling may not reach 0 at all, which means that instances may remain visible even within a Proximity object.
This is the distance from the spline or the polygon envelope of the objects within which the scatter distribution should be influenced.
Multiplies the effect of proximity objects on the instances. At 100%, we get the full effect; at 0%, all instances remain normally visible and scaled. Values in between result in a smooth transition between these states.
This setting allows you to adjust the transition function that defines the blend point between the original instances and the fully modified instances. With the default value of 0%, this blend point is exactly in the middle of the set Distance. With lower values, the blend point moves farther away from the objects; with values above 0%, the blend point moves closer to the objects.
This allows you to reverse the effect on instances. Instead of hiding instances near the proximity objects, they will then, for example, be visible only in the immediate vicinity of those objects.
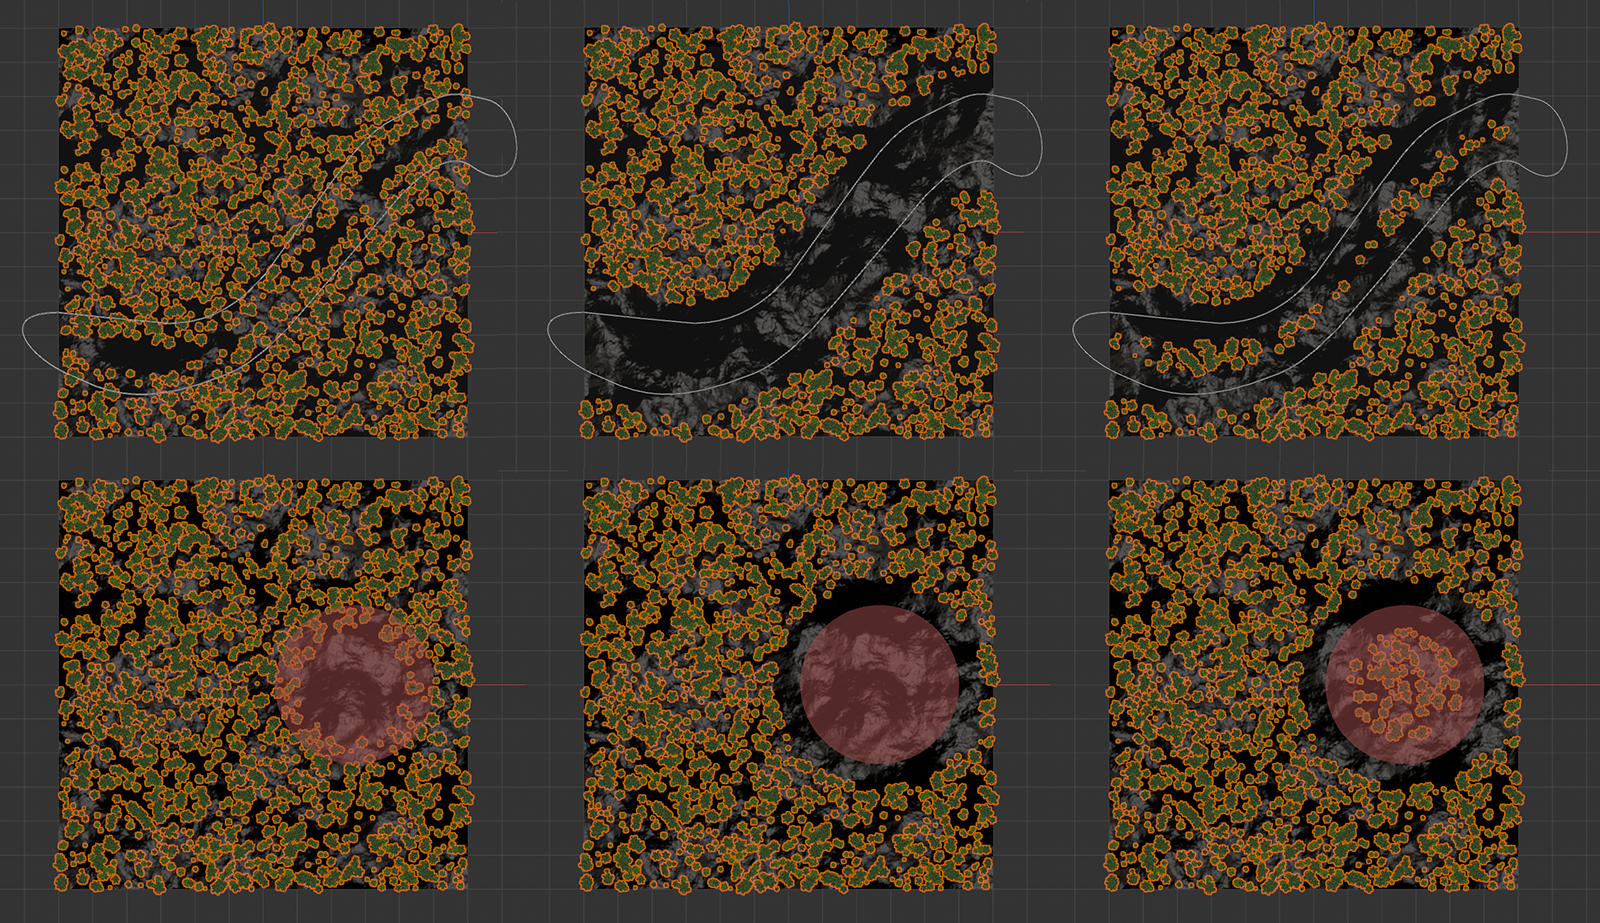
Here, you can choose whether to use the Distance inward, outward, or in both directions. To hide the instances within the proximity objects' area, Outside is the correct mode, as it leaves the interior of the objects—as well as a safety margin around them—unoccupied.
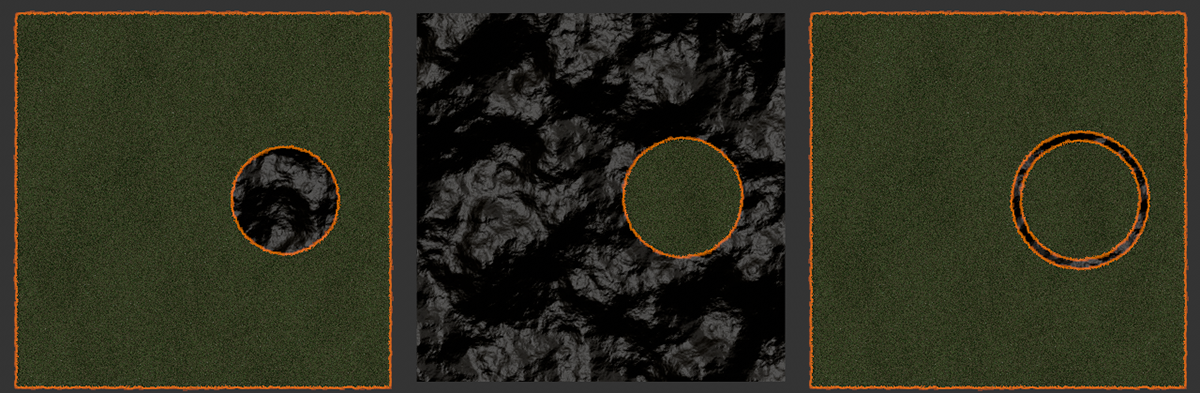
As shown in the figure above, in some configurations, Clip To Shape can be used to restrict the effect more closely to the geometry of the polygon object or the path of the spline.